Ask a group of photographers to capture a portrait of the same person in the same location under similar lighting conditions, and the portraits you get back will be as unique as the photographers who took them. Portrait photography serves a general function in that it aims to capture a subject’s physical features and personality, but it also provides a means of creative expression for photographers. A photographer’s vision and use of lighting, posing, and backdrops can turn an ordinary snapshot into an extraordinary portrait. Fortunately, capturing creative portraits does not have to be difficult. In case you find yourself in a creative rut or could maybe use a boost of inspiration, we’ve put together 10 creative portrait photography ideas to help you create more compelling portraits.
Top 10 Creative Portrait Photography Ideas
Check out these 10 creative portrait photography ideas and let them inspire your next shoot:
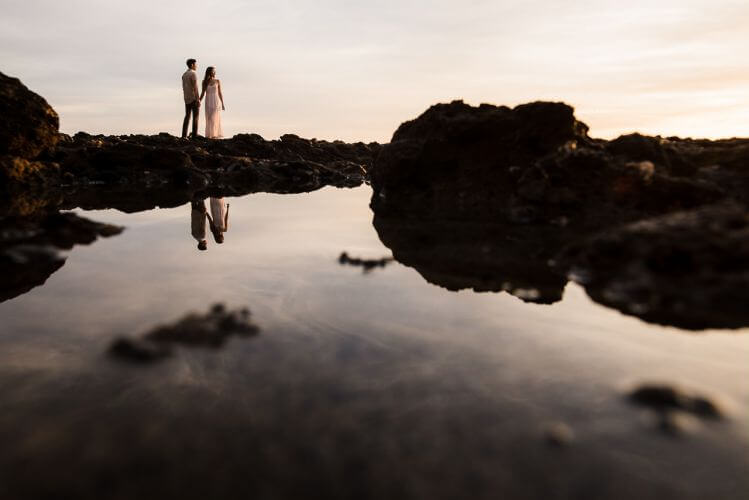
- Experiment with Reflective Objects as Foreground Elements
- Find Interesting Backgrounds in Everyday Situations
- Consider Color Theory when Choosing a Backdrop
- Incorporate Thematic Elements
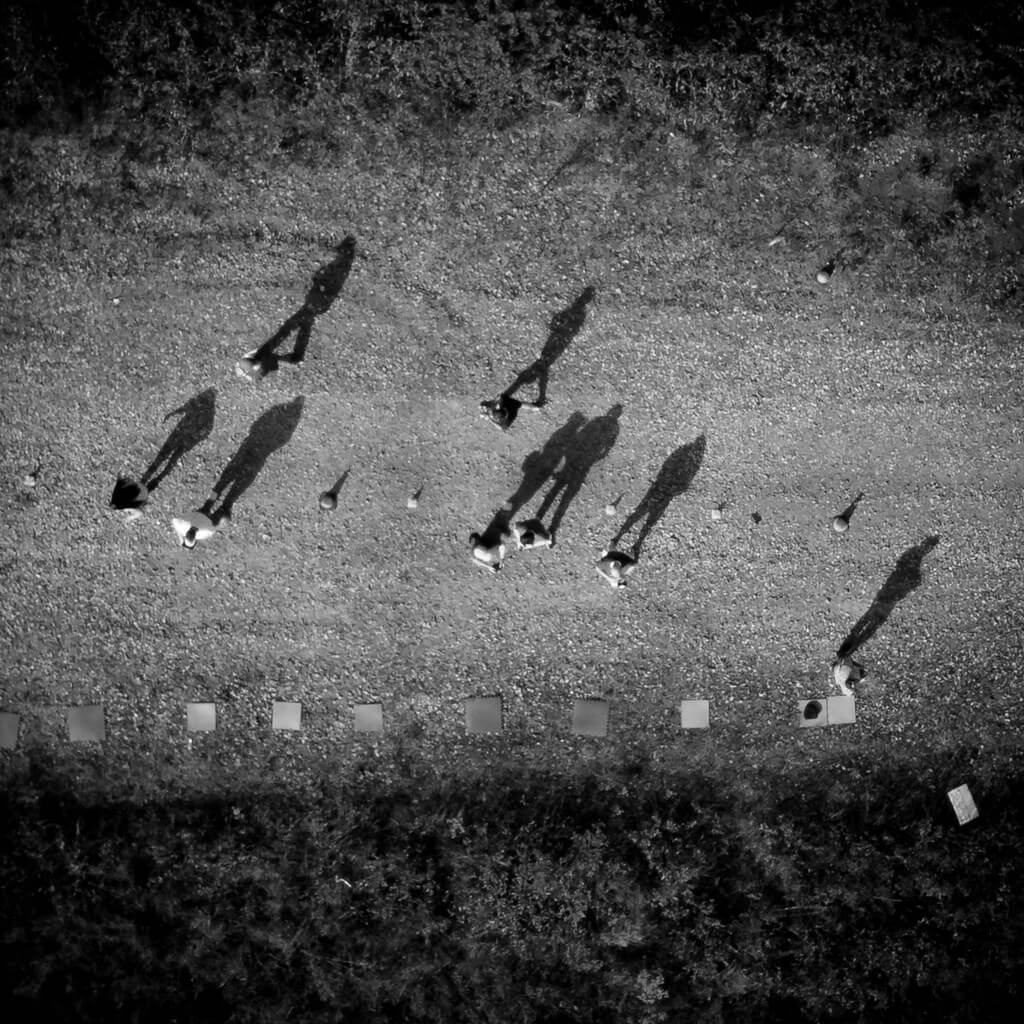
- Change Your Perspective
- Slow Your Shutter to Show Motion
- Open Your Aperture for Bokeh-Filled Wonder
- Add a Ring of Fire
- Stitch a Panorama
- Stack Compositional Tools
1. Experiment with Reflective Objects as Foreground Elements
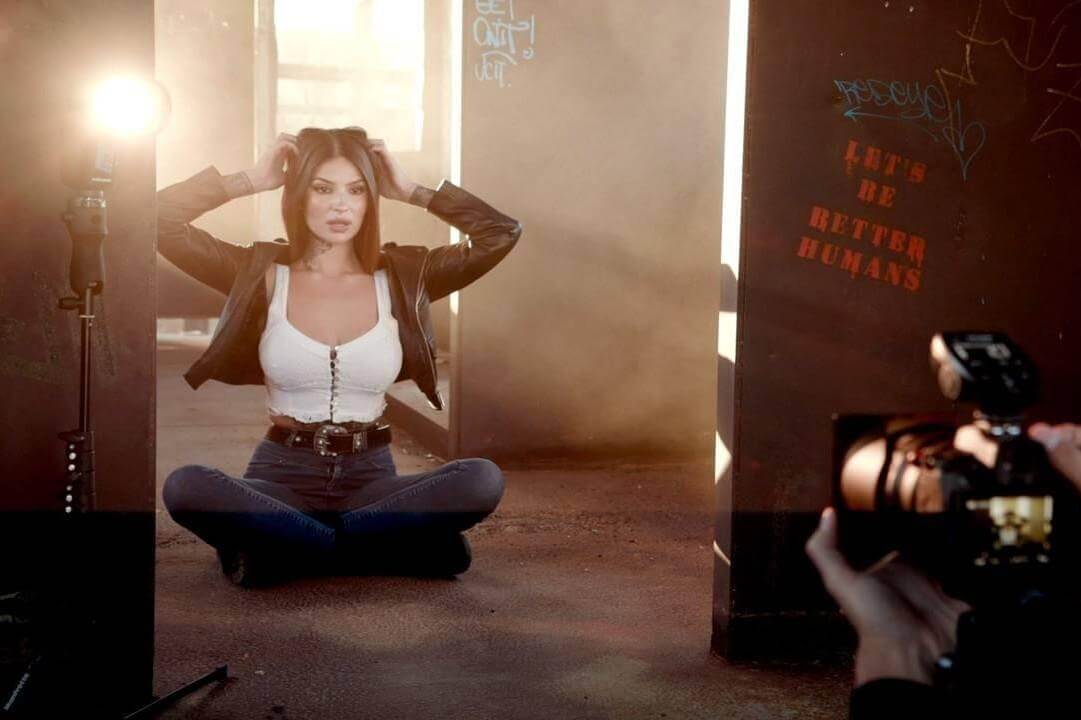
One of the quickest ways to add visual interest to your portrait photography is to give your photos depth, and you can do that by placing foreground elements into your frame. Some common foreground elements that photographers like to use include plants and trees, walls or handrails (the latter also creates leading lines), and reflective surfaces, like water, windows, or even cellphones. The bonus in using a reflective object as a foreground element in your photo is that you can also conceal areas in the frame that you don’t want to show, such as a messy floor or boring, empty space.
2. Find Interesting Backgrounds in Everyday Situations

When capturing portraits on-location, it’s easy to feel limited by the scenery, especially when the location is less than ideal. With a bit of location scouting and creative thinking, however, we can transform the background and make the most out of an otherwise so-so spot.

Even a busy location that’s loaded with distractions can be simplified and made to look great once we know what to look for. One way to combat a busy background is to look for areas of uniformity with patterns you can use to draw the focus to your subject. In the example above, the photographer has placed the subject in front of a hedge whose depth and repetitive pattern (as well as an added radial burn in post) allows us to focus on the model. It also leaves us wondering where she might be, never suspecting that she’s seated in front of a bush in a neighborhood park.
3. Consider Color Theory when Choosing a Backdrop
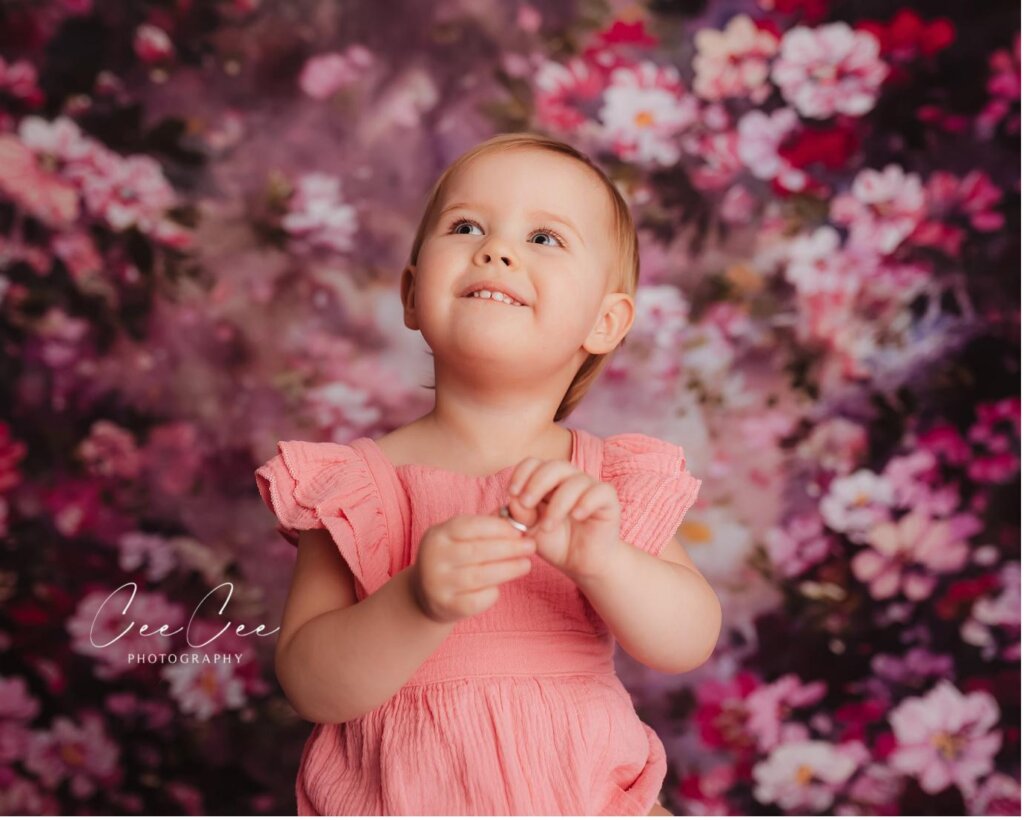
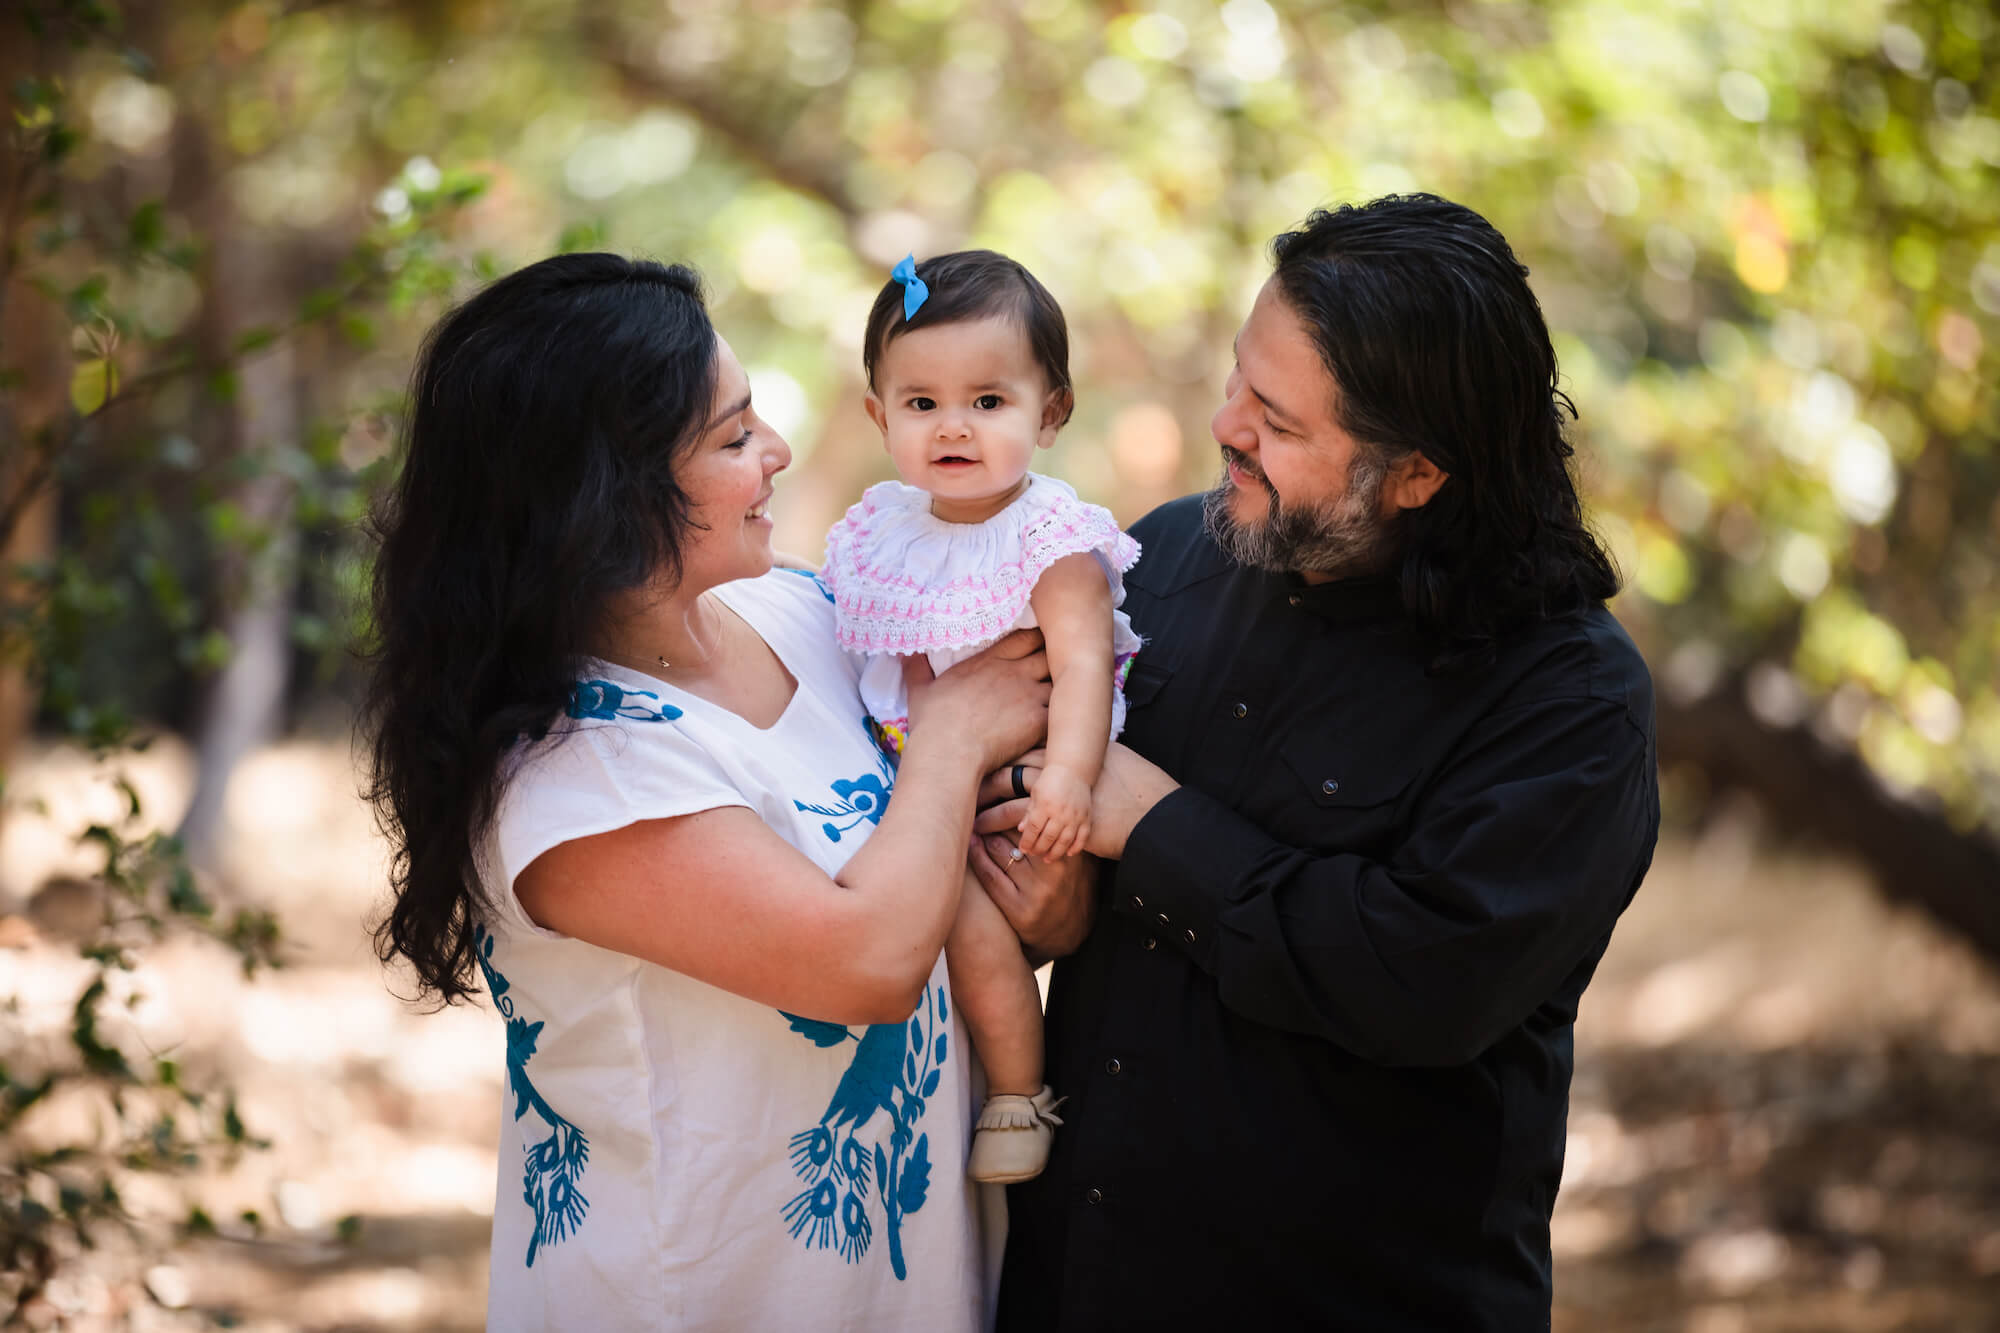
Colors can significantly impact the visual appeal of your imagery. We can use elements of color theory, such as combining complementary colors (those that lie across from one another on a color wheel) to create striking contrast in our images. Or, conversely, we can use a monochromatic color scheme that incorporates various hues of a single color. Take, for instance, the example above featuring a beautiful fine art flower backdrop that neatly ties together with the young girl’s dress.
4. Incorporate Thematic Elements into Your Creative Portrait Photography
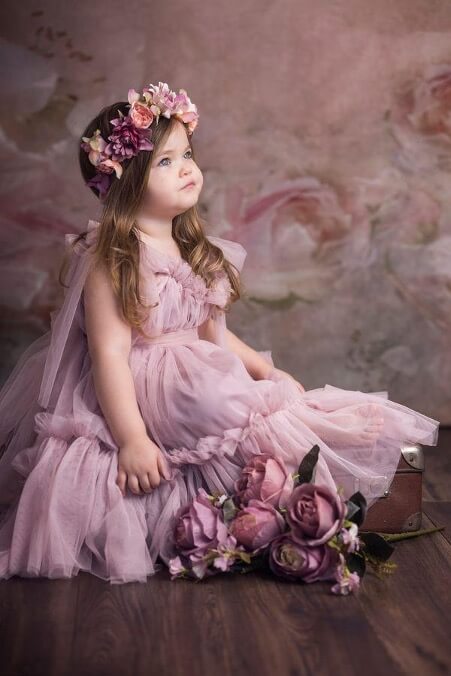
You can take the color scheme mentioned above even further if you introduce objects in the scene that connect to the imagery featured in the flower art backdrop for photography. In a scene like this, you can easily throw in a rug and some plate or cup & saucer arrangements or vases to give the portrait a creative boost and further compliment your floral vintage backdrops.
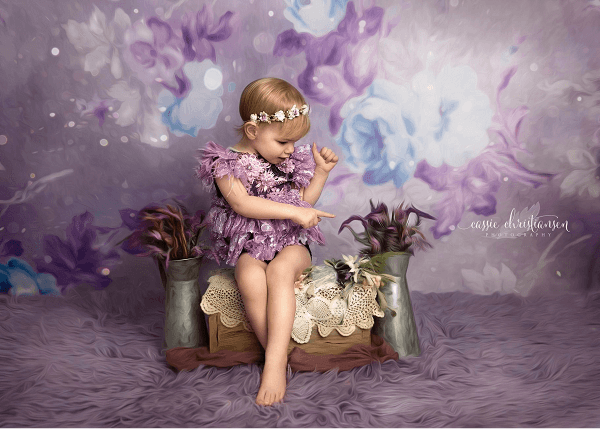
Here’s another example (above) of how to add thematic elements that complement your backdrop to tie your scene together and enhance the quality of your portraiture.
5. Change Your Perspective
We’re used to seeing the world at eye level. Adding a creative boost to your portraits can be as easy as adjusting your perspective, whether this means getting low or shooting overhead (think drone shots). A simple shift in perspective can turn a flat image into a dynamic one. Have fun with posing to make the image even more dynamic and consider composition just as you would for other portraits.
6. Slow Your Shutter to Show Motion in Your Creative Portrait Photography
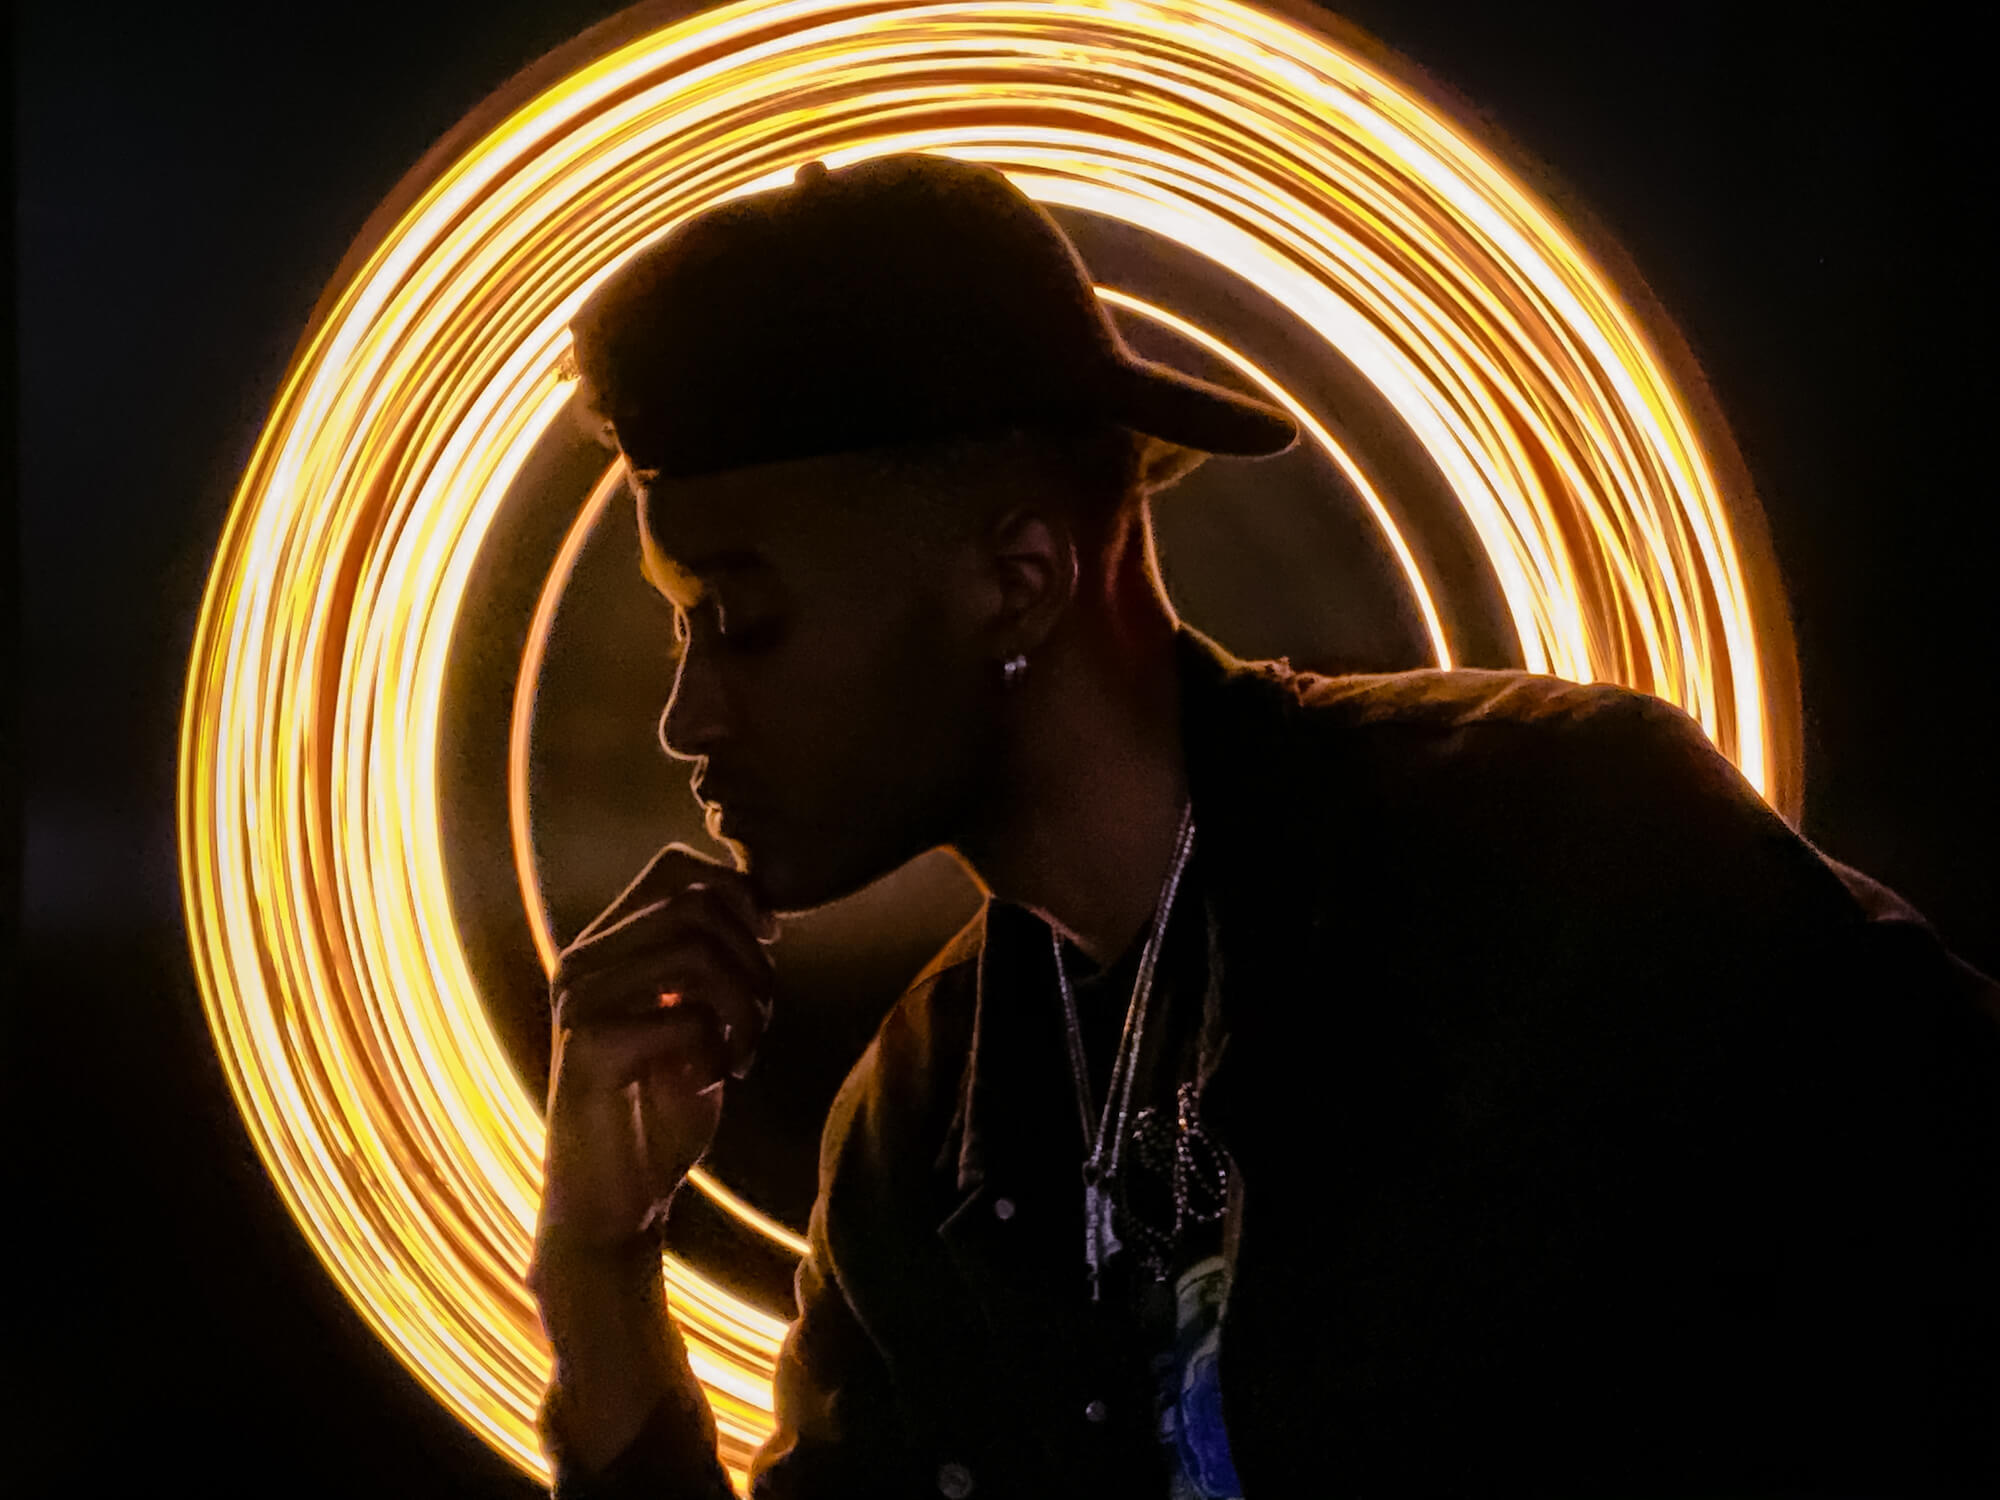
Slowing your shutter speed provides a great way to practice your creative portrait photography. You can use slow shutter speeds to reveal motion in your photos, and not just the kind caused by camera shake. In fact, for this technique, we recommend placing your camera on a tripod so that action happens outside of the camera.
For the image above, the subject was placed in a dark room and an assistant spun a set of string lights in a circle for two seconds (the amount of time that the shutter speed was open) while the subject held perfectly still. There was little to no ambient light available in the room other than the string lights.
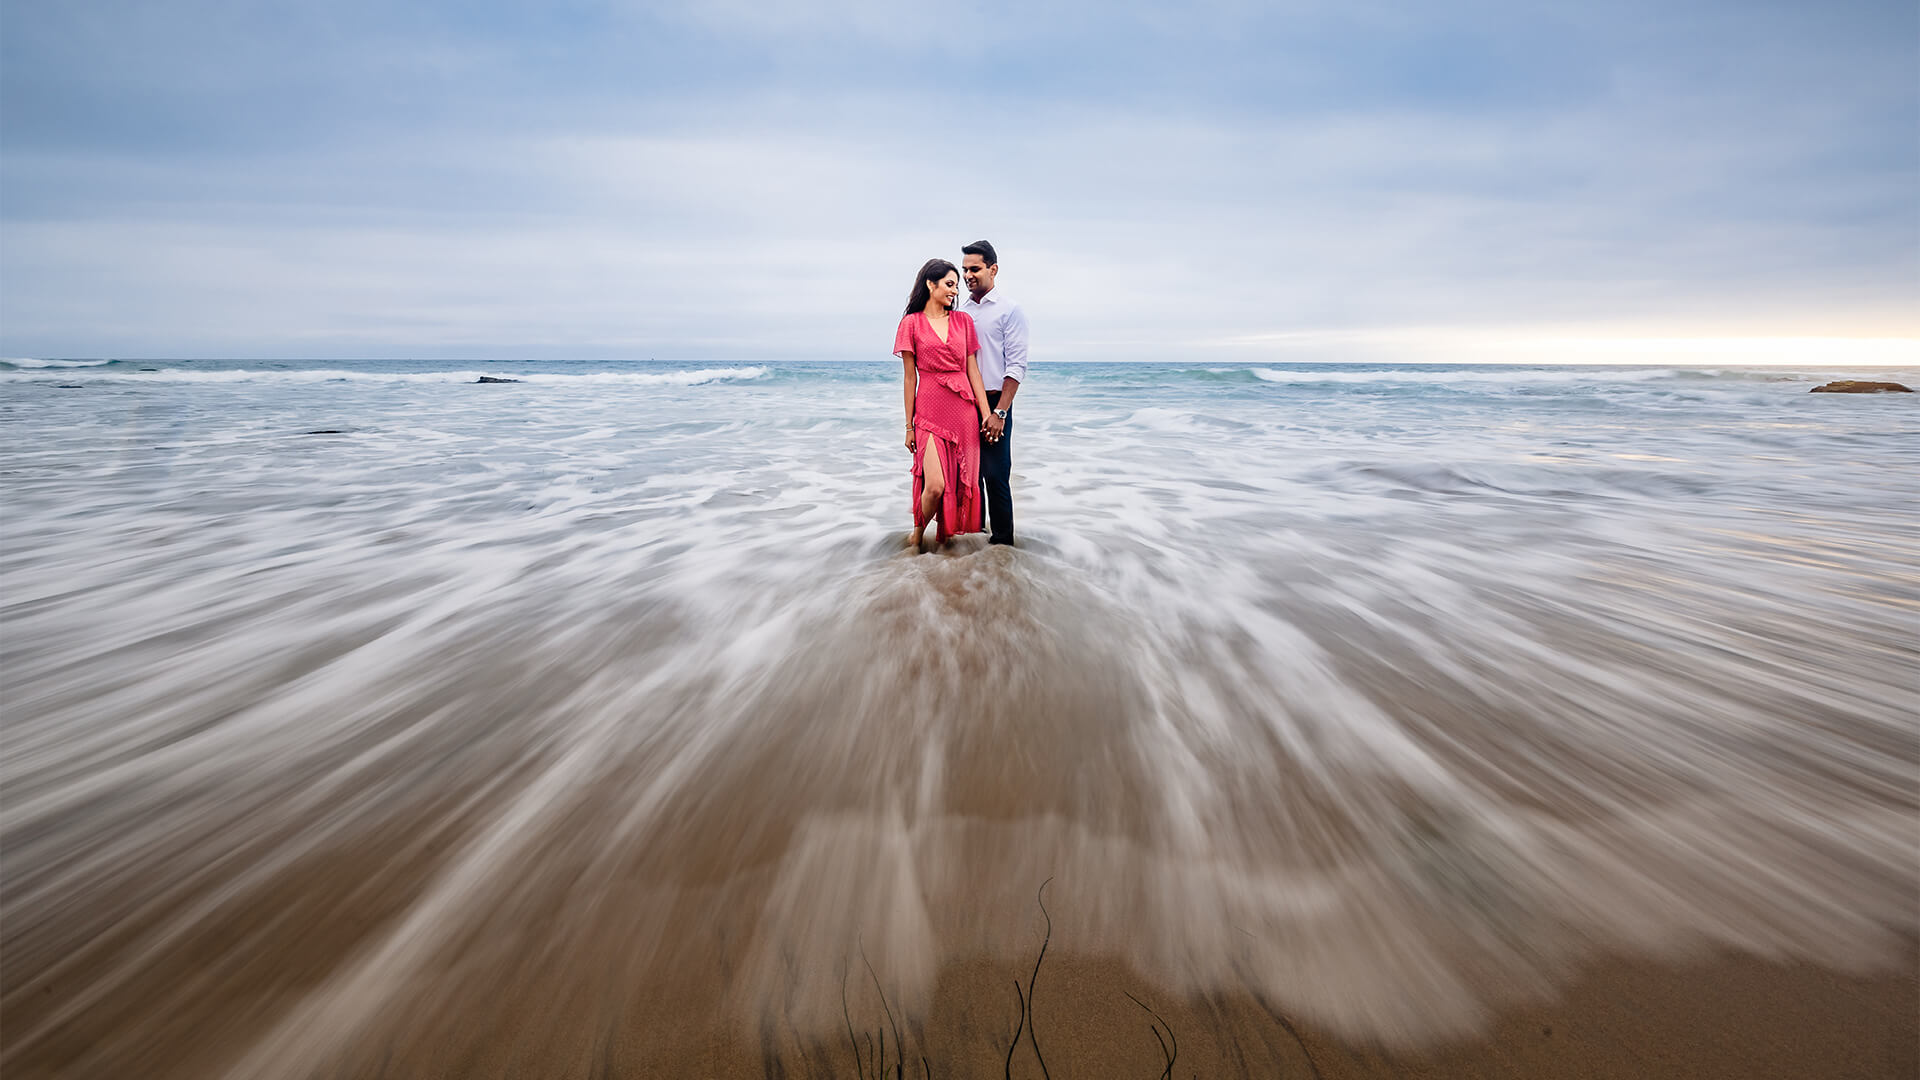
Again, the photographer used a tripod and slow shutter speed to smooth out the water in this engagement portrait on the beach. If the sun is out or the ambient light is too bright to use a slow enough shutter speed to capture motion, you might consider using an ND filter to lower the ambient light and get your shot.
7. Add a Ring of Fire
Everyone loves a little “flare.” Whether from light leaks that reveal a camera’s imperfections or from the sun during golden hour, light flares add a ton of visual interest to photos. Many photographers even add them in post when no flares were otherwise present. You can also add your own flare in-camera.
One interesting technique you can use to add some visual flare to your portraits is known as the “ring of fire.” Don’t worry, no actual fire is required to make this happen. Instead, you’ll use a short piece of copper or bronze tube (one or two inches long by roughly 1 ½” in diameter) to create a highlight reflection.
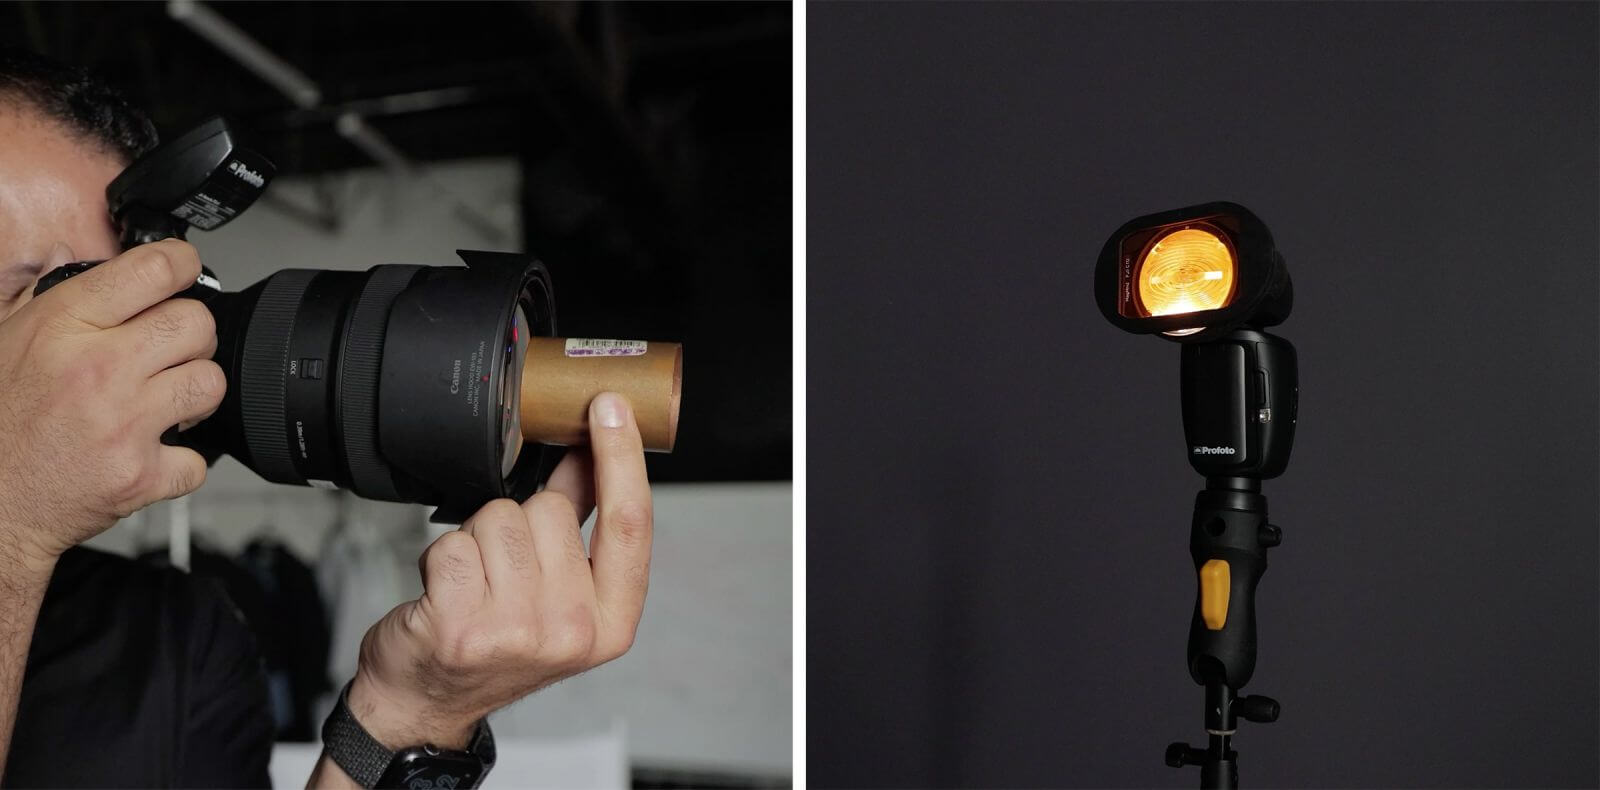
Simply hold the tube up to the camera lens and position your subject between yourself and the light source, which can be the sun or off-camera flash units (with CTO gels) pointed toward your camera. Use your subjects to block enough of the light so that it doesn’t blow out your shot or make it too hazy. Shoot at a wide open aperture on a wide angle lens (24mm-35mm) to add more flare and ensure that your hands are not recognizable as you hold the tube in front of your lens.
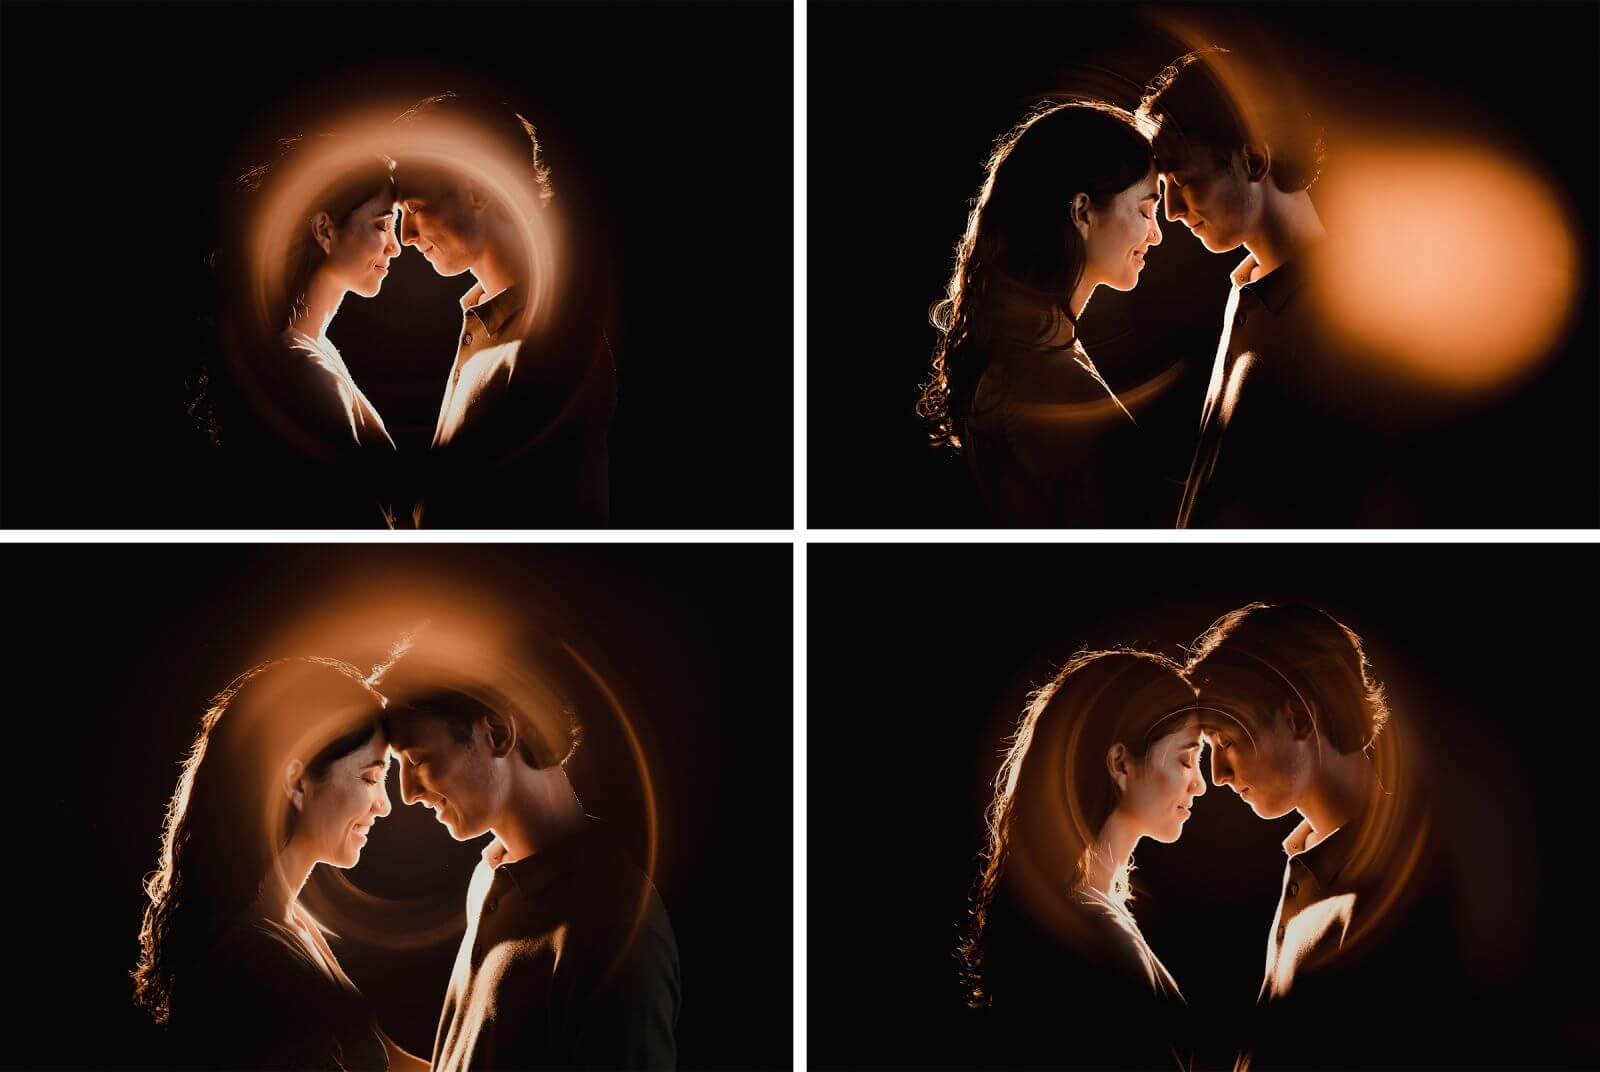
You’ll get a nice ring of light in the shot with the right angle, focal length, aperture, and light power. Don’t get frustrated if you don’t get it perfect right away. This technique may require a bit of practice to get right.
8. Open Your Aperture for Bokeh-Filled Creative Portrait Photography
Like a good light flare, everyone also loves a bit of creamy bokeh, or the “out-of-focus” area in your portrait. It can add a cinematic quality to your portraits and create separation between your subject and the background. You’ll need to consider three factors when filling your backdrop with bokeh:
- The Distance Between Your Camera and Subject: The closer you are to your subject and the farther they are from the background, the more out of focus the background will be. Experiment with different distances between yourself and your subject as well as between your subject and the background.
- Aperture: The wider your aperture, the softer your backdrop, so shoot wide open (or close to it) for smoother bokeh.
- Focal Length: Longer focal lengths also affect depth of field, and they can help compress the background and create a better bokeh effect.
9. Stitch a Panorama
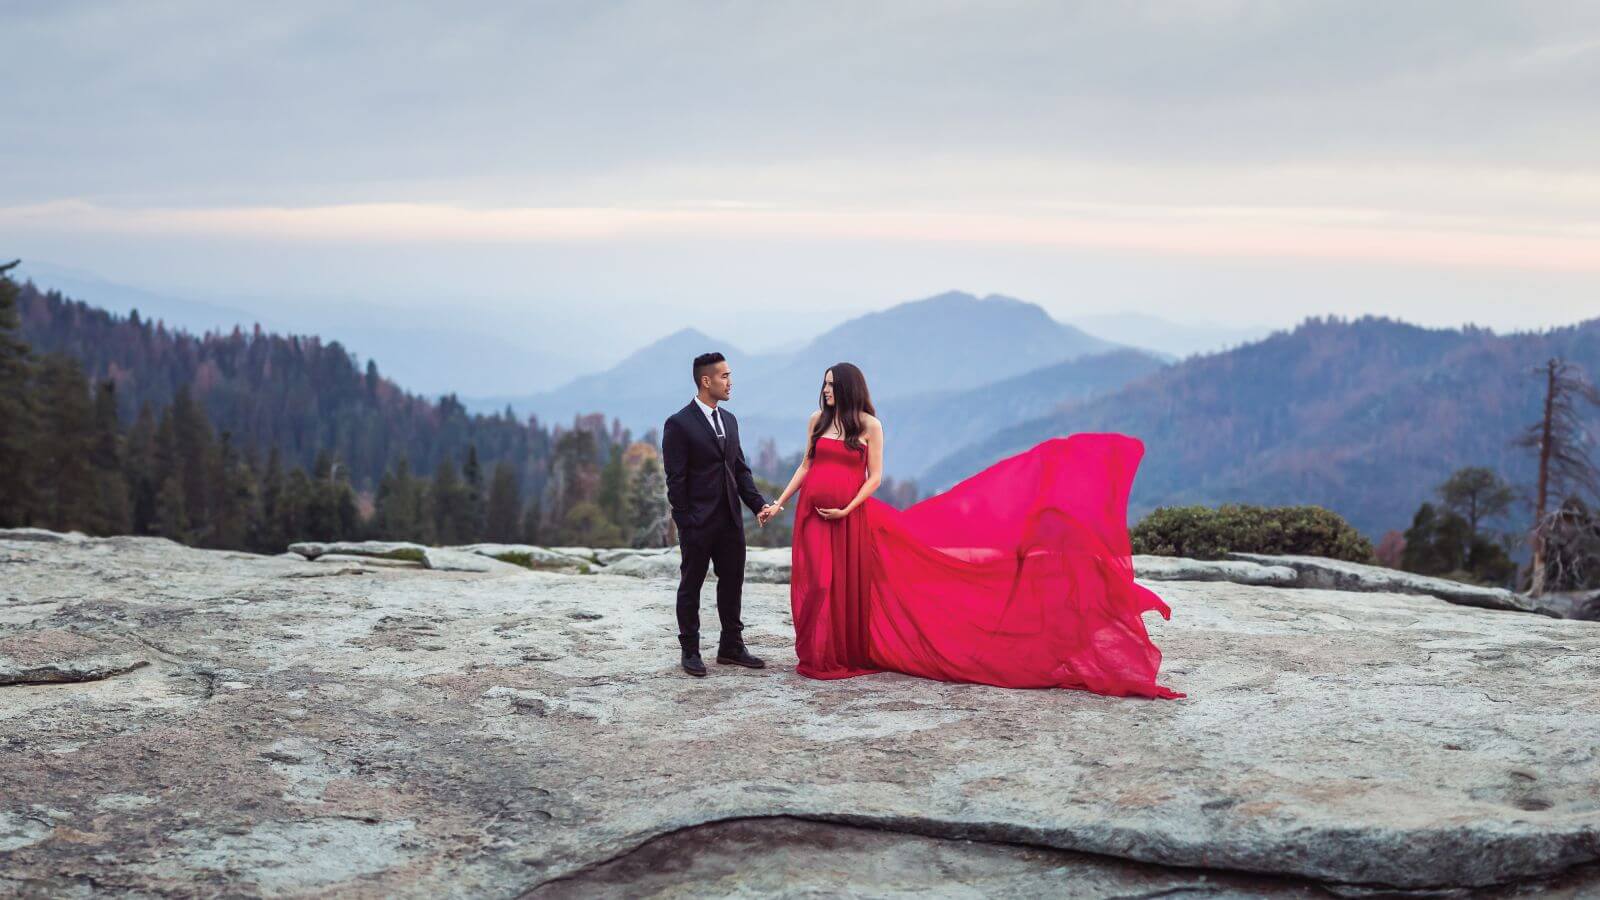
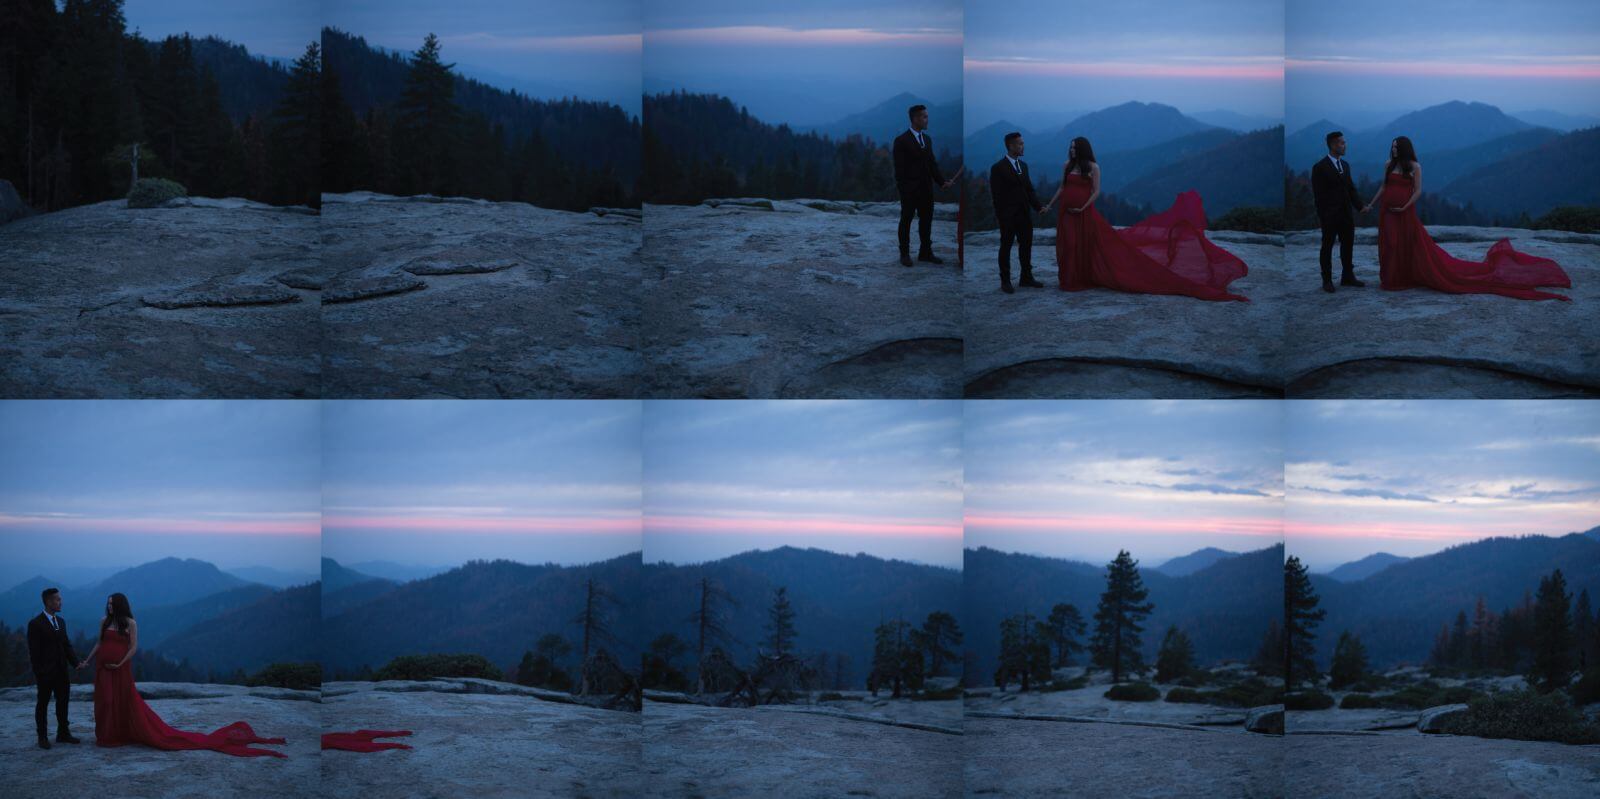
When it comes to wide-angle portraits, we can usually expect a couple things. First, photographers will typically use a narrower aperture to capture more detail in the environment. Also, because we generally capture wide-angle shots using a wide-angle lens, we don’t expect to see much lens compression as the background shrinks toward the horizon. However, we can use something known as the Brenizer Method to defy these norms. The Brenizer Method, a form of panoramic stitching used for portrait photography, allows us to create surreal portraits that combine the shallow depth of field associated with portrait photography with wide, environmental landscape photos.
Follow these steps to try this method:
- Use a longer focal length (85mm or longer)
- Turn off autofocus
- Shoot in manual mode for consistency throughout all of the shots used in the final image
- Use a wide aperture (f/2.8 or wider)
- Capture multiple photos, overlapping each photo by at least 30%. Start with the frame that features your subjects to ensure they are in focus, and then shoot additional frames in a left to right sequence. You can use other sequences to create your photo grid, but this is a good way to get started when testing out this technique (see example above).
- Combine the images in Lightroom or other panoramic stitching software. Perform detailed edits AFTER stitching the images together.
10. Stack Compositional Tools
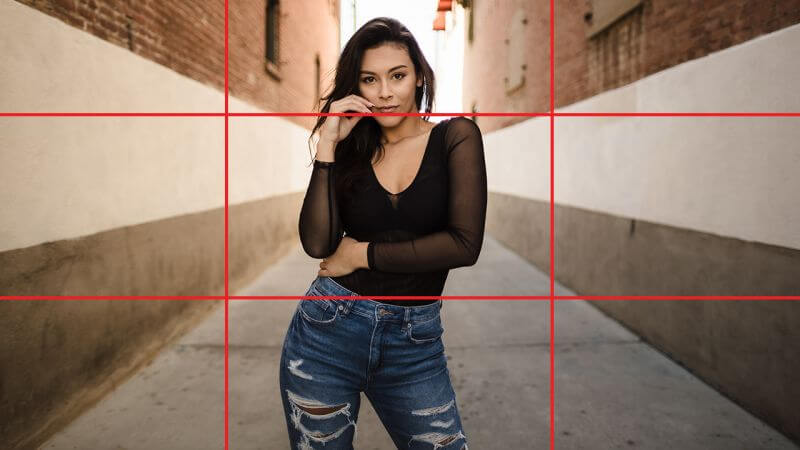
If you think about it, the compositional tools we use to take better pictures are not meant to be used in isolation. We can combine a number of compositional tools, such as symmetry, leading lines, and the rule of thirds, for example, to create a better photo than we’d get if we limited it to using only one tool. Study these tools in advance and put them to use the next time you head out on a photoshoot.
Conclusion
Creative portraiture does not belong to any specific genre. Whatever genre you specialize in, try these creative portrait photography ideas and boost the visual appeal of your imagery. The addition of props, backdrops, and other creative tools should make it easier than ever to craft a compelling photo. Hopefully, these ideas will inspire you to try some new techniques and push your photography to a new level.
