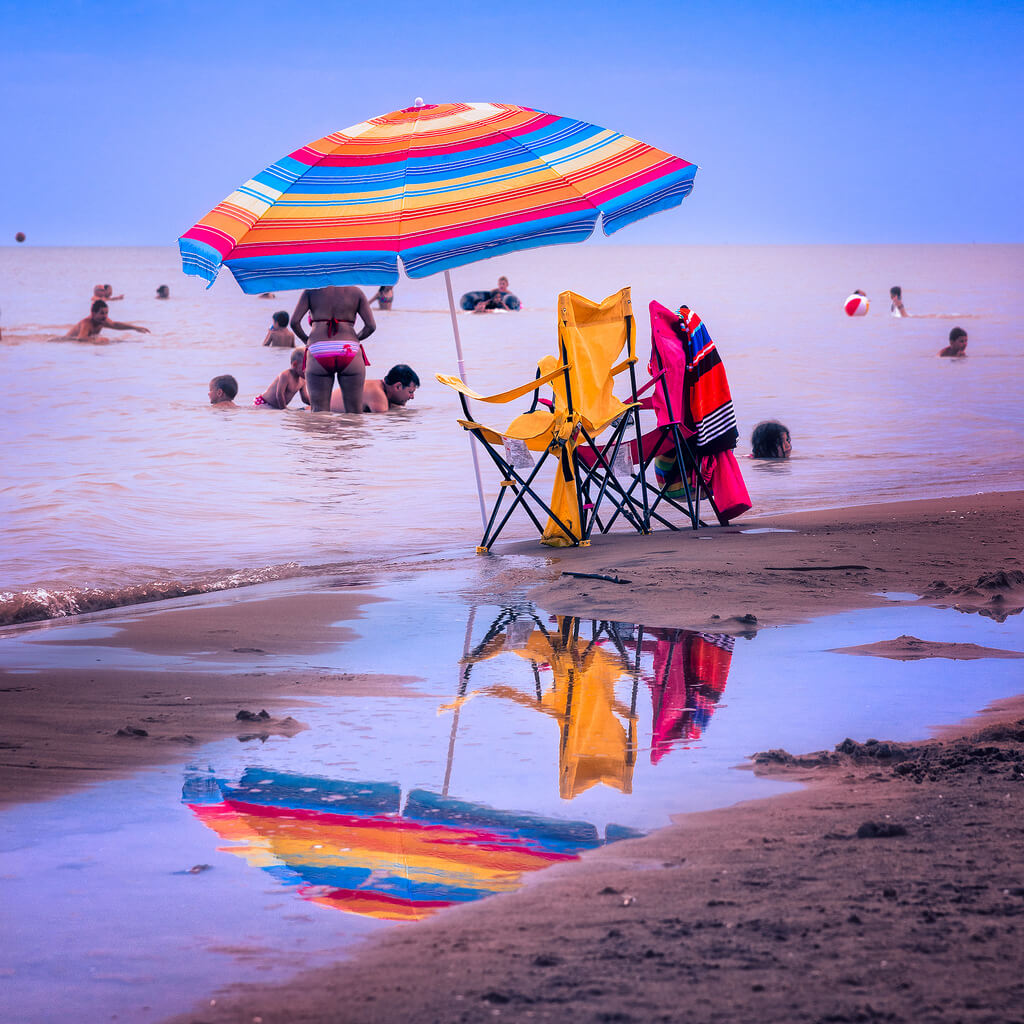
Nowadays, many hobby photographers rely on Lightroom presets, Photoshop actions, or Instagram filters to boost the colors in their photography. Even professional photographers may use these quick fixes to adjust colors during post-processing.
Ideally, though, it’s best to capture vibrant colors right from the start, so photo editing won’t be necessary. Besides saving time, getting vibrant colors “naturally” (without post-processing) will make you a better photographer and improve the quality of your images in the long-term.
It’s also fairly easy to do. You don’t need to buy any expensive equipment or learn any complicated techniques. Below are a few simple ways to boost the color in your photography without photo editing.
How to Capture Vibrant Colors in Your Photography
Many of the following strategies revolve around how you choose your subject and compose your photos. Composition can dramatically affect the vibrancy of your colors. A good composition will enhance colors; a poor composition will detract from their power.
Experiment with contrasting colors.
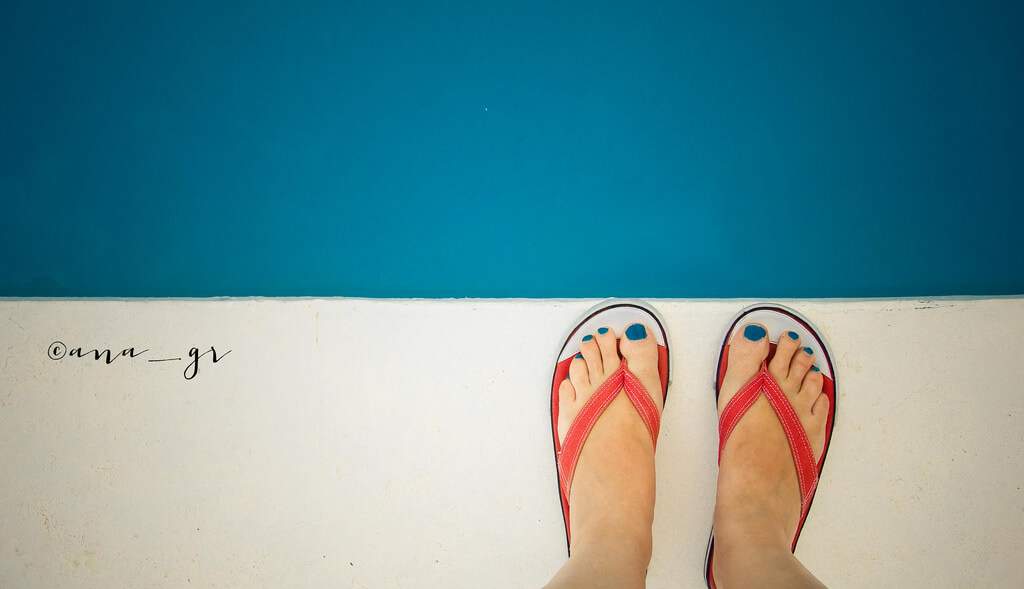
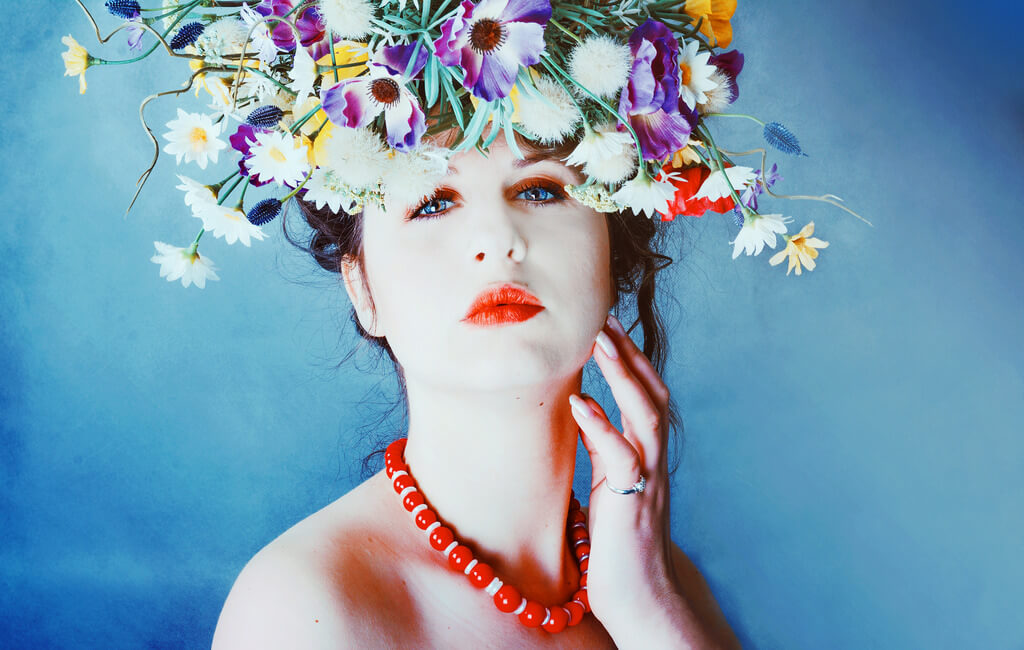
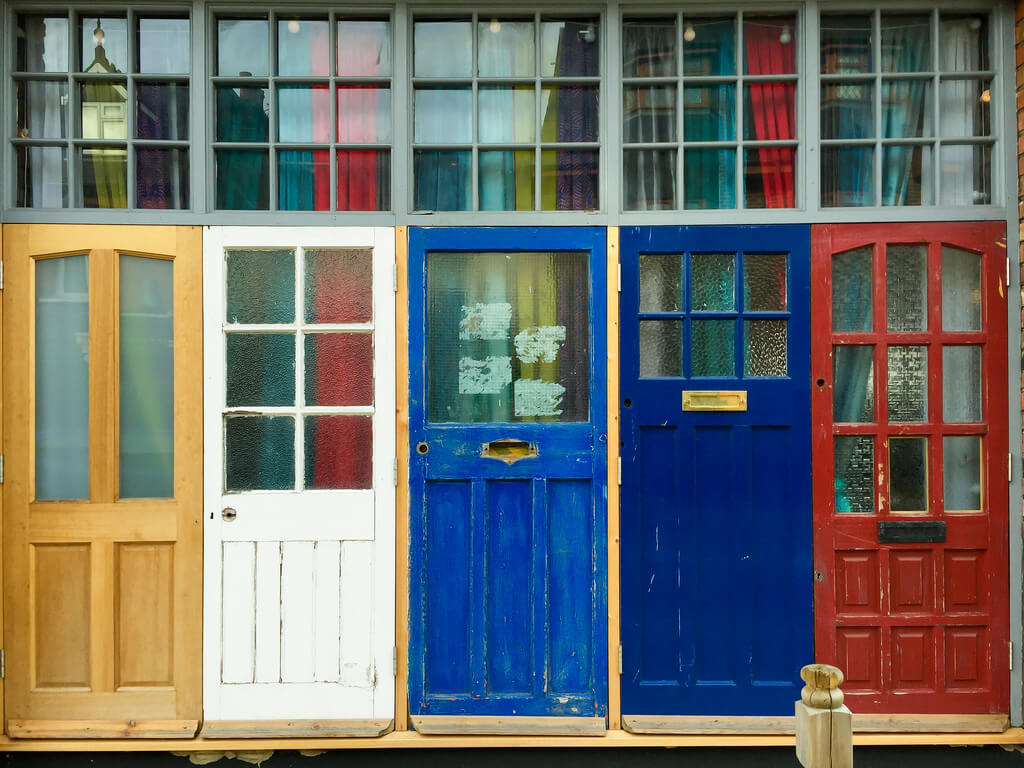
Vibrant colors often work well in pairs, each enhancing the other. The most effective pairs are called “contrasting colors” (or complementary colors) and are opposite to each other on the color wheel. Examples of contrasting colors include red/green, yellow/purple, and blue/orange.
This idea of contrasting colors can be helpful when you’re planning a shoot, particularly in a studio setting where you have control over everything. In this situation, you can easily choose a color palette for the background and subject. By choosing contrasting colors, you’ll have a higher chance of getting striking colors. Check out these additional tips for using complementary colors in photography from our friends at Adorama.
Include more white, black, or gray in your image.
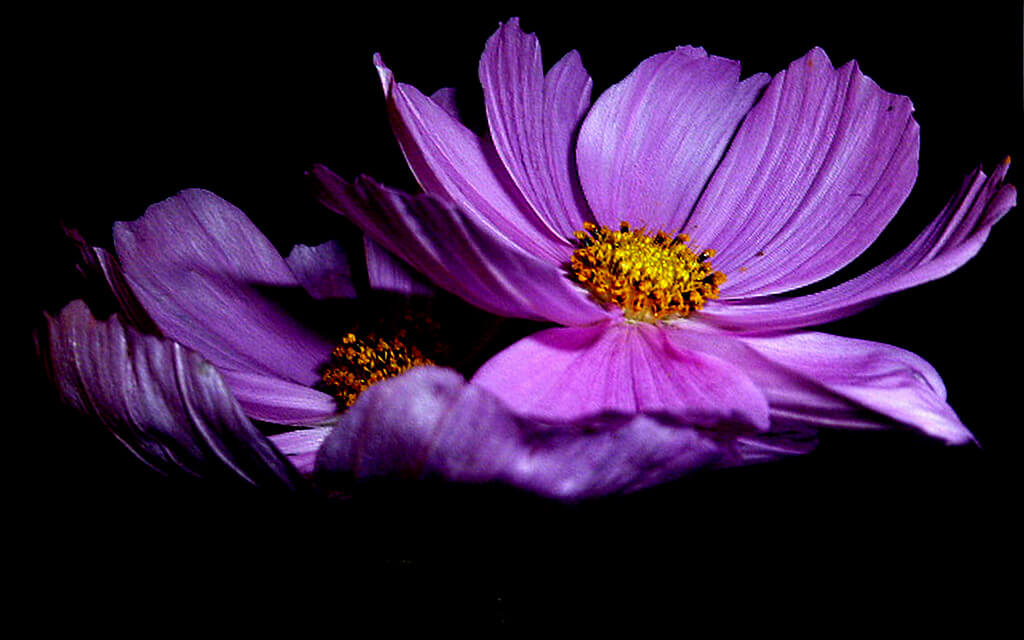
Another way to accentuate color is to use a plain white, black, or gray background. This way, you won’t have to think about whether the background complements the colors of the main subject. The colorful parts will stand out naturally.
Similarly, you can shoot in black and white with color accents. Since you can shoot in black and white anywhere, this strategy is more flexible than using a neutral-colored background, and it can be just as effective.
Michael Bourgeois – Touquet’s Colors
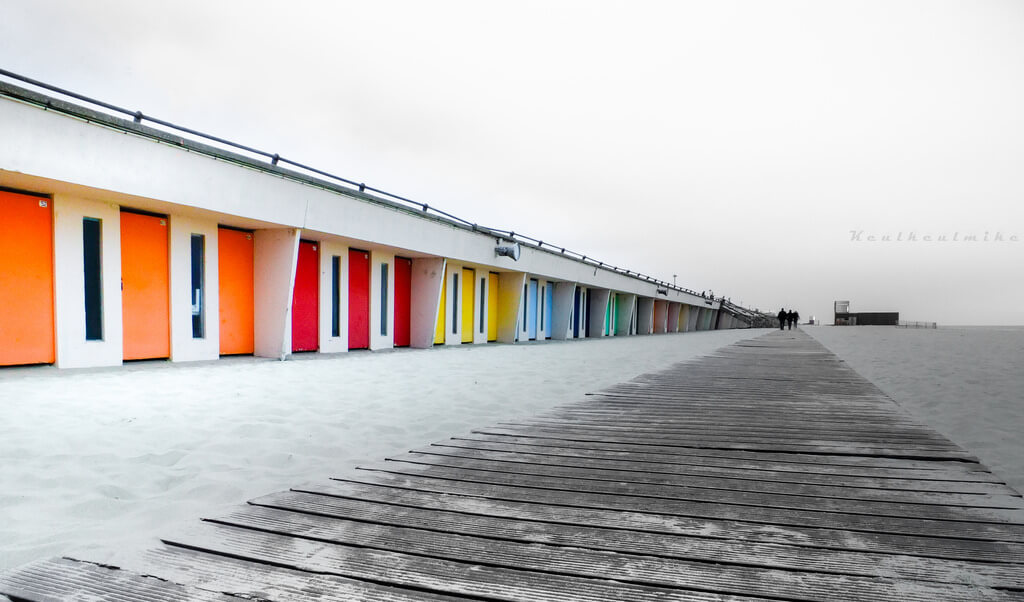
nicolas bello – Knokke -Belgique
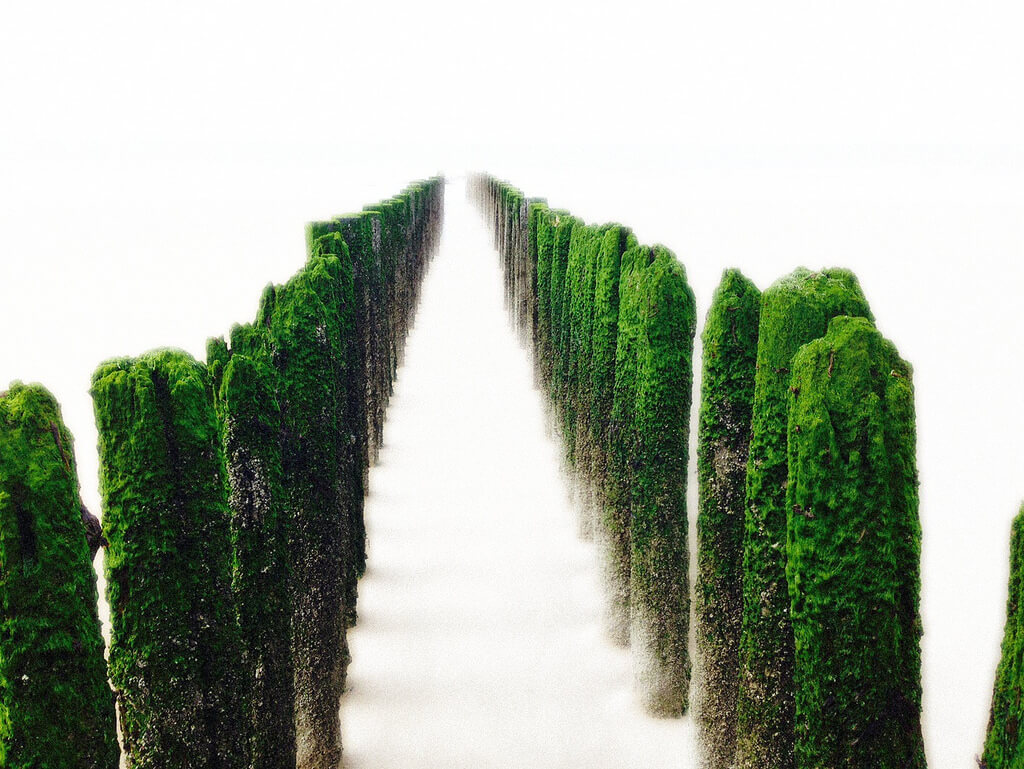
Keep the composition simple.
A crowded composition with vibrant colors can overwhelm viewers. That’s because bright colors grab the viewers’ attention. If your photo has a lot of different colors and elements, viewers won’t know where to look first. Too much will be competing for their attention.
By keeping your composition simple, you’ll give viewers a clear subject to focus on. They’ll know exactly where to look and won’t get lost in a dozen colorful details.
Typically, you’ll get the best results if you also limit the number of bold colors in your composition, aiming for two or three bright colors. However, if your composition is simple enough, you can get away with including more colors in one picture.
For example, the following photo of colored pencils is striking because of its simplicity. Despite having a handful of different colors, the image is clear and powerful because of its simple composition. Viewers know exactly where to look; there are no unnecessary elements distracting them from main subject.
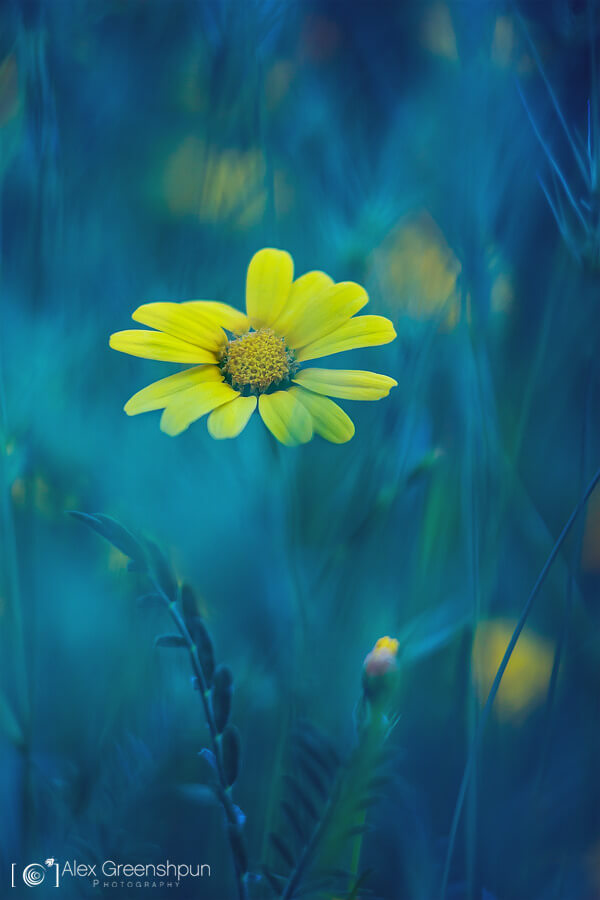
Alex Greenshpun – Overture to Summer
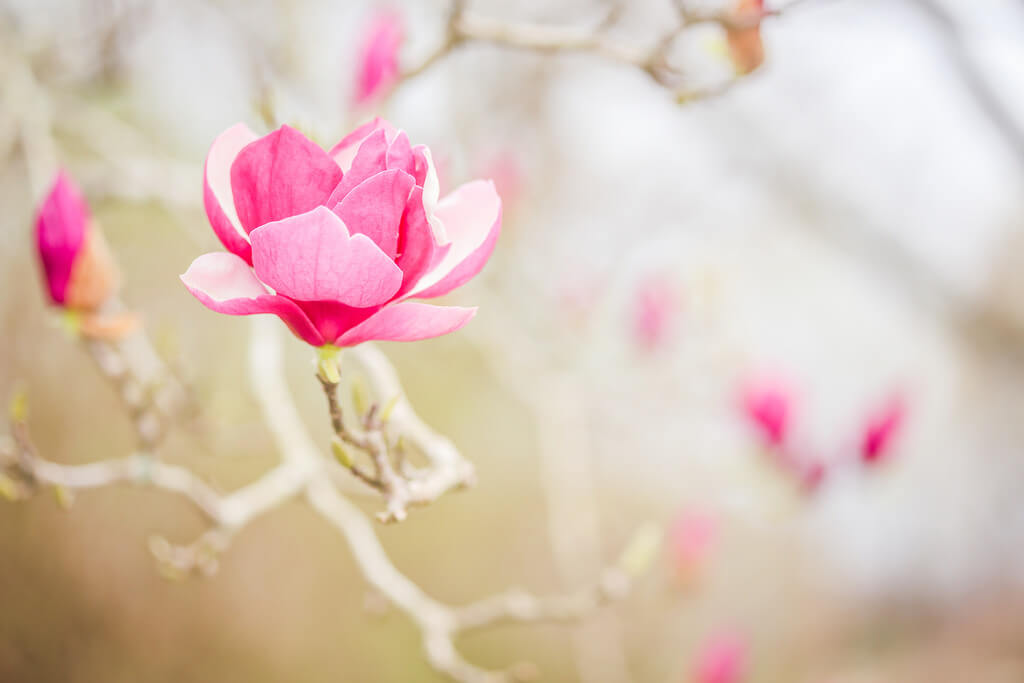
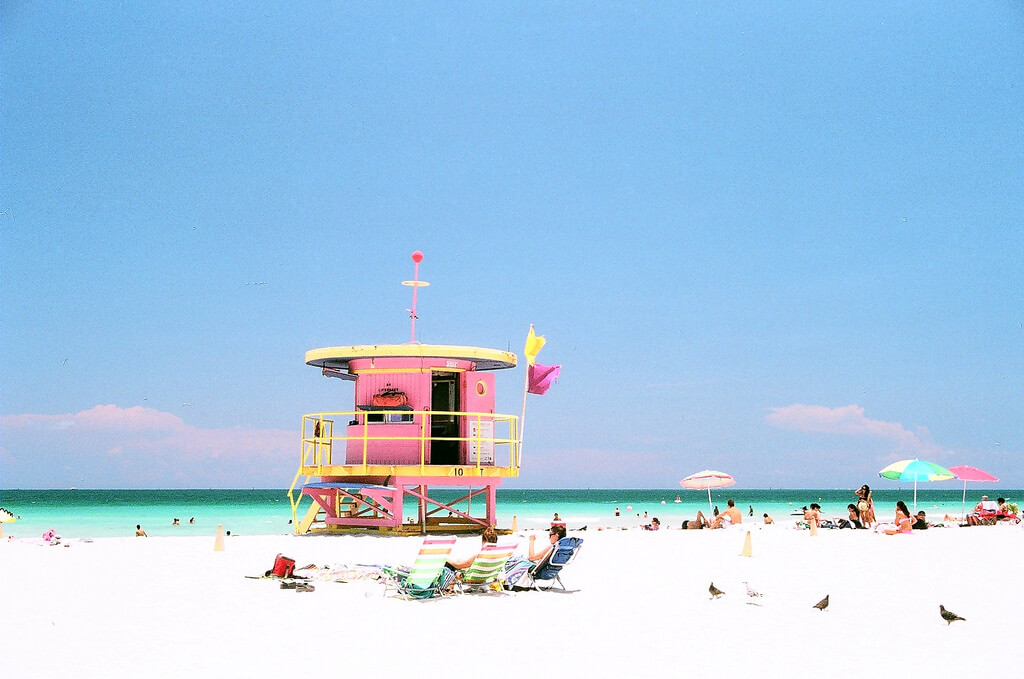
Sheri Elizabeth (Sheri Baker) – Think Pink
Work with patterns or symmetry.
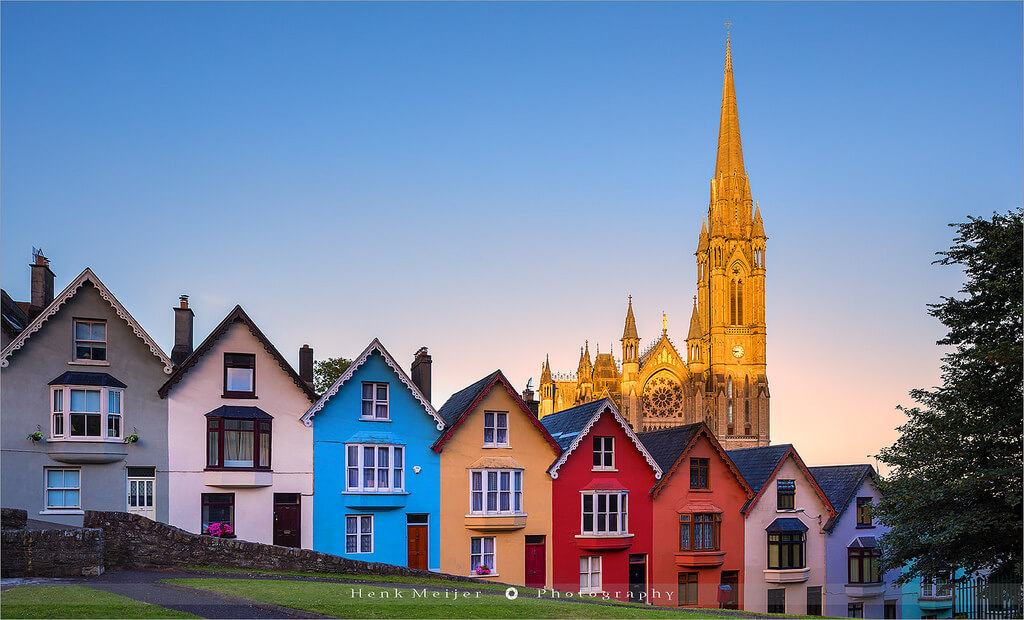
Besides simplicity, you can use patterns or symmetry to help guide viewers through a photo with a lot of bold colors or elements. Patterns and symmetry provide structure, which can make a crowded, color-packed photo easier to understand. They organize the colors and elements, giving viewers a visual path into the photo.
Henk Meijer Photography – Deck of Cards and St Colman’s Cathedral – Cobh – Ireland
Use bokeh to limit distractions.
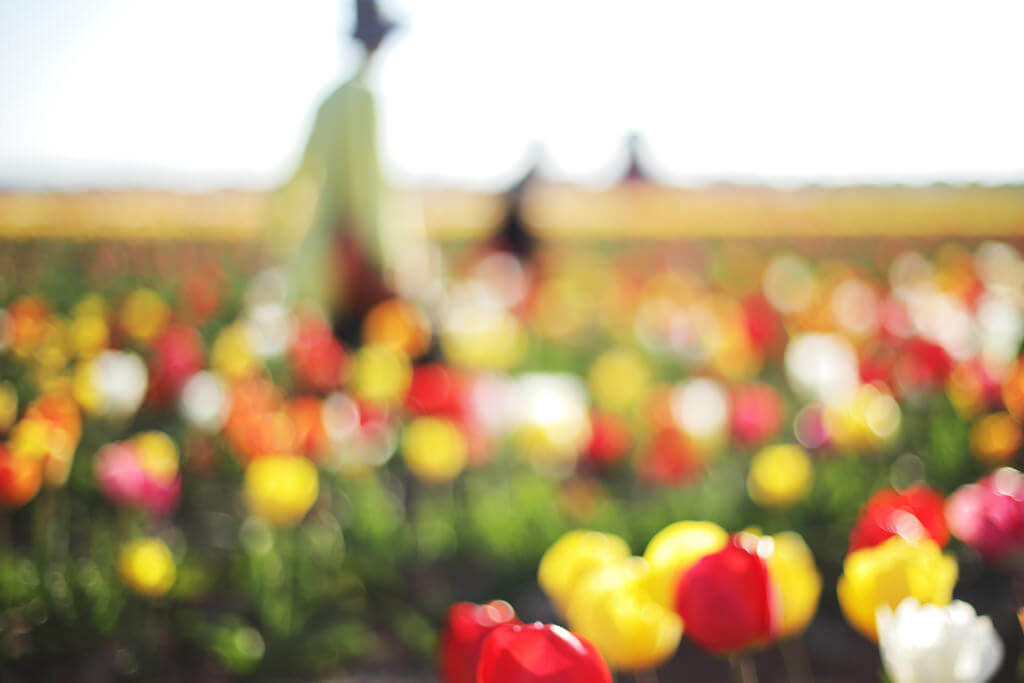
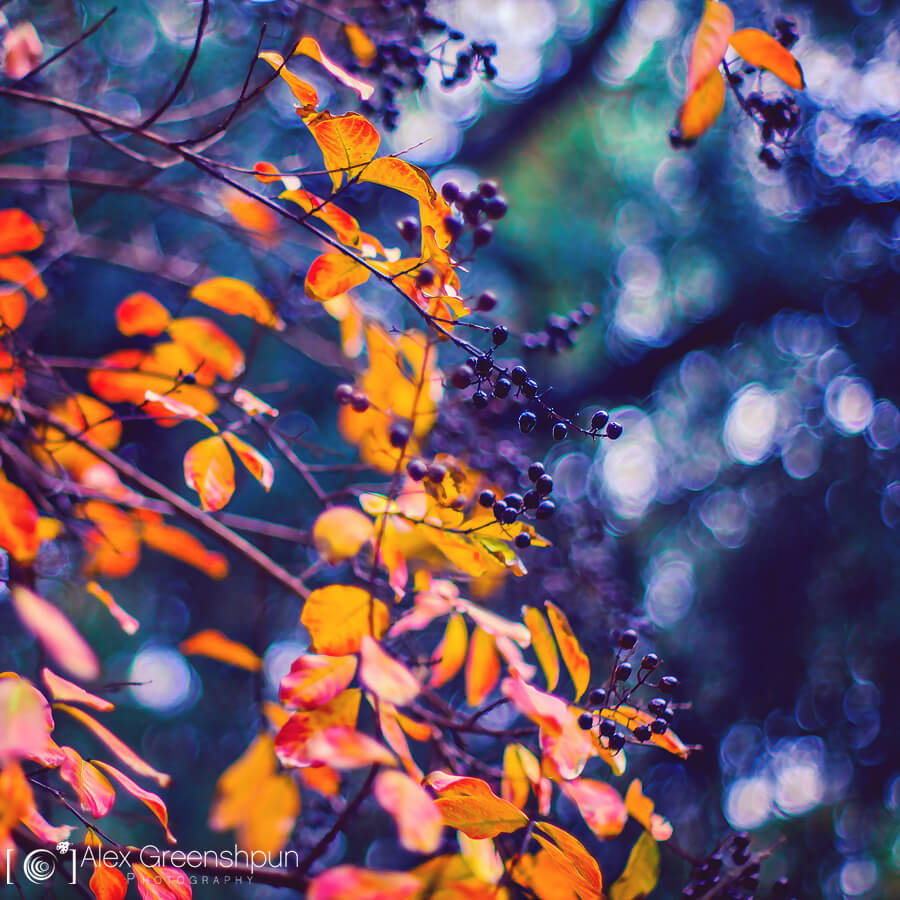
Bokeh is another effective way to deal with too many colors in one image. By blurring and blending the colors, bokeh removes the competition. It turns the different colors and subjects into a single background, unified instead of competing.
Bokeh can also help create a simple composition when your frame is crowded. For instance, if you’re photographing colorful autumn leaves in a tree, you might have a lot of branches crowding up your shot. With bokeh, these unnecessary elements can become a beautiful background for the leaves you’re shooting.
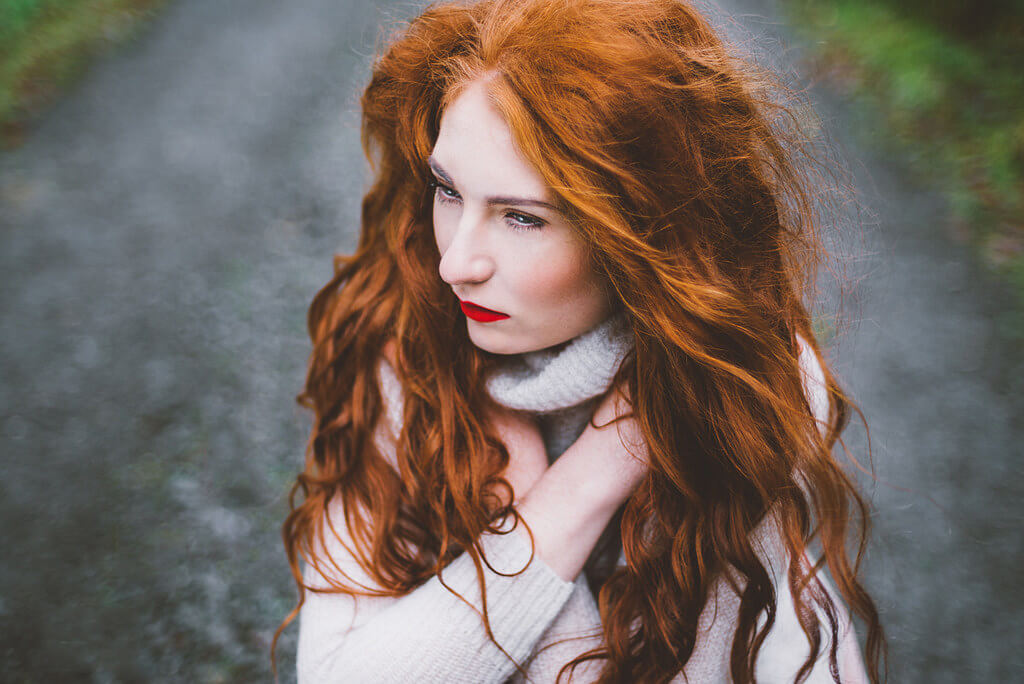
This technique can be especially effective when the color you’re shooting is relatively subtle. For example, red hair can look striking or dull depending on the composition. If too many other bright colors are in the frame, red hair can be barely noticeable. But with a blurred, neutral-colored background, red hair can really stand out.
Alex Greenshpun – Autumn’s Last Breath
Tweak your camera settings.
Besides choosing a good subject and composition, you can make a few technical adjustments in-camera to brighten your colors. First off, you can manually change your camera’s settings to increase color saturation. This small change can instantly make your colors more vivid. Besides being quick and easy, this adjustment allows you to check the colors of your images while you’re on location, leading to more “authentic” colors.
To make this adjustment, find the setting called “Saturation” on your camera. Every DSLR should have it. If you can’t find it, look through your camera’s user manual or do an online search for the Saturation setting on your camera. Once you’ve found it, increase the saturation number, then check the results and tweak as necessary. That’s it!
Another way to increase the vibrancy of your colors is to adjust your exposure. If you’re relying on your camera’s built-in metering system, you may end up with faded colors because your camera is taking lighter exposures. Try underexposing your photos by 2/3s of a stop. This slight adjustment can make all the difference in the vividness of your colors.
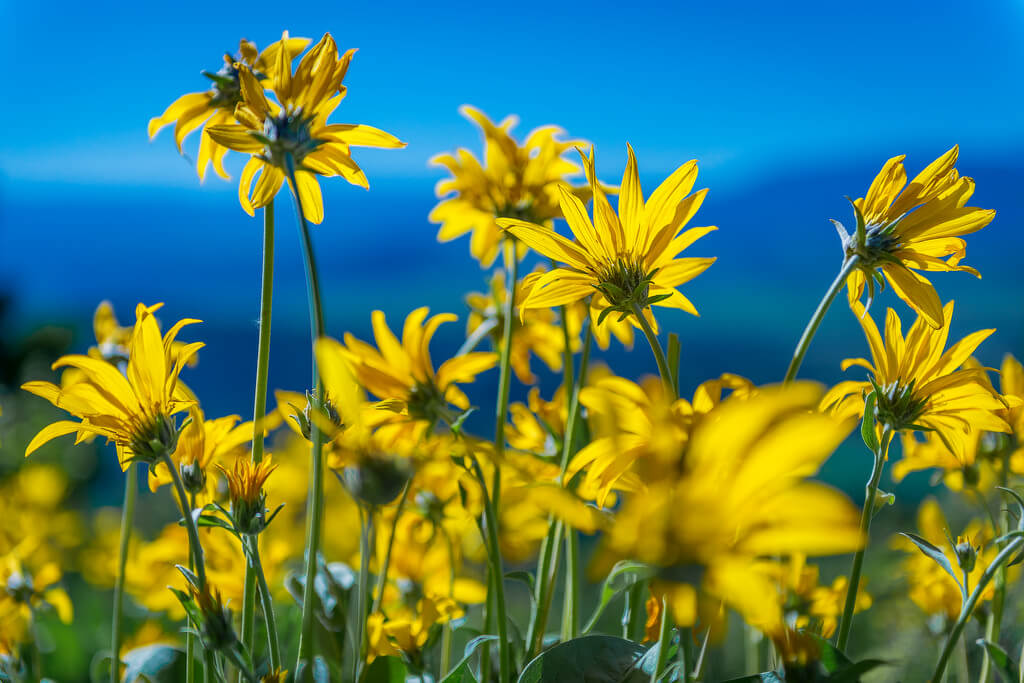
Ken Lane – Wildflowers at Signal Mountain
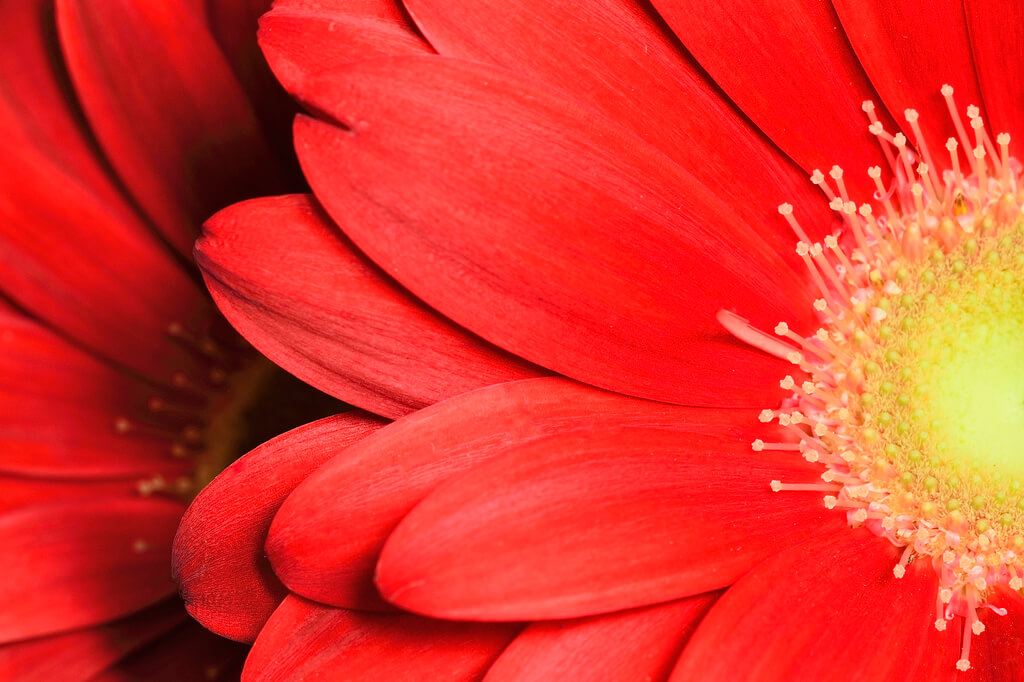
Steven Scott – Yellow center Red Petals
Get a polarizing filter.
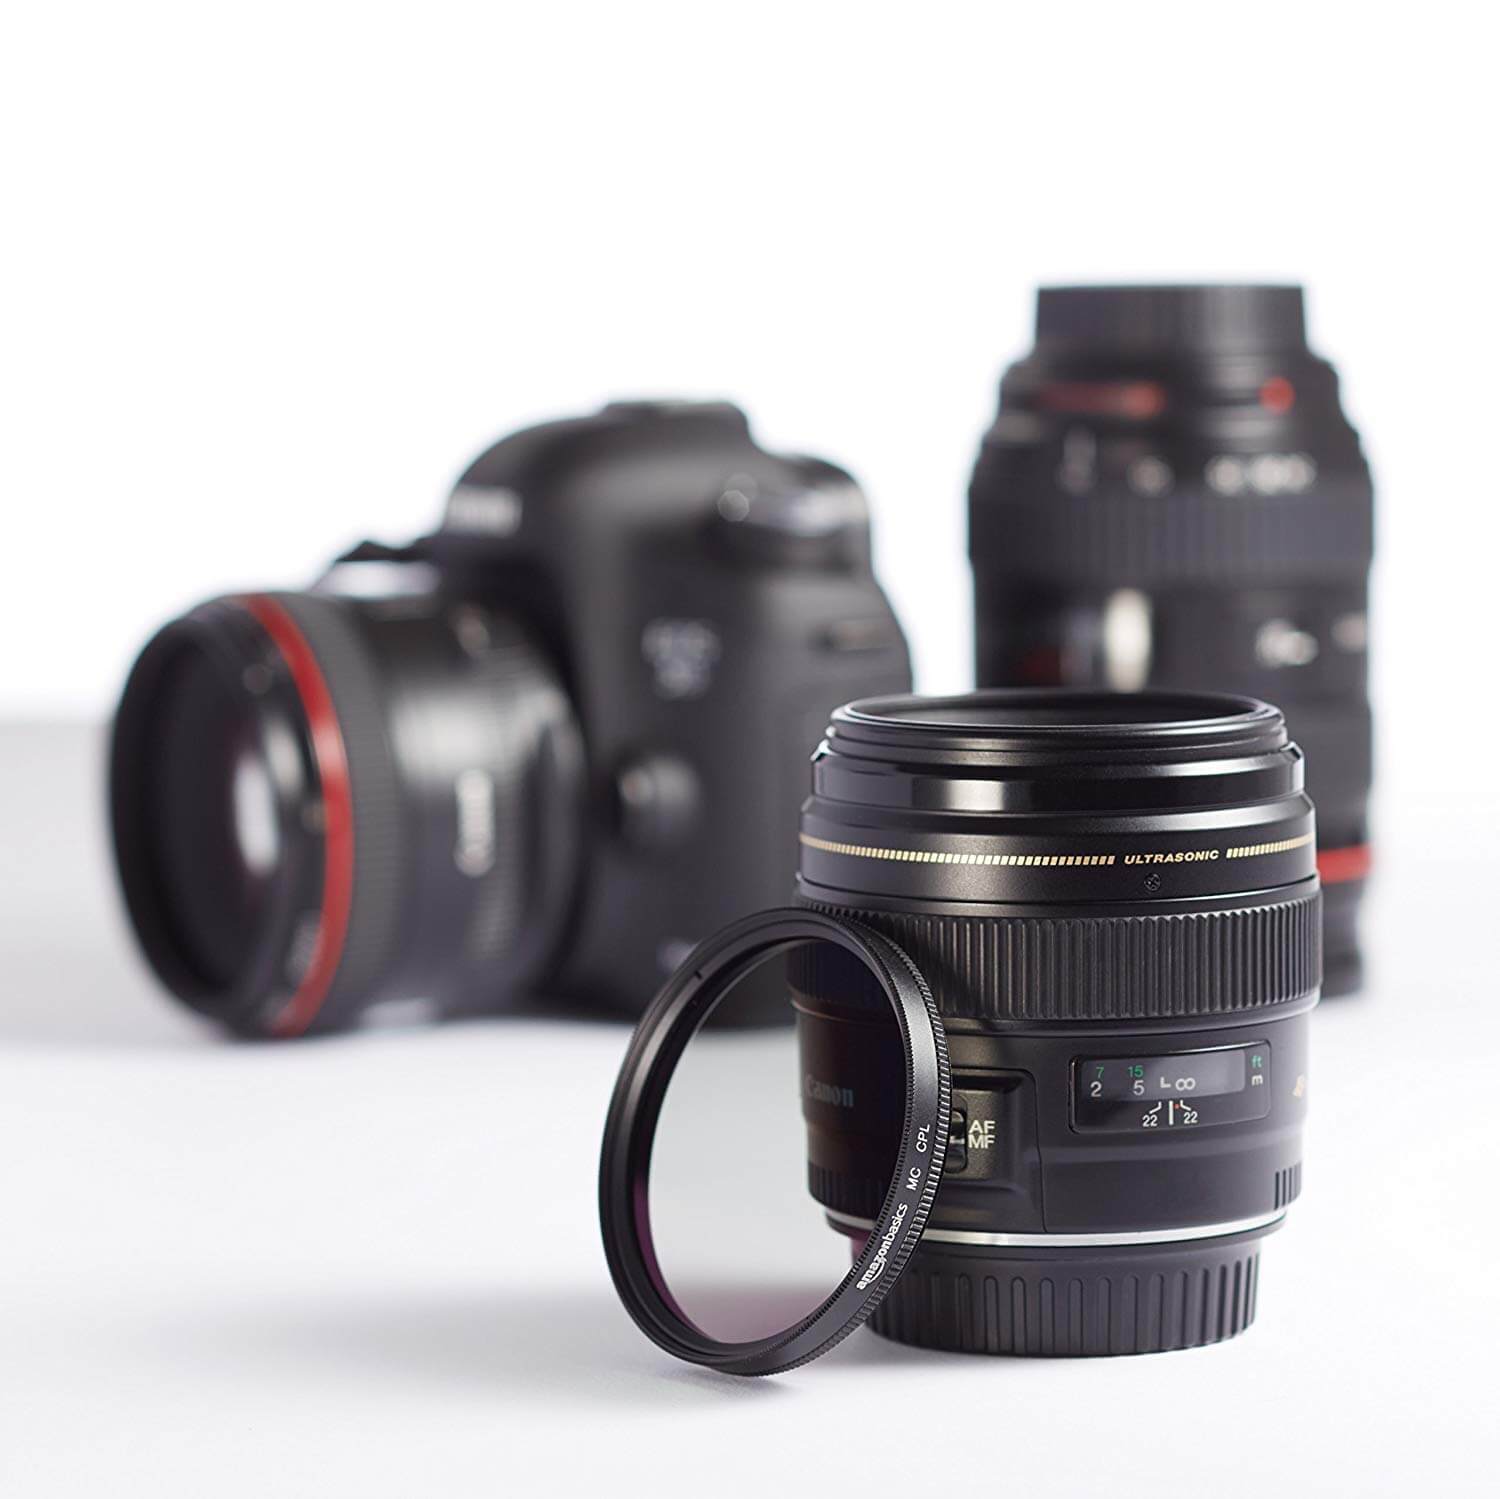
A polarizing filter can be handy for enhancing colors and reducing glare, especially in landscape photography. We won’t dig deep into the science of polarizing filters here, but essentially, they filter out reflected light, making the image darker yet more colorful. (For more details, check out this tutorial about polarizing filters from Cambridge in Color.)
Polarizing filters are particularly popular among landscape photographers because they make the sky look brilliantly blue. They can also bring out the vibrant colors of water and foliage.
Basic polarizing filters are pretty cheap, too. You can get one for under $20. Considering how big of a difference it can make in your photography, you might wonder why you didn’t get one earlier!
AmazonBasics Circular Polarizer Lens
Phillip Pessar – With A Polarizing Filter
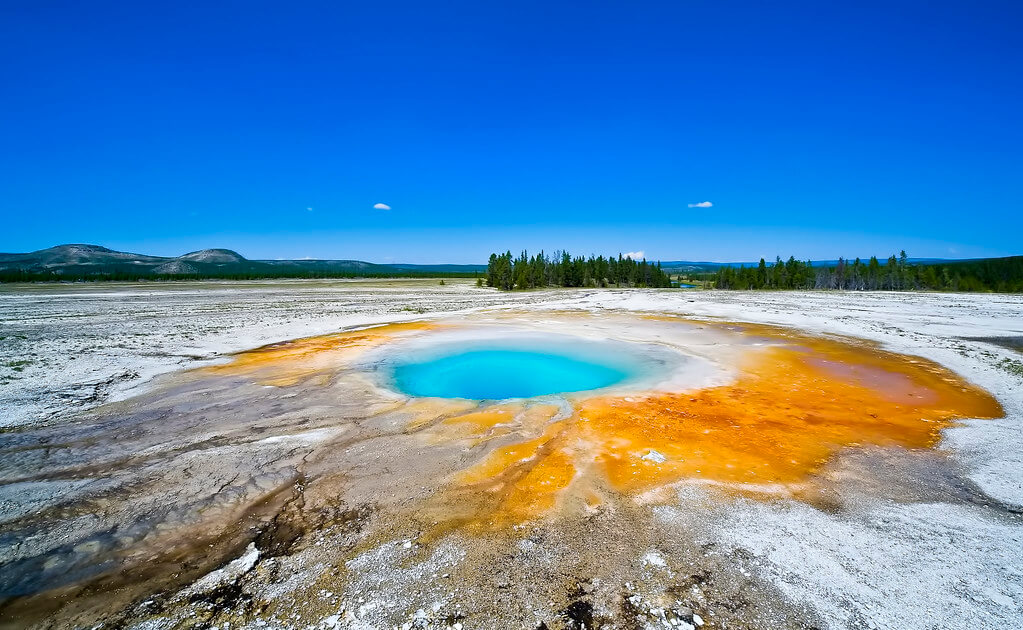
Luca Renoldi – Midway Geyser Basin at Yellowstone
Trying using a different type of film.
Finally, if you’re shooting with a film camera and are disappointed by the colors, your film might be the problem. Every film type has a different color quality. If you want bold colors, choose a film that’s known for its color saturation.
Fuji Velvia 50 is well-known for its beautiful, saturated colors, but it can be rather pricey. Kodak Ektar 100 and Gold 200 both produce excellent colors and are good, affordable alternatives.
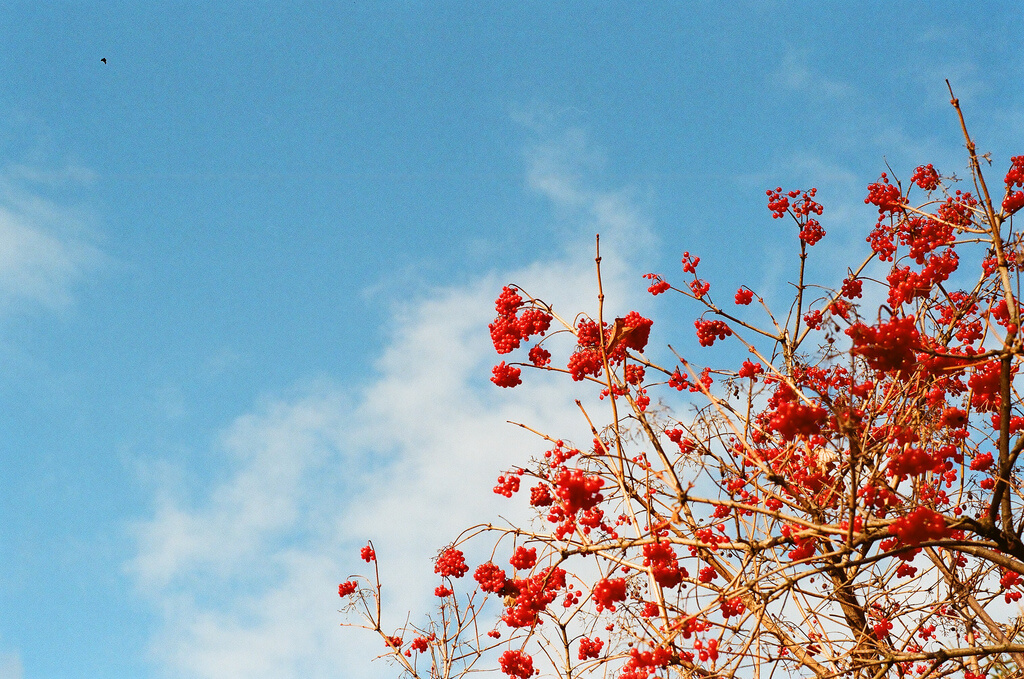
Oleksandr Samoylyk – Guelder Rose
Many of the above photos were selected from our talented Flickr community. Next time you get a fantastic shot of vibrant colors, share it with the group so we can appreciate your work!

