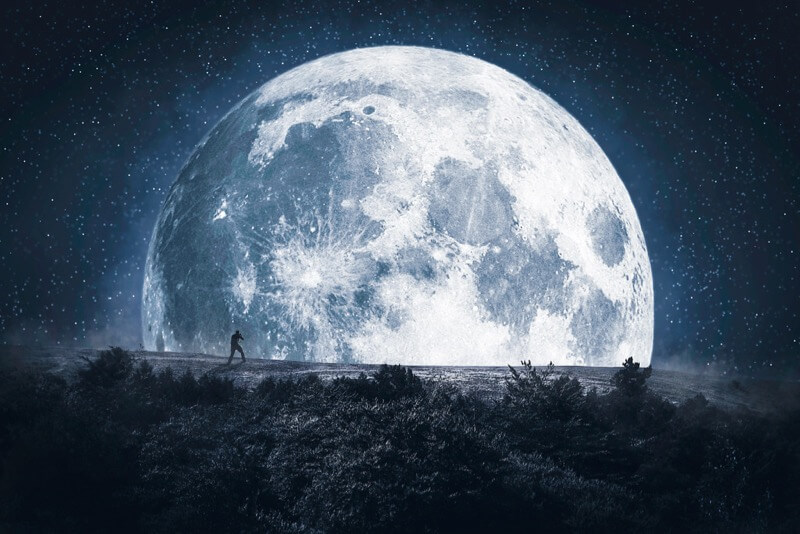
Like HDR, photo manipulation can provoke strong opinions among photographers. Some photographers avoid it and stick to the basics of editing. Others love pushing the limits of Photoshop. In our opinion, neither side is wrong or right. They’re simply two different approaches to art.
That being said, photo manipulation is definitely more controversial than unedited photography. Photojournalists, in particular, are warned against manipulating images. As the NPPA’s code of ethics says, photographers should “not manipulate images or add or alter sound in any way that can mislead viewers or misrepresent subjects.” Though, of course, photojournalists still do.
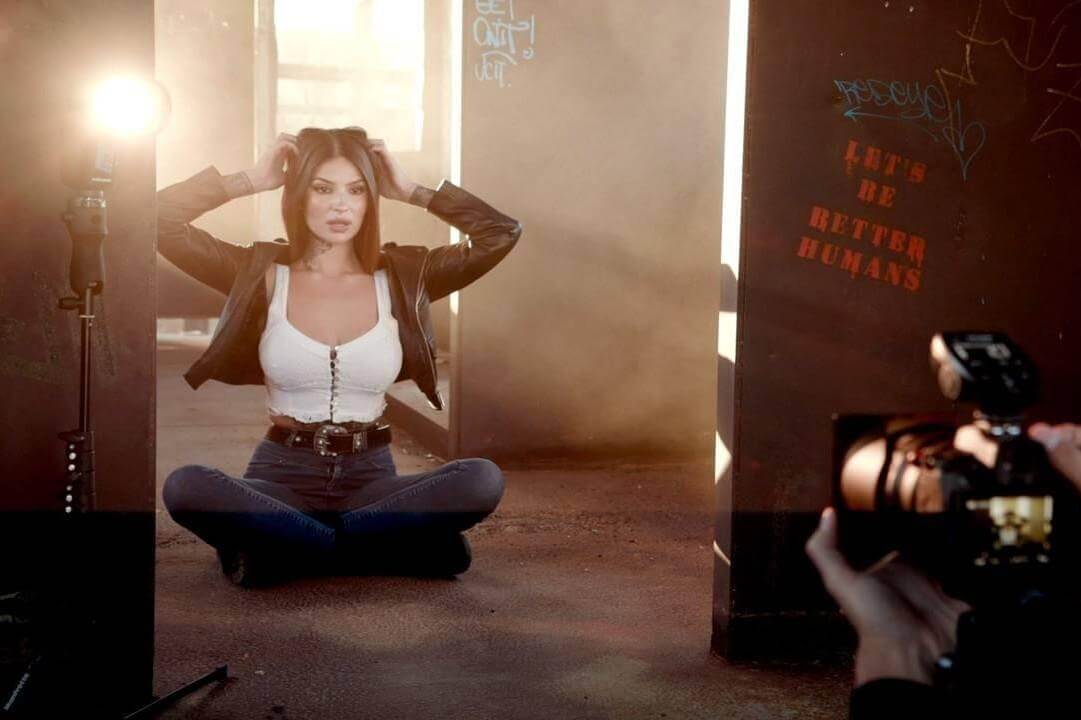
Advertising and editorial photographers also get called out for their photo manipulation, and not just when it’s bad. Sometimes, the main problem is how perfect the photos look. This perfection can give an unrealistic picture of how people should look, leading to depression and insecurity.
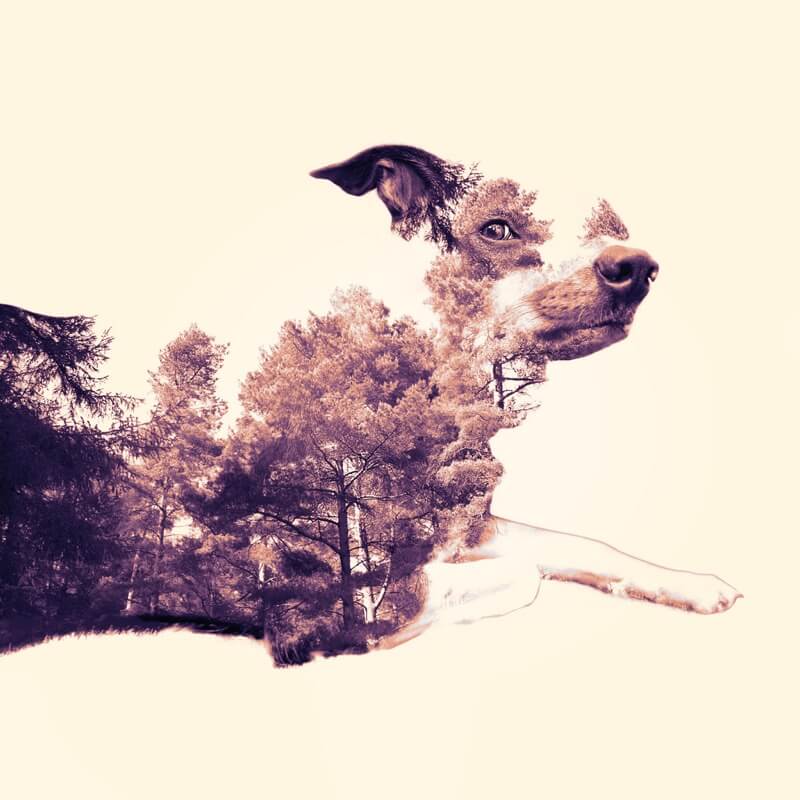
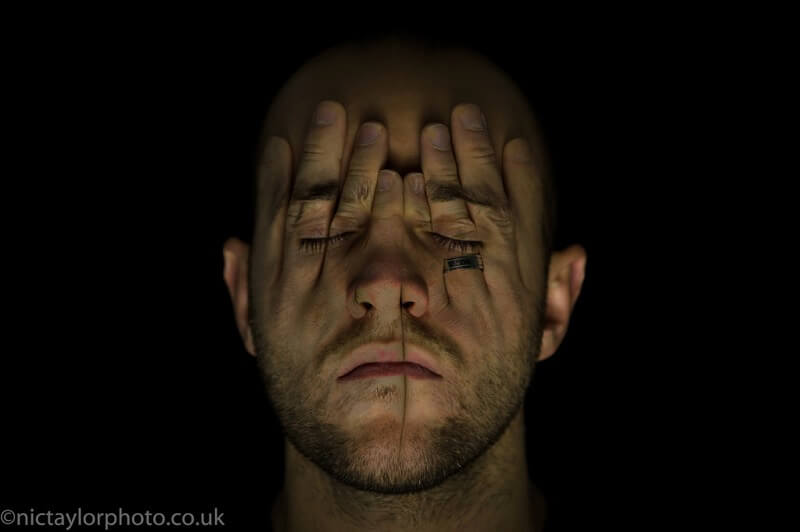
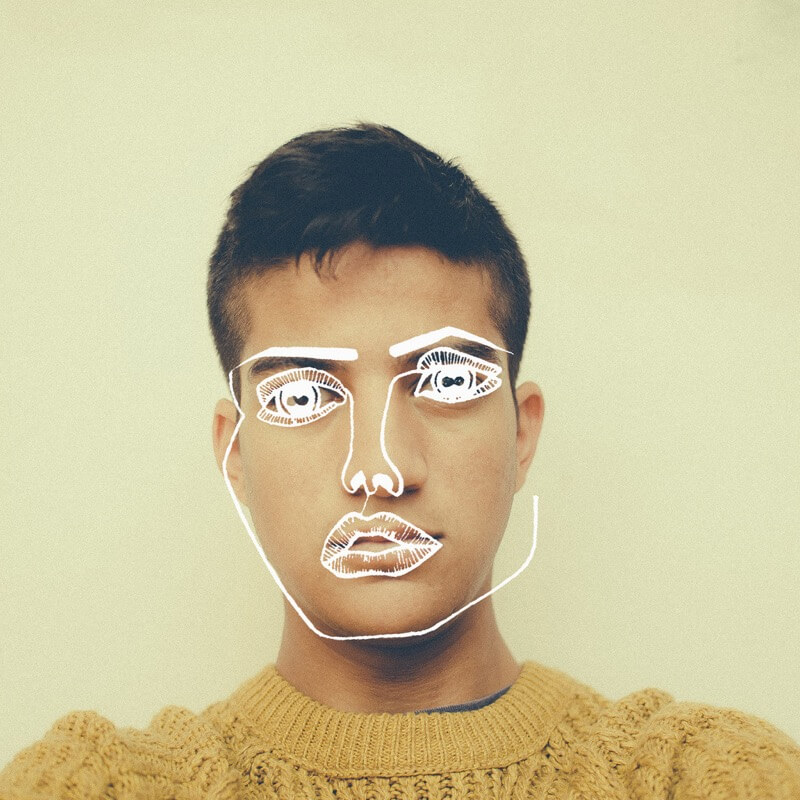
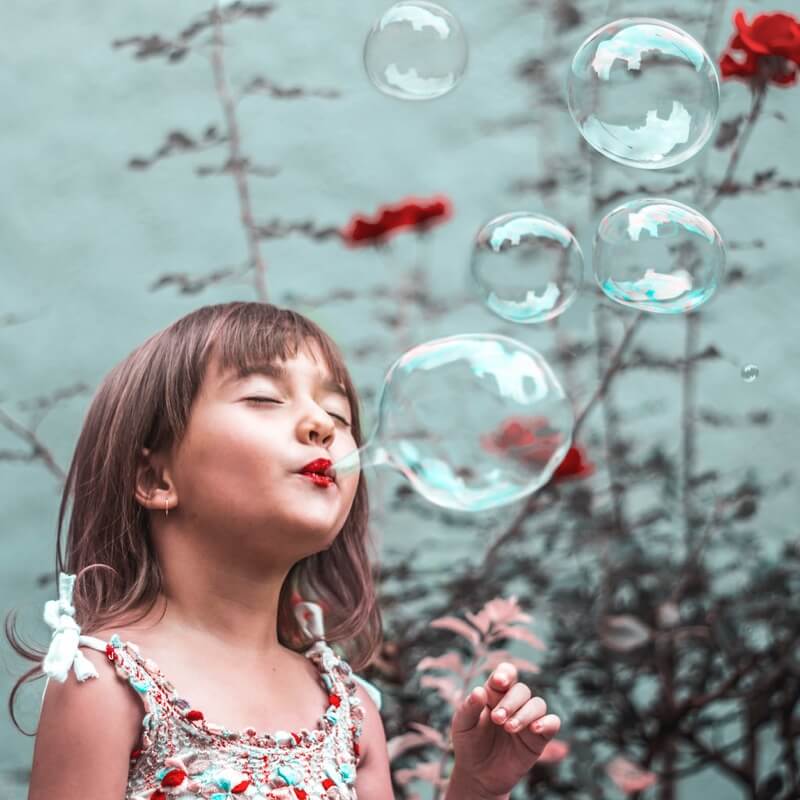
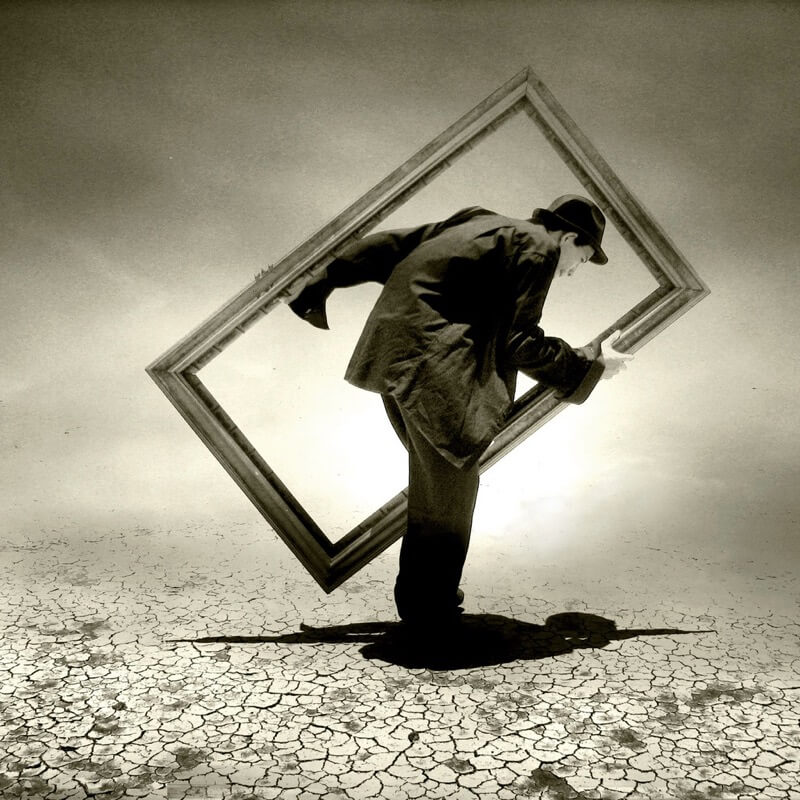
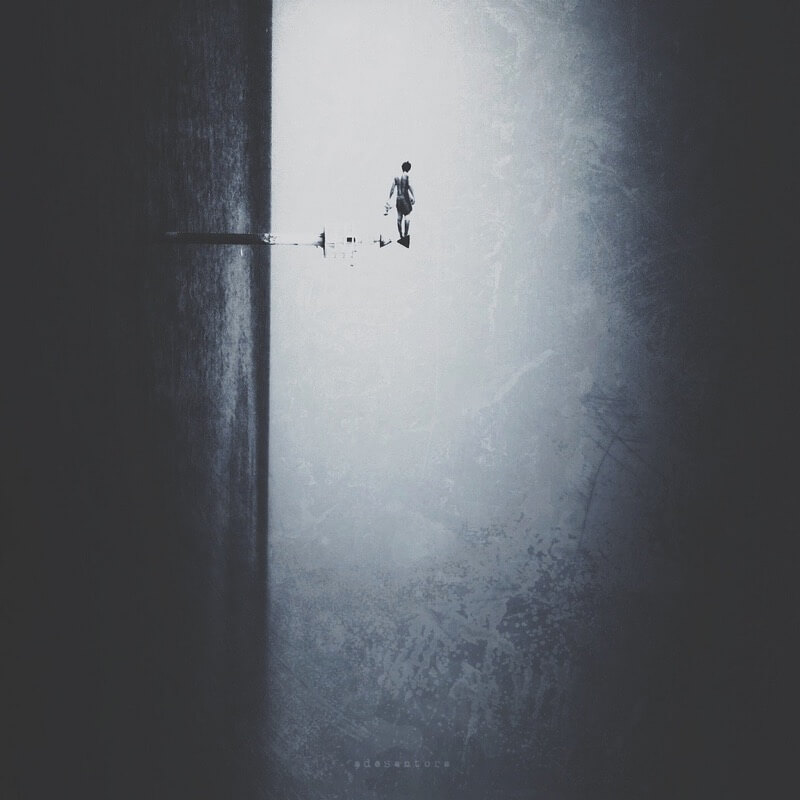
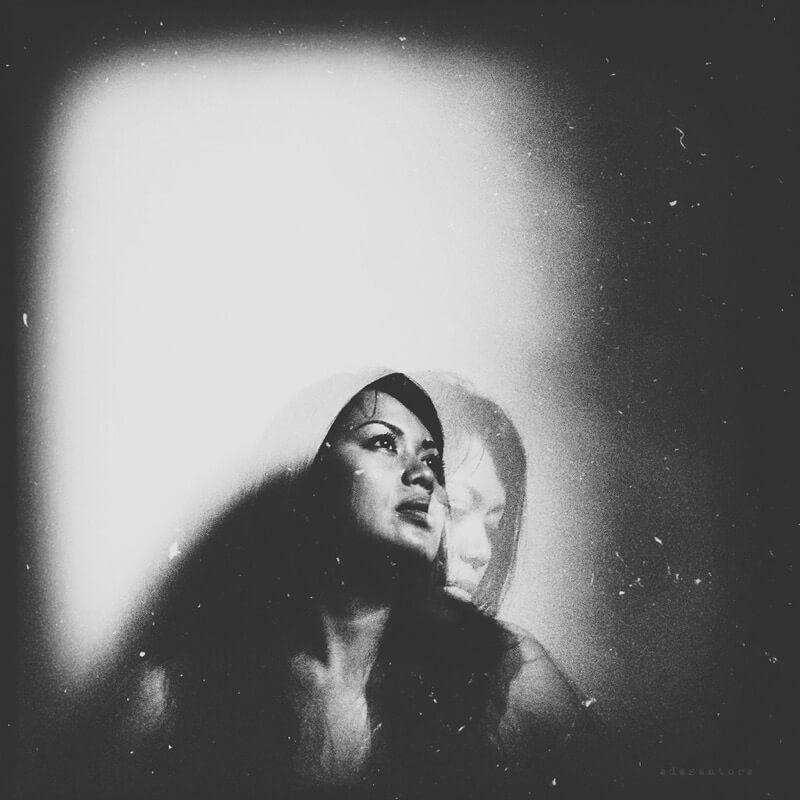
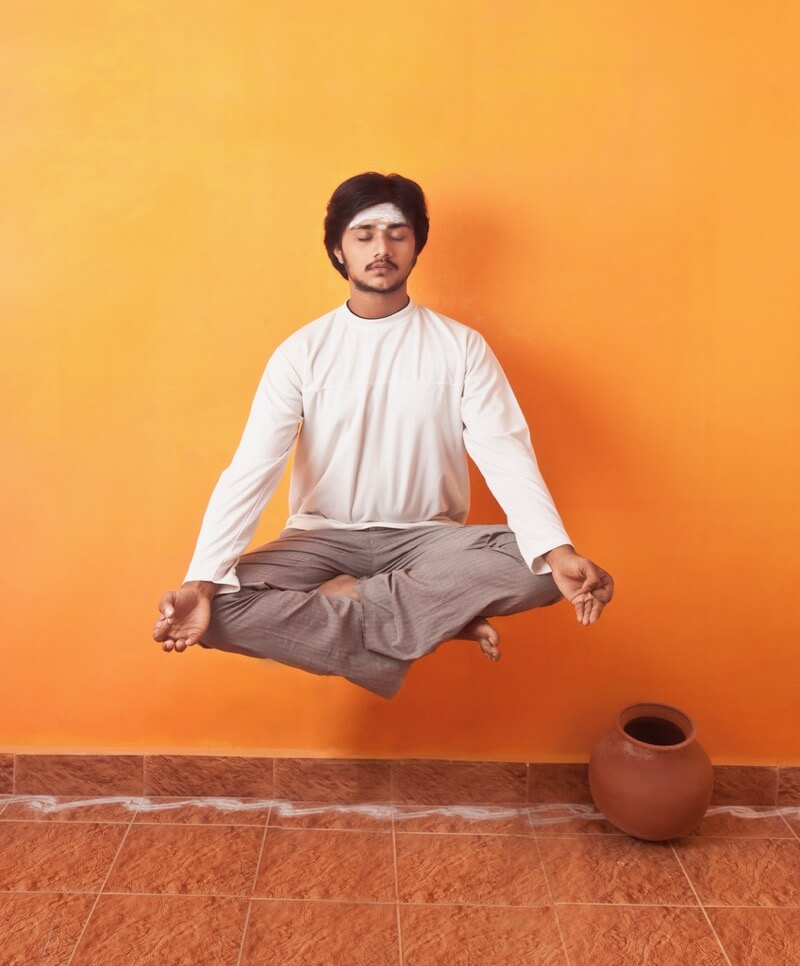
Despite these criticisms, photo manipulation is still a popular art form. It allows photographers to express ideas and emotions that are otherwise difficult to capture with realistic photography. From dreamlike scenes to quirky portraits, photo manipulation opens up a world of creative possibility.
If you’re new to photo manipulation, your first question might be, “How did photographers create that?” Often, the answer is: an excellent photo editing program like Photoshop or GIMP, countless tutorials and actions/presets, and a lot of patience.
Like anything in photography, mastering photo manipulation takes time. The more you learn and practice, the better you’ll get at it.
If you’re just getting started, here are a few useful tips to keep in mind.
Find a comfortable, efficient workflow.
In-depth photo manipulation takes an insane amount of time and effort. Depending on the complexity of the image, you might spend days or weeks working on the same image.
You can speed up this process by fine-tuning your workflow, finding the fastest and most comfortable way to edit your images. For example, you might consider using a tablet and stylus rather than a mouse or trackpad.
Switching from one to the other doesn’t have to be a big investment. While you could get something fancy like the iPad Pro, you could also start off with something cheaper like the Huion H420. It’s only $30 and still gets the job done.
With a stylus and tablet, you’ll be able to use brushes more effectively. Unlike a mouse, which has only two levels of pressure (on and off), a stylus gives you a wide range of pressure sensitivity, like drawing with a pen. Getting used to a stylus can take time, but ultimately, it can make your edits faster and easier.
Work with high-resolution images.
High-resolution images give you more pixels to work with. Since pixels get stretched and distorted during photo manipulation, you want as many as possible. Otherwise, with fewer pixels, your changes will be obvious. Your final image will look distorted or blurry.
Ideally, you want to work with an image that’s at least 150% larger than your final image will be. For instance, if you want a final image that’s 800 pixels wide, you’ll need to work with an image that’s at least 1200 pixels wide. Double the size (1600 pixels) would be even better.
If you’re creating a composite image, make sure all your source images have the same resolution before combining them. If one image has a lower resolution than the others, bring all of them down to that resolution. This way, your composite image won’t look like a weird mix of different resolutions.
Pay attention to the lighting and shadows.
Although photographers spend a lot of time thinking about light and shadows during a shoot, they sometimes forget about them when manipulating photos. For instance, they might create a composite image with different light sources and mix-matched shadows. Or they might add a person to a photo but forget to add that person’s shadow.
Beautiful manipulated photos have clear light sources and consistent shadows. Even if the image is odd, it will look believable if the lighting and shadows seem real. For this reason, pay special attention to how your image is lit and how that lighting affects every surface and object.
Get creative!
Sometimes, it’s hard to think of crazy, creative ideas. This creative block might be partly caused by your limited experience. You’re not sure what’s possible or what you can realistically achieve.
You might also struggle with thinking outside the “box” of photography. If you’ve spent years taking photos with minimal editing, you’ll need time to adjust your creative process. After all, you’re not just snapping a picture; you’re creating something from your imagination.
If you can’t think of any good ideas, start with something simple and move from there. And if you’re discouraged by your first try, remember that failure is the foundation of creativity.
For inspiration, here are some great examples of photo manipulation from our Flickr community.
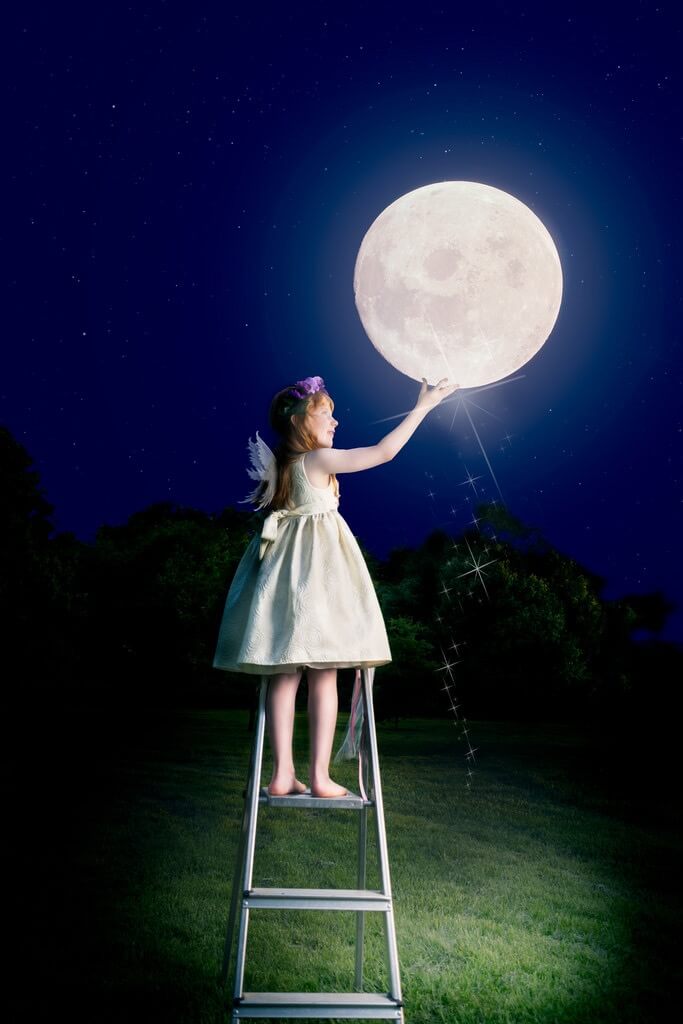
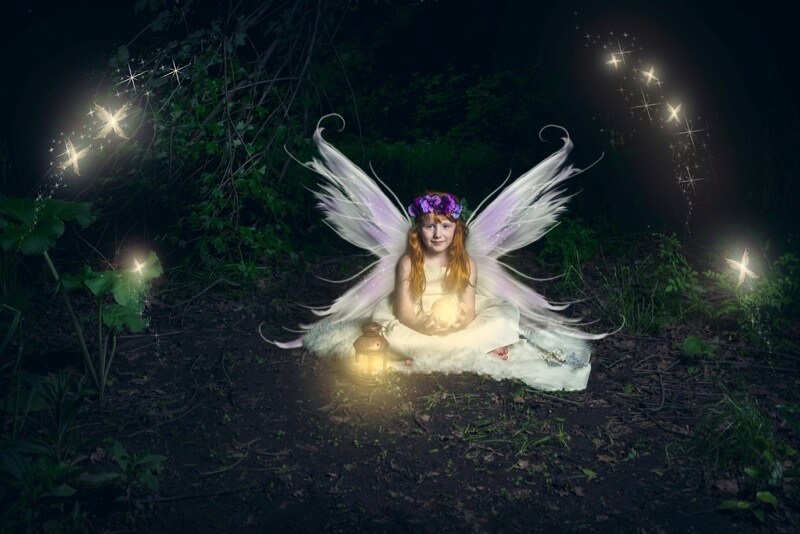
Carina – Fantasy Fairy mini session in Philadelphia
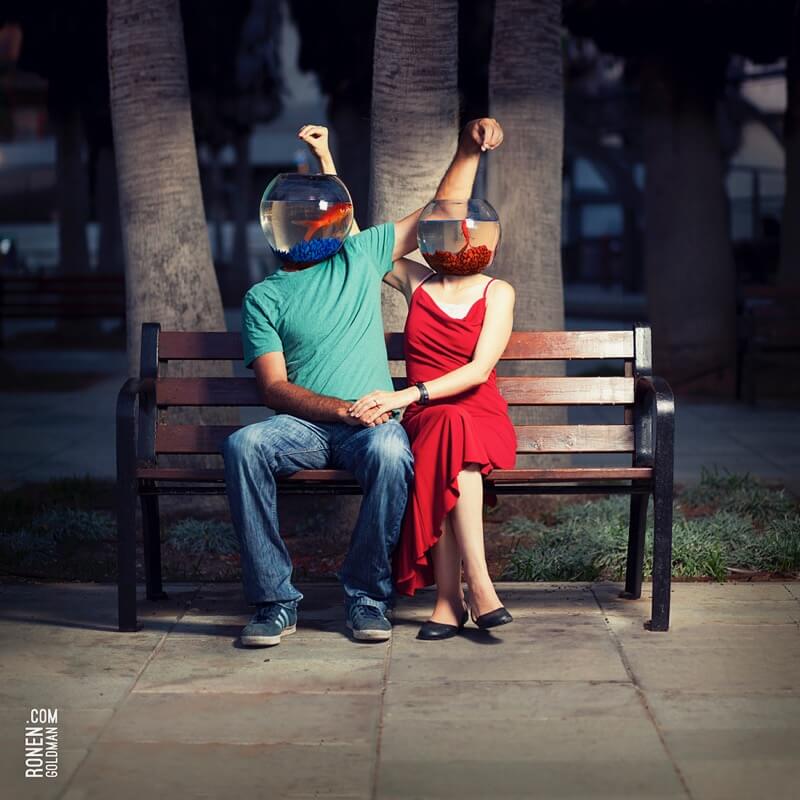
Ronen Goldman – We are meant for each other
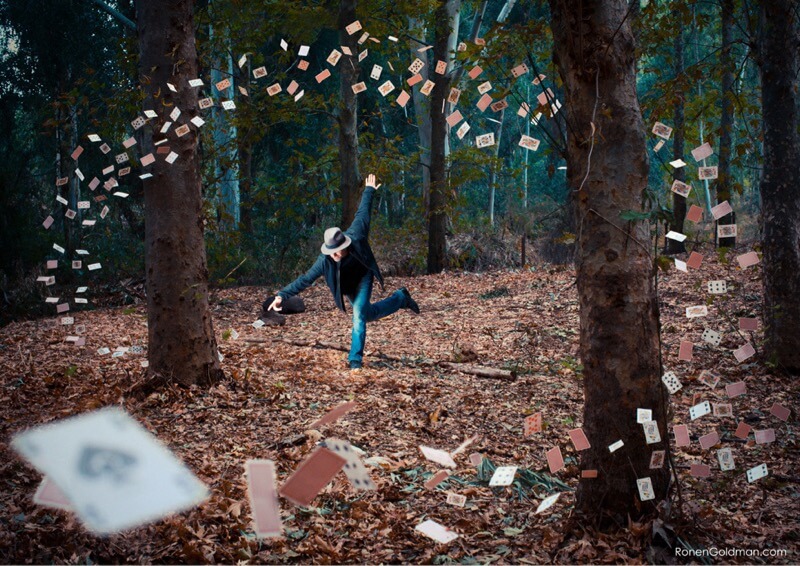
Ronen Goldman – MASTER MAGICIAN
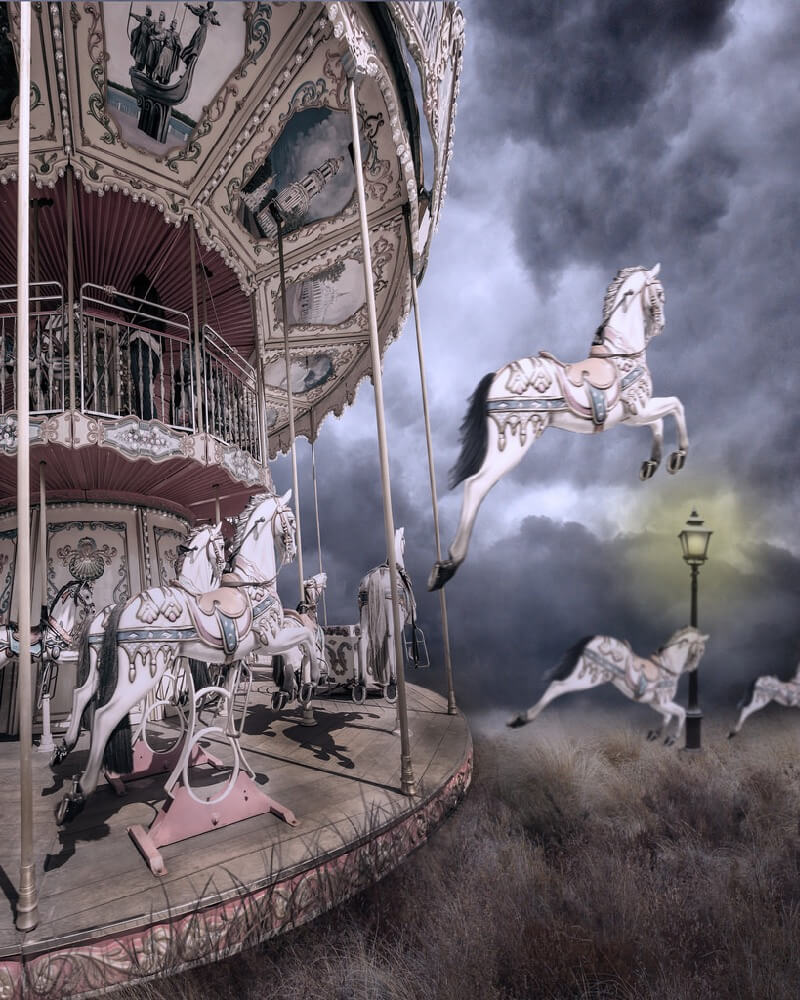
Cat Girl 007 – Carousel Horses
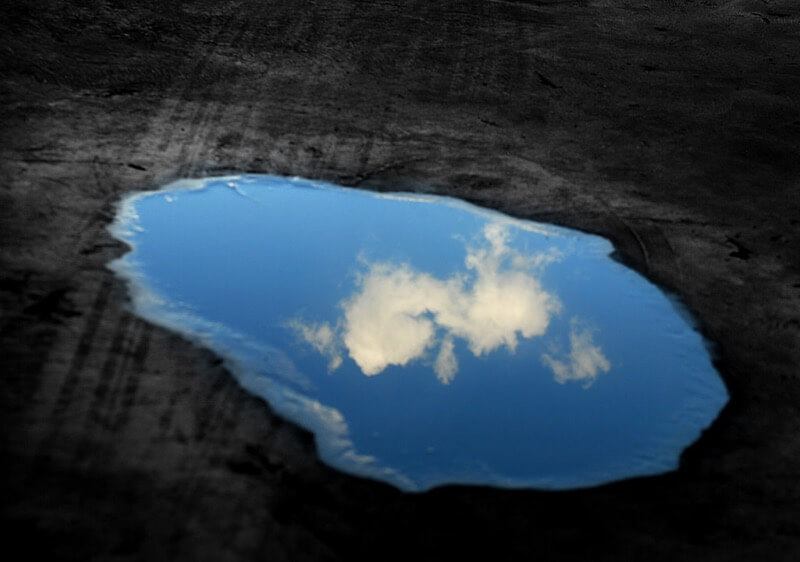
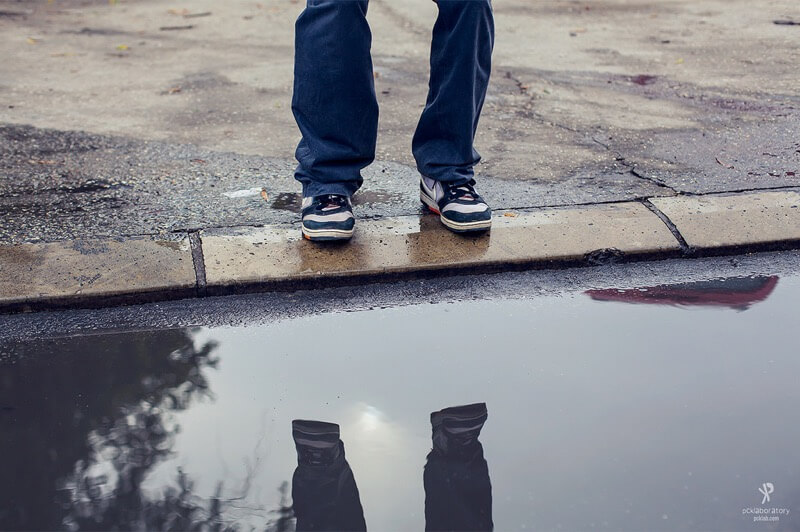
Yane Naumoski – Day 289: Impatient Reflection
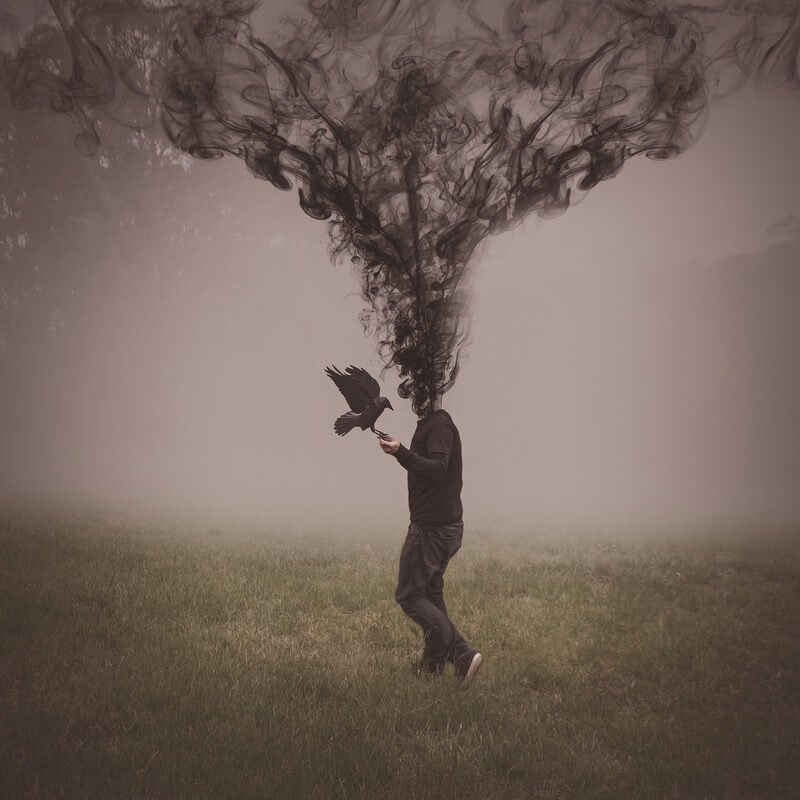
Raxon Rex – Hey smoker, your time is up!

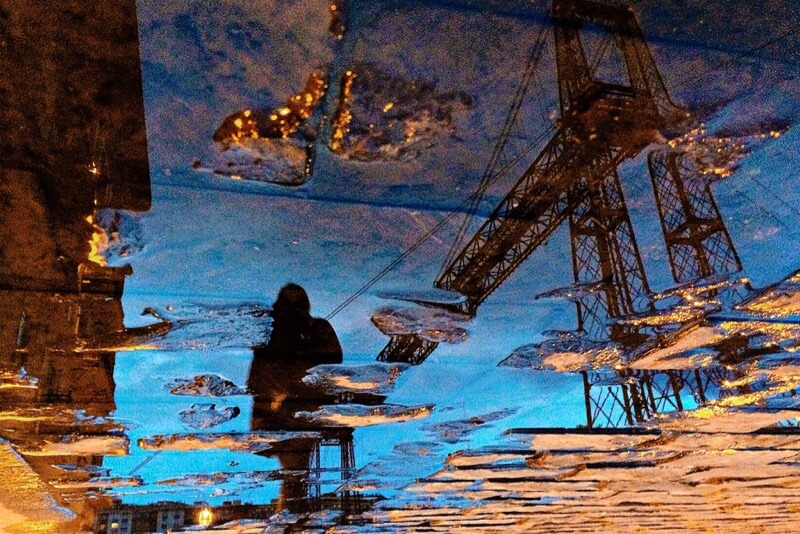
unai momoitio – 58#2014:365……….:). IPHONE
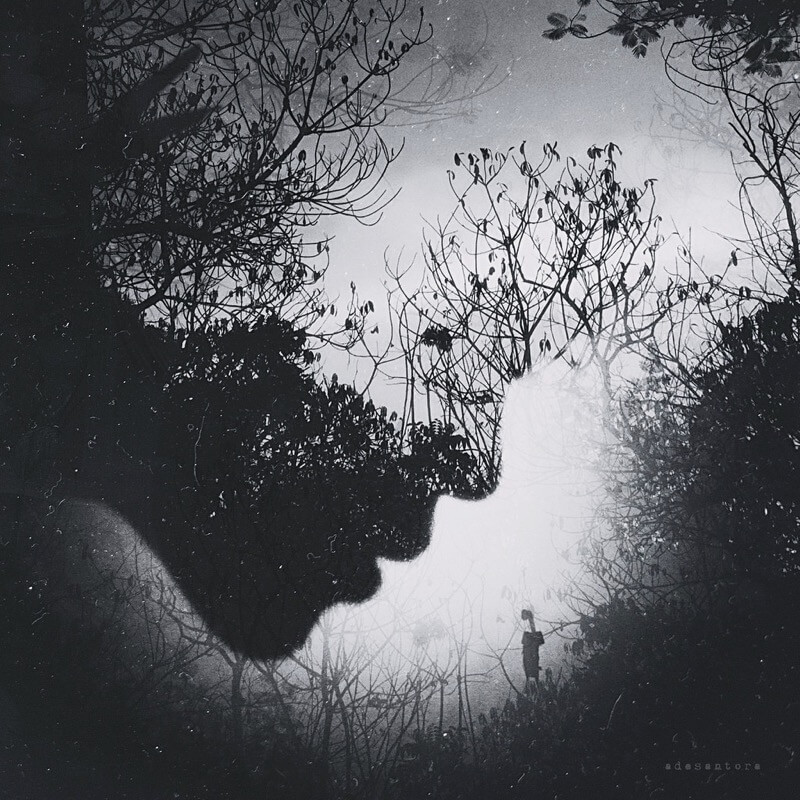
Ade Santora – Butterfly Effect
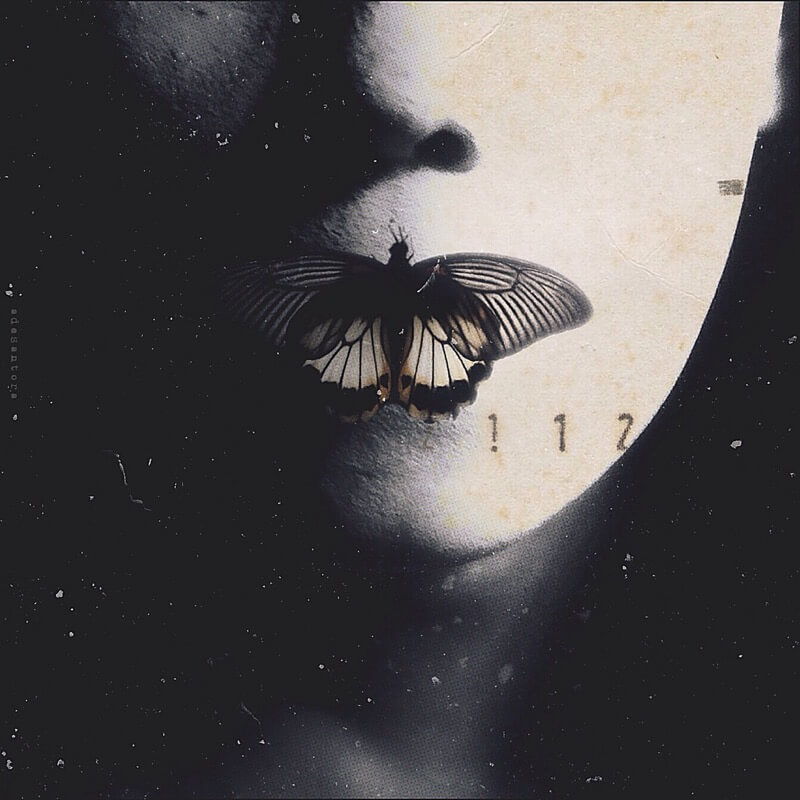
beta cvn art – Through The Darkness
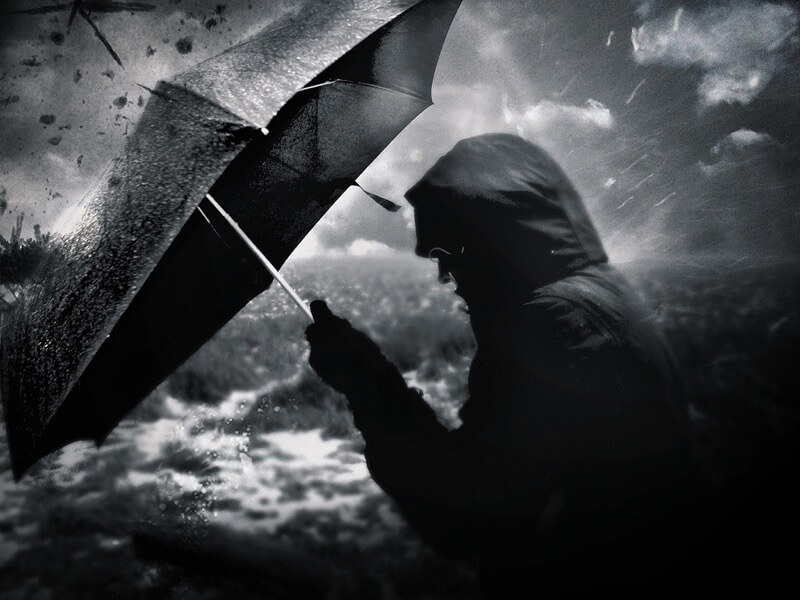
Gideon Way – In the Middle of the Storm
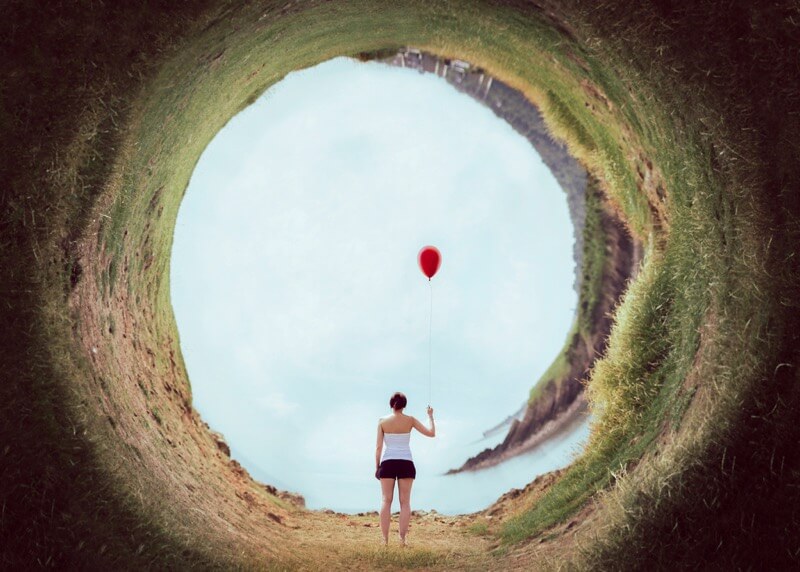
Gideon Way – Simple Like Before
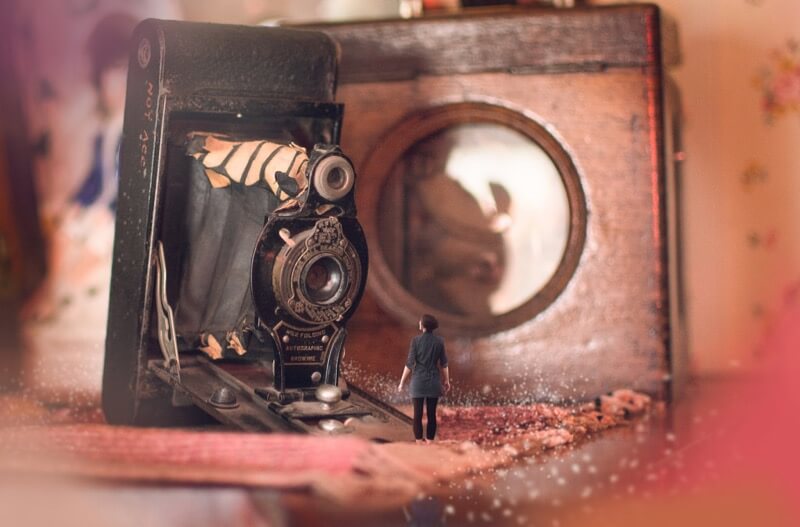
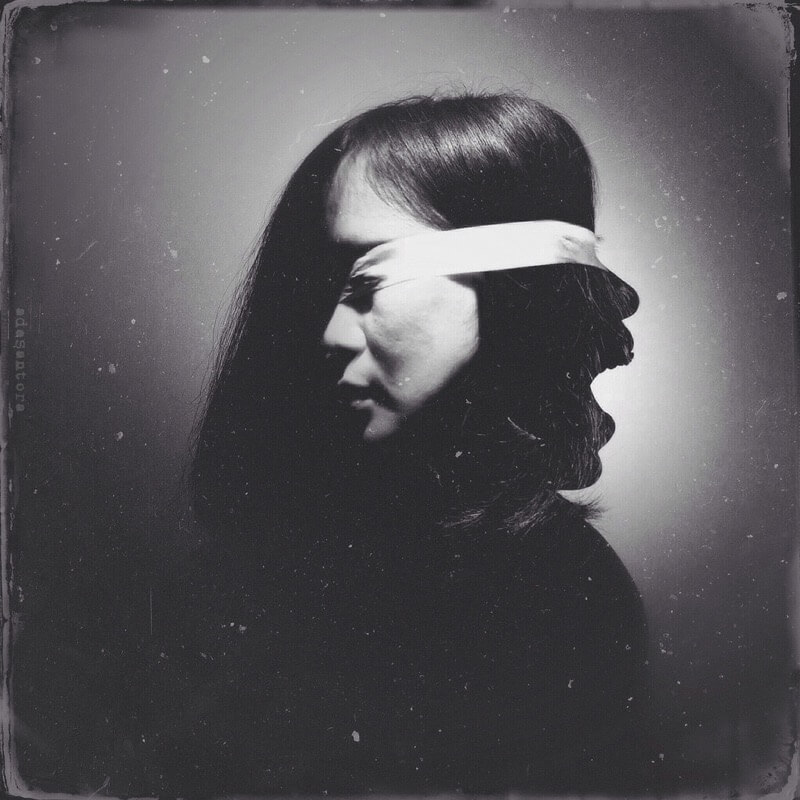
Ade Santora – Blind with Anger
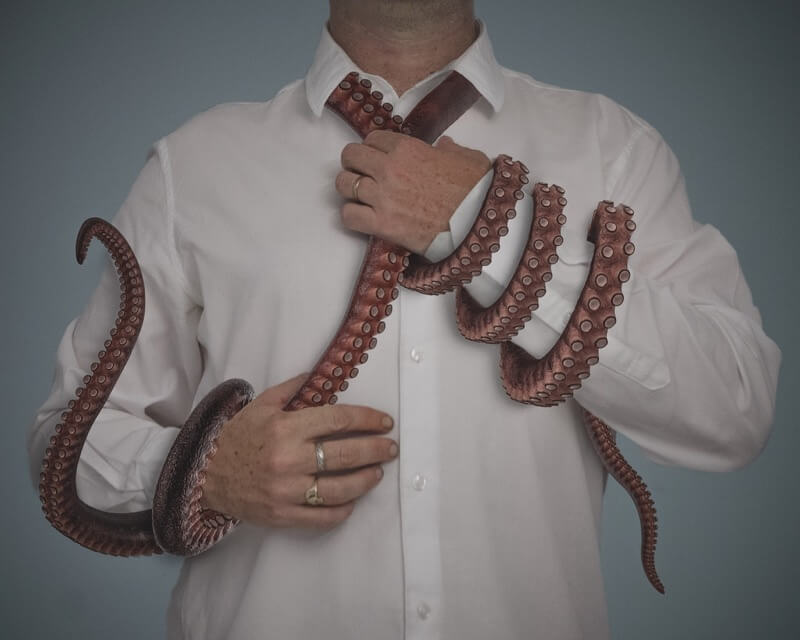
Ciaran Magee – The Ties That Bind
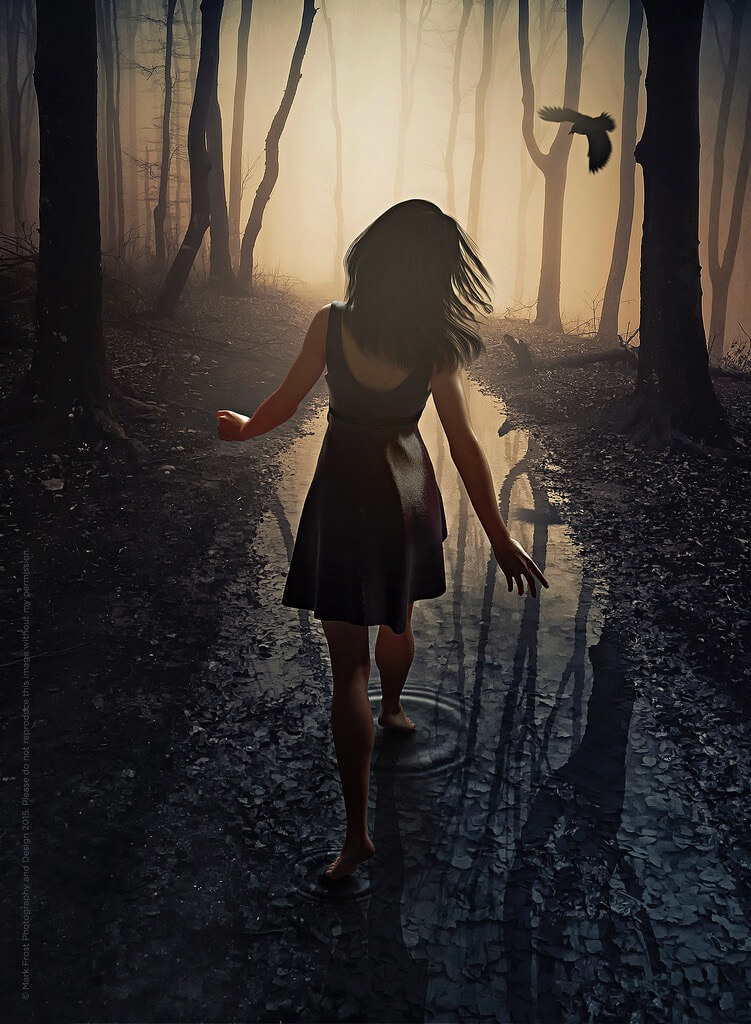
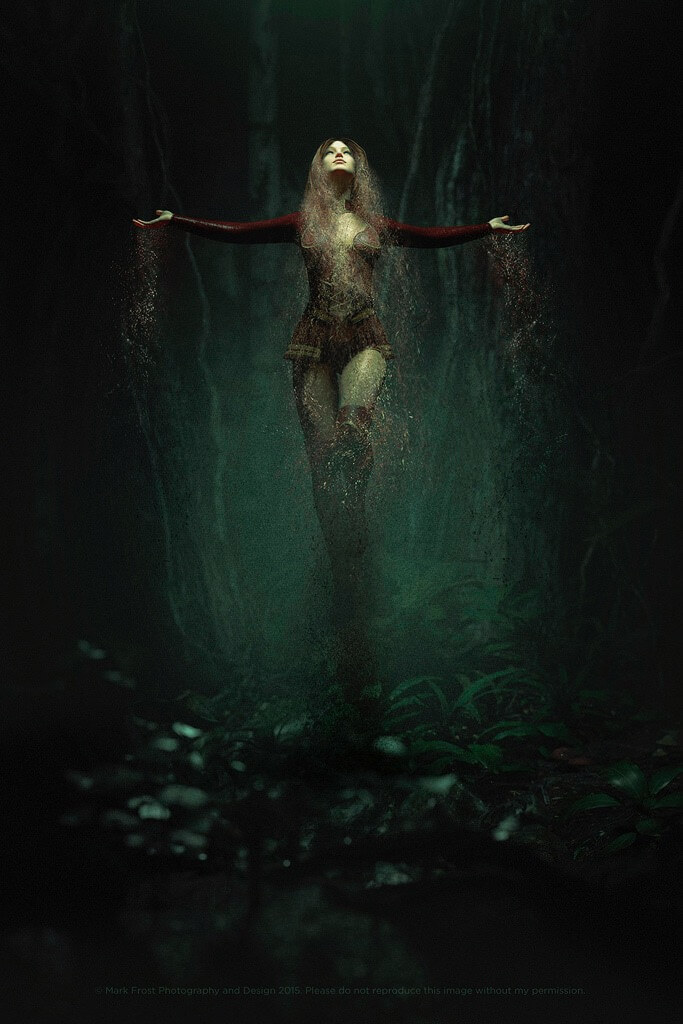
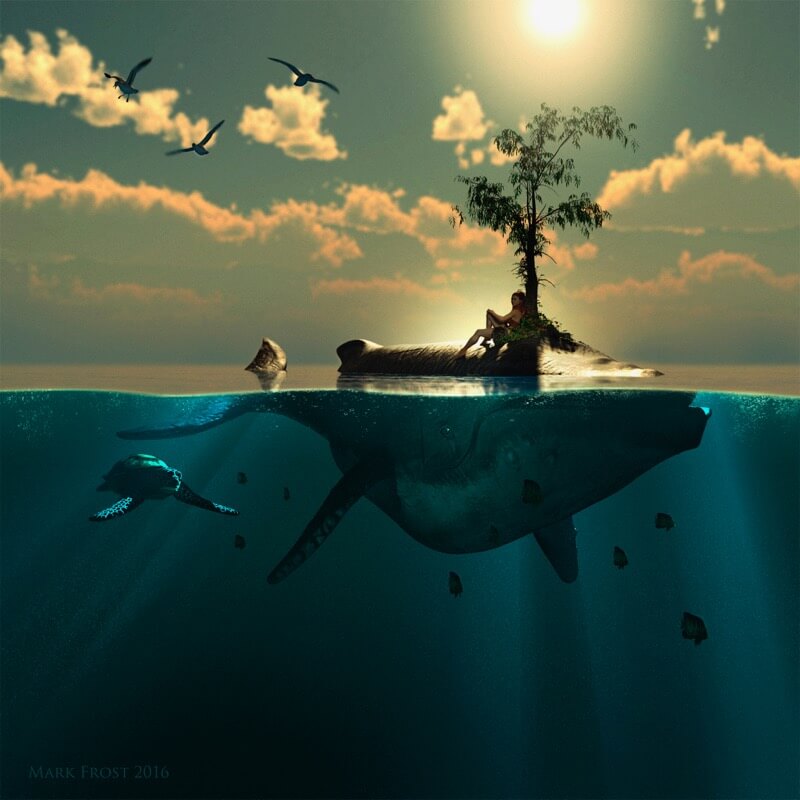
Mark Frost – No-one is an island
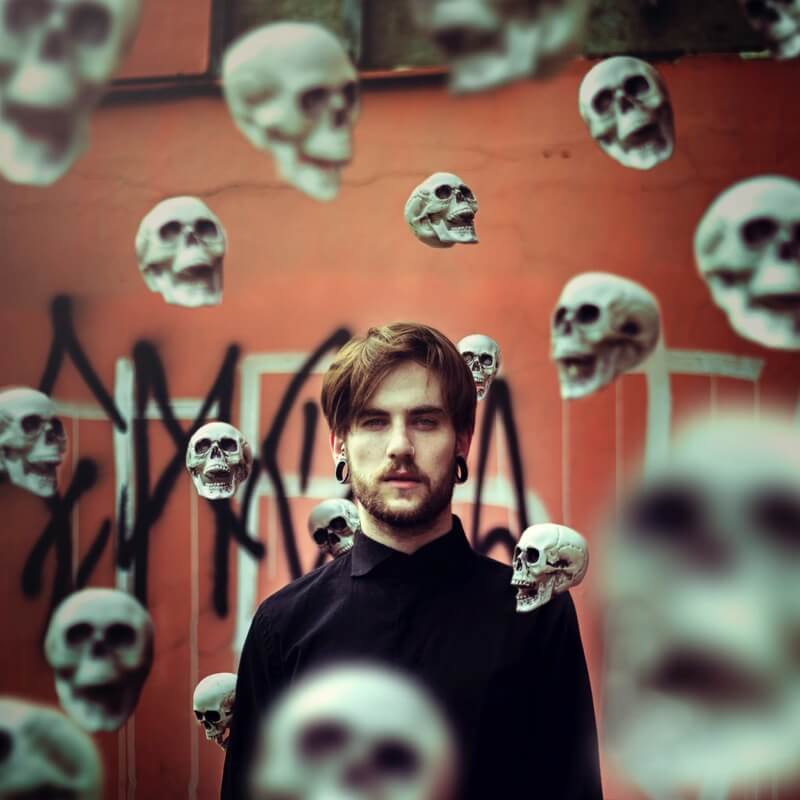
Isabella Mariana – My fears are surrounding me
Ciaran Magee – Assemble the Cross
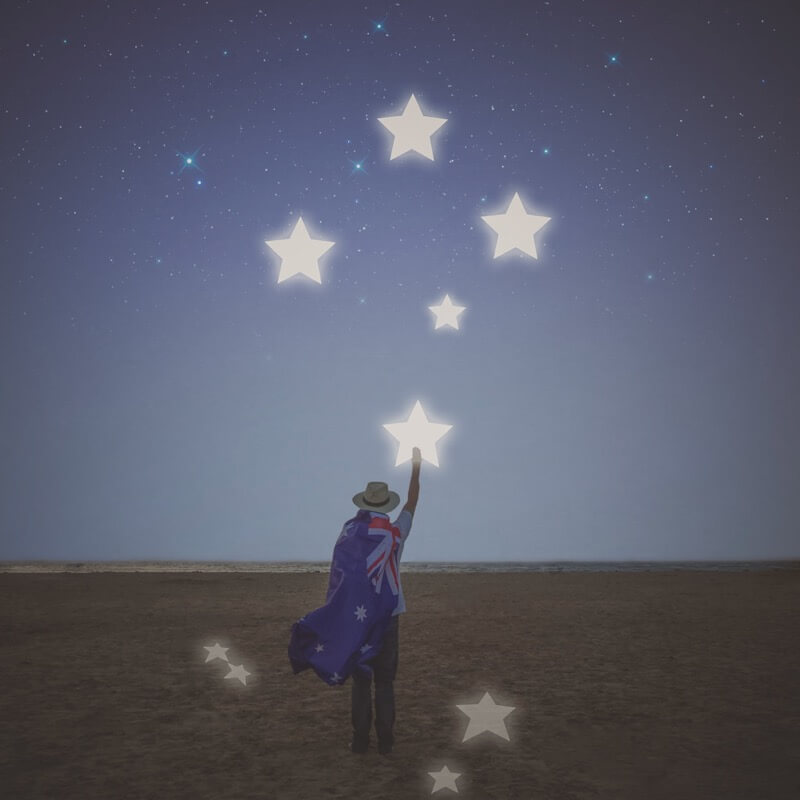
Francisco Villalobos – Telekinetics
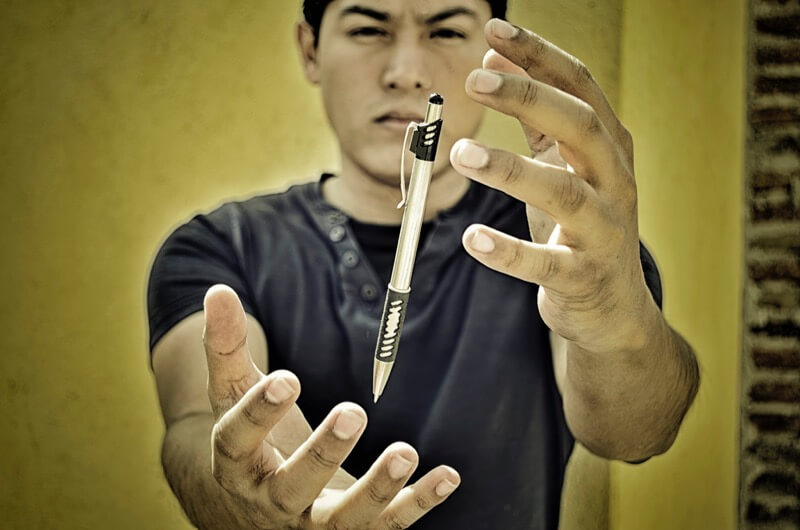
Jack Nobre – Self Double Exposure
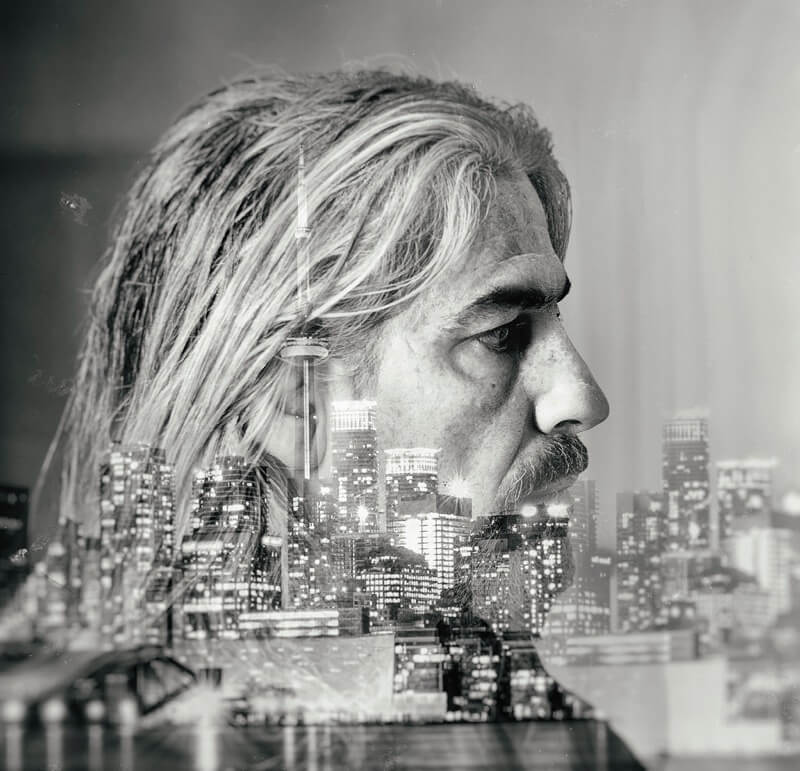
Ciaran Magee – Somewhere only we know….
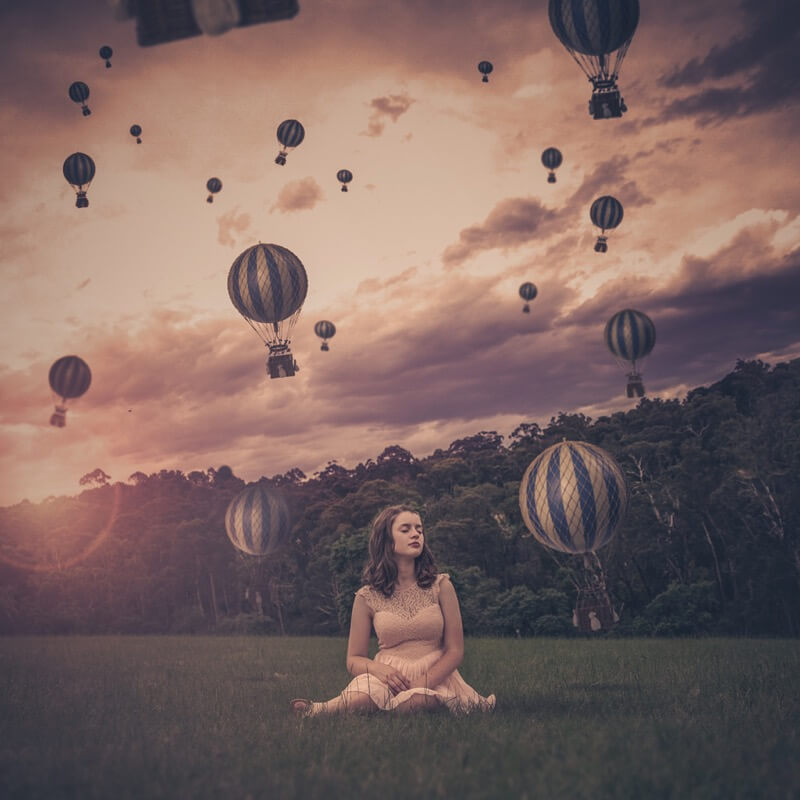
Gideon Way – A Day out with the Birthday Girl
