Have you ever stared in wonder at a magical fairyland image and wondered how the “magic” was created? How the pocket of light magically enveloped the subject, or how the sparkling fairy dust seemed to trail perfectly from the fairy wings?
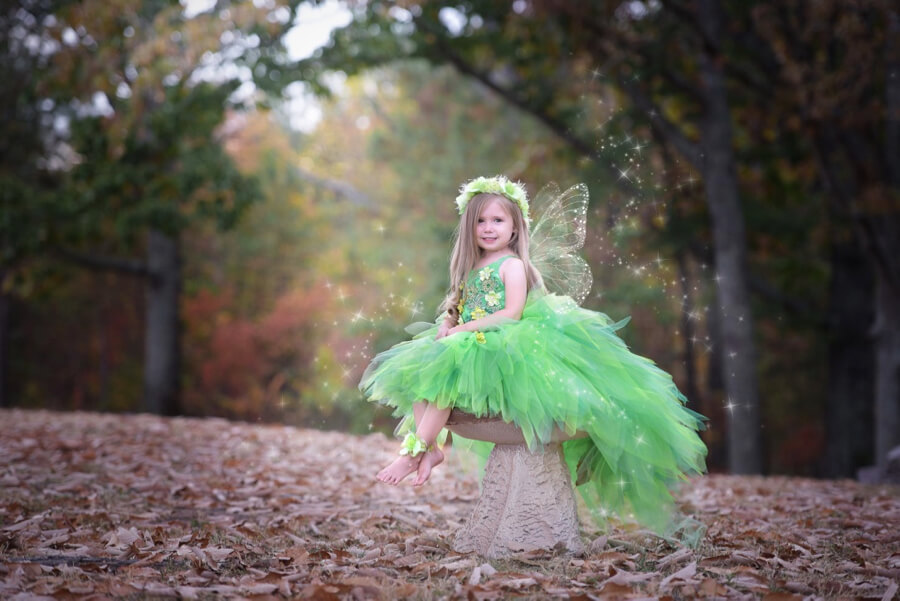
Fairy Dust Photoshop Tutorial
Surely this can all be done in post-processing right? The answer is, absolutely yes! Let’s face it, it’s not often you see a real, live fairy (we’re still waiting) so it’s important to know how to create this scene for yourself or for clients who would love to have this for their little ones.
We’re here to walk you through the step-by-step process of creating a realistic and whimsical fairyland scene in Photoshop. It’s going to be one magical ride so sit down and hold onto your hats everyone!
First – Take Your Photo. This is an obvious step of course, but it needs to be said that you must first photograph your subject in the forest or wherever you think would complement your magical vision best. Forests are a popular setting for fairy photos because in most fairy tales, fairies reside in the forest of course! Choose a location that stays true to your vision. Once you have the perfect image captured of your subject in the perfect location, you can then start thinking about how to complete the whimsical feel of your image and give it the perfect finishing touches that will make everyone swoon.
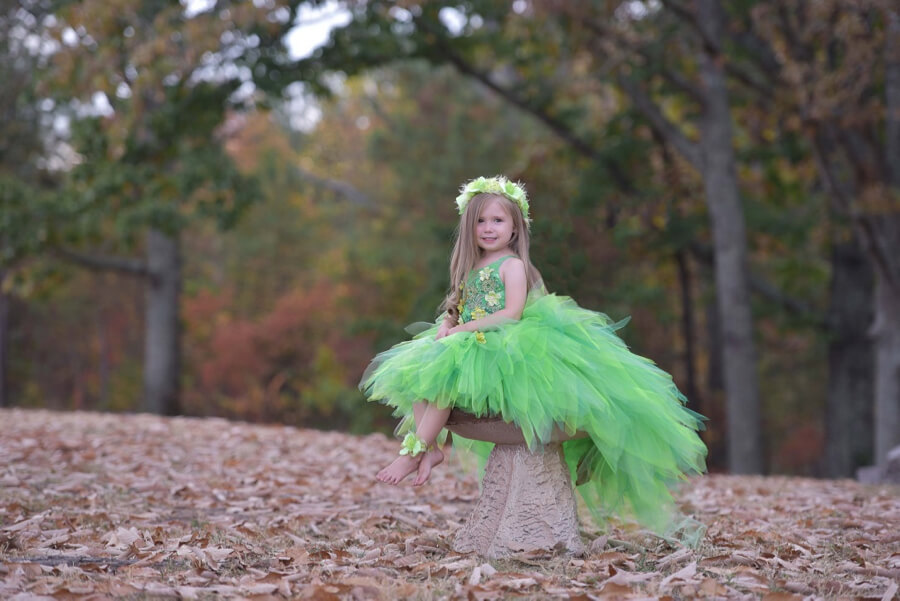
Second – Create Focus. To create focus in your fairyland image, all you need to do is darken your background scene and brighten up your subject a little to make her pop. This is perhaps one of the single most important steps you can take while post processing in Photoshop to bring a magical feel to your image. The good news is that this is super easy to do. If you don’t know about layer masking and how to apply selective adjustments to your images you’re going to love the simple step by step process, we have laid out for you to complete this look.
First let’s talk about darkening the background. We are going to use a layer mask here to apply the enhancement selectively on the background of the image where we choose. We are also going to be using the Levels adjustment tool because it is used universally through most versions of Photoshop and Elements. If you like Curves better, you may of course use that tool instead.
Step 1. Add a dark adjustment layer (using Levels) by lowering the mid-tones (the middle dial) to the right of the slider. You will have a levels adjustment in your layers panel and you should see that your entire image now appears darker. This is OK…for now, we are about to make some cool changes.
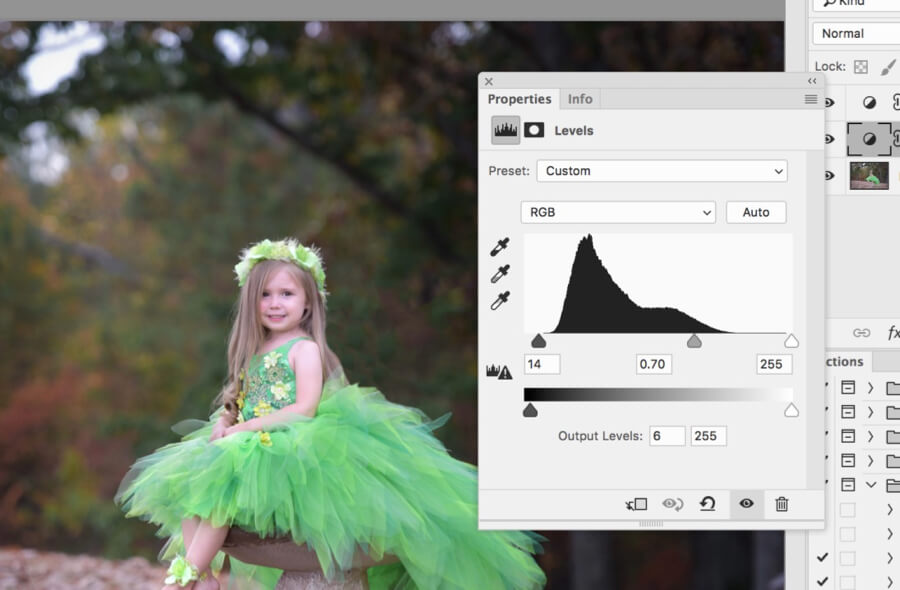
Step 2. Let’s make this Levels adjustment layer into a mask so we can make selective adjustments. To do this, make sure your layer mask is selected (the white rectangle to the right of your Levels adjustment icon) and press cntrl+I or command+I to invert the mask. The rectangle should now be black and the dark adjustment that covered your entire image should now appear as though it weren’t affecting your image. This is good!
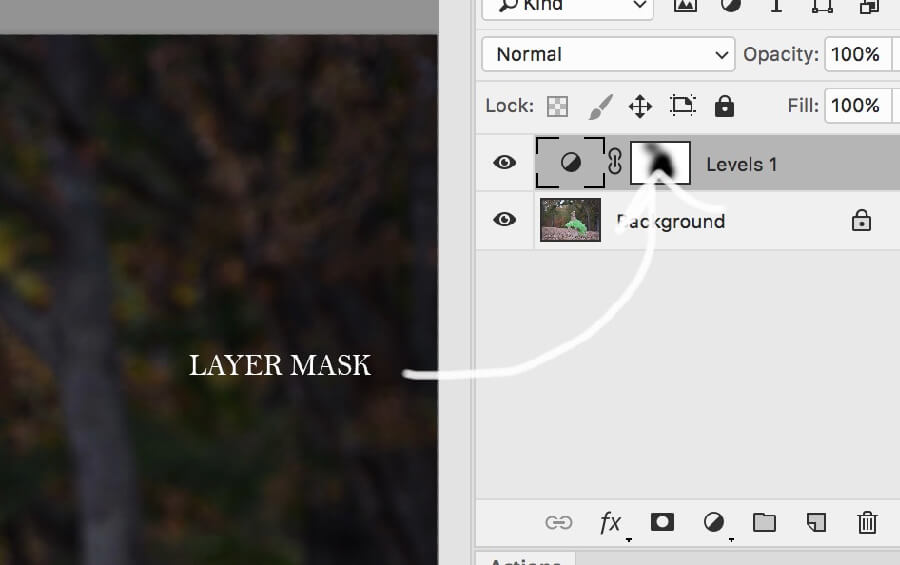
Step 3. Select a soft brush from the tools panel, make sure white is set to your foreground color and paint on your picture anywhere you wish for the darker tone to appear–in this case that would be the background. I like to paint at 100% opacity around the edges of the image and lower my brush opacity a bit as I get closer to my subject for more of a realistic feathered appearance.
Now moving onto brightening your subject. You will use the exact same steps listed above only instead of creating a dark adjustment with Levels we are creating a bright adjustment layer with Levels. You achieve this by bringing the top right dial to the left on the slider in the Levels tool. Continue with the masking steps listed above to apply this to your subject. Remember to be subtle and not overdo it! A little bit can really go a long way!
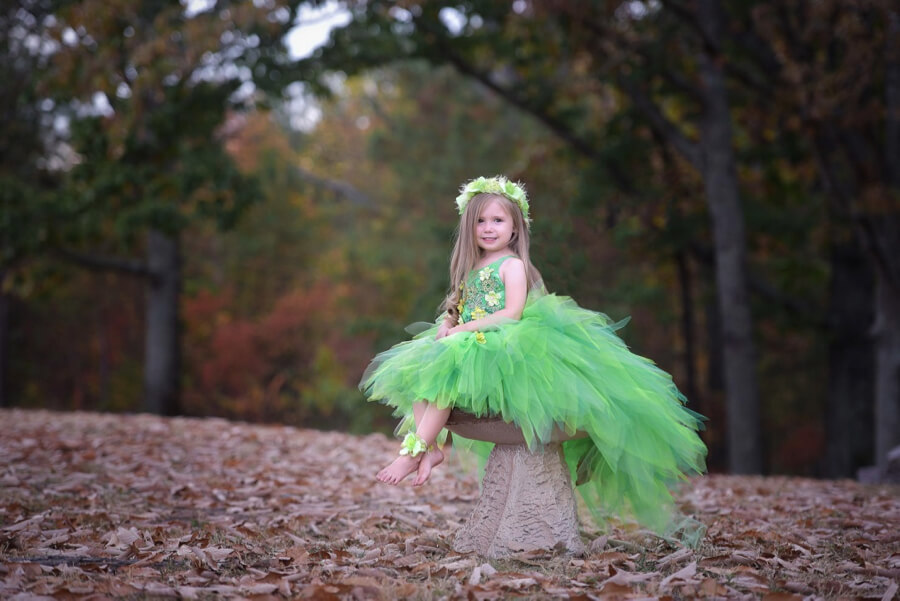
Third – Paint a Whimsical Glow. Now let’s discuss how to create a whimsical glow or a pocket of light that envelopes your subject. You can use this Photoshop trick any way you like; it will work whenever you want to selectively add a bit of light to an image.
Step 1. Select your background layer and duplicate it by locating your menu bar and selecting Layer>Duplicate Layer.
Step 2. Change the Blend Mode of the Duplicate Layer to Screen. You can locate the Blend Modes in your Layers Panel-it should display at Normal as the default, click on it and select Screen from the dropdown menu.
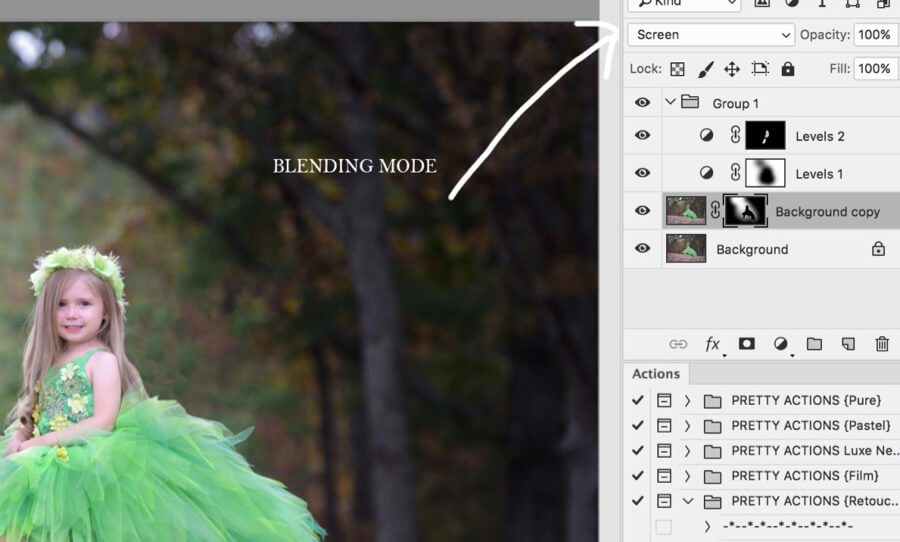
Step 3. Your entire image should now appear super bright…but not for long my friend! Because we are going to create a–you got it– Layer Mask! The duplicate layer will not have a built-in Layer Mask so we will have to create one by going to Layer>Layer Mask>Hide all. Your enhancement will now appear hidden.
Step 4. Select the paintbrush from your tools panel and “paint” wherever you wish to reveal a pocket of light. This usually looks best when painted around your subject. Be careful not to paint the light onto your subject as you don’t want to over brighten her. To remove any brightness just bring black to your foreground color to conceal any of the enhancement that you’ve revealed.
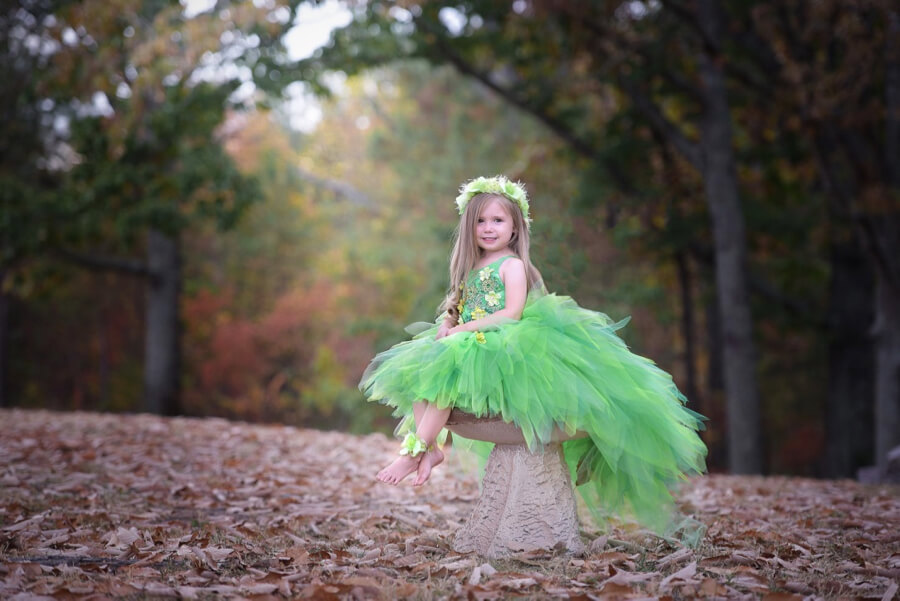
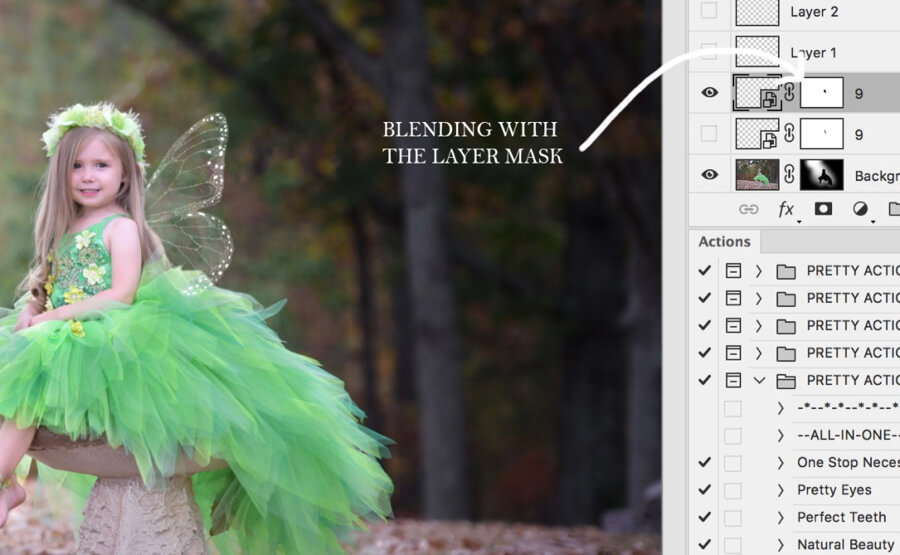
Fourth – Finishing Touches. It’s time to give our fairyland image a few final magical touches. First, we are going to apply some pretty fairy wings that we found from a shop online called Pretty Photoshop Actions. These are easy to apply, just reposition with your move tool and erase any areas of the wing that wouldn’t naturally be visible (using the layer mask) to make the wings appear as natural as possible.
Fairy Dust Photoshop Brush
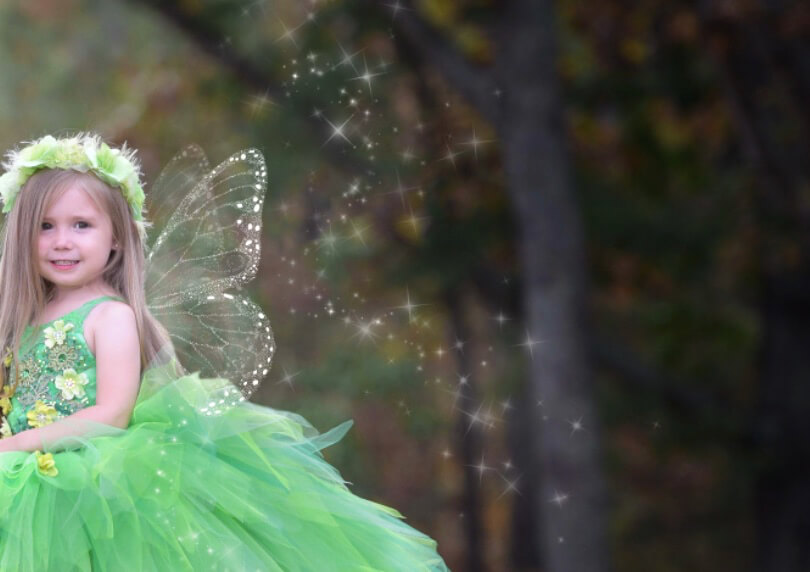
Next, we are going to add a little fairy dust. You can do this by selecting your existing brushes in Photoshop and stamp them around in different areas of your image–varying the sizes slightly–and trailing swirls, sparkles, or any type of fairy dust trail you wish to create, your imagination is the limit here! Also, if you want to save a bit of time, you can use some of the fairy dust brushes we found from Pretty Actions as well. The fairy dust naturally trails and scatters wherever you drag your brush, it’s pretty neat. Once you are done applying your dust, stand back and marvel at your magical fairyland scene you have just created!
Next time you have the inclination to create something a little more magical with your images be sure to check back and follow these steps to help you along your way.
