Most portrait photography is done during the daytime, with golden hour generally considered the ideal time of day for the best light. However, like many things in photography and the arts in general, diverging from common practice can lead to interesting and creative results. Night portrait photography is one of those opportunities. Since shooting at night requires a more advanced understanding of flash and lighting, adding those types of images to your portfolio immediately showcases your advanced skillset and knowledge. And since it’s less common, the images often stand out as visually interesting and appealing.
Night portrait photography, while considered a more advanced topic, is actually not incredibly difficult, especially with advancements in technology. It does, however, require studying and practice, starting with a foundational understanding of the tips presented in this article. This article will review tips for capturing portrait photography at night, covering these primary topics:
- Night portrait creative ideas and examples
- Night portrait settings and gear
- Night flash photography
- How shoot at night without flash
Night portrait creative ideas and examples
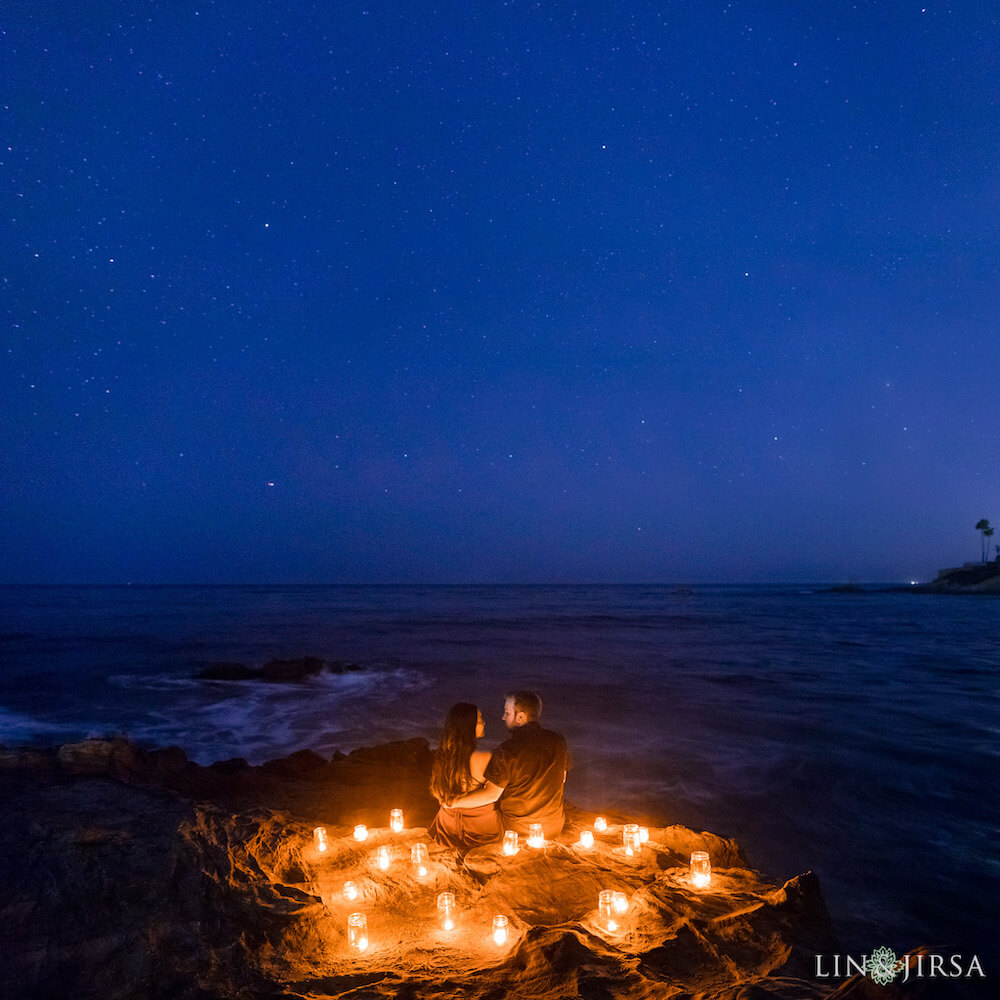
Before we get into the tips, here are some night portrait photography examples and ideas to get your creativity going. As you can see from the images below, exploring night photography for your portrait photography opens up an entire world of creativity. The darkness can add to the mood, the night sky can bring out the city lights, and the movement of the camera can add interesting and creative effects.
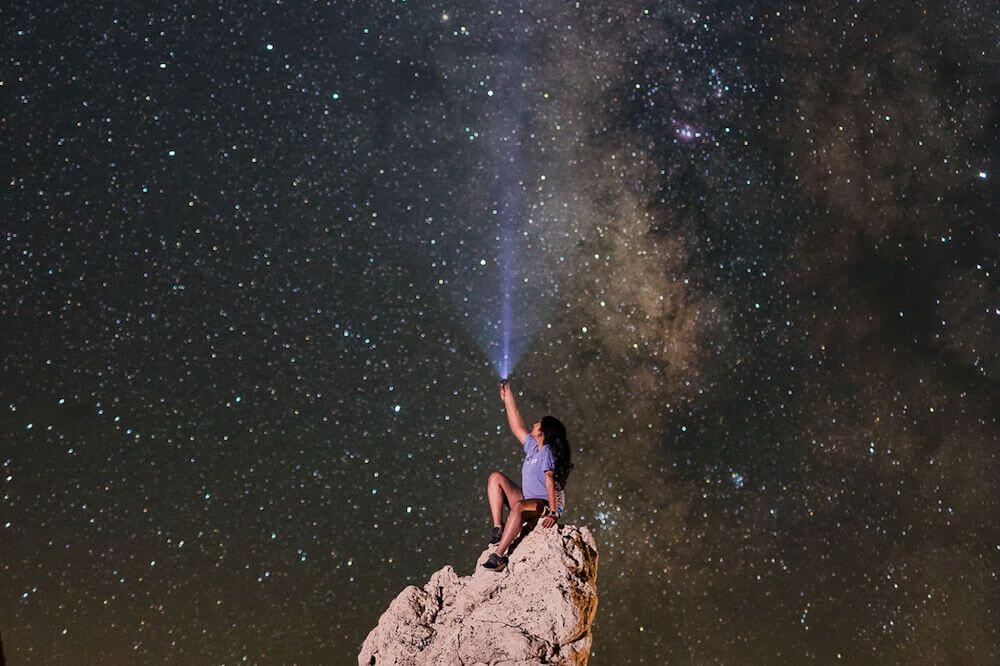
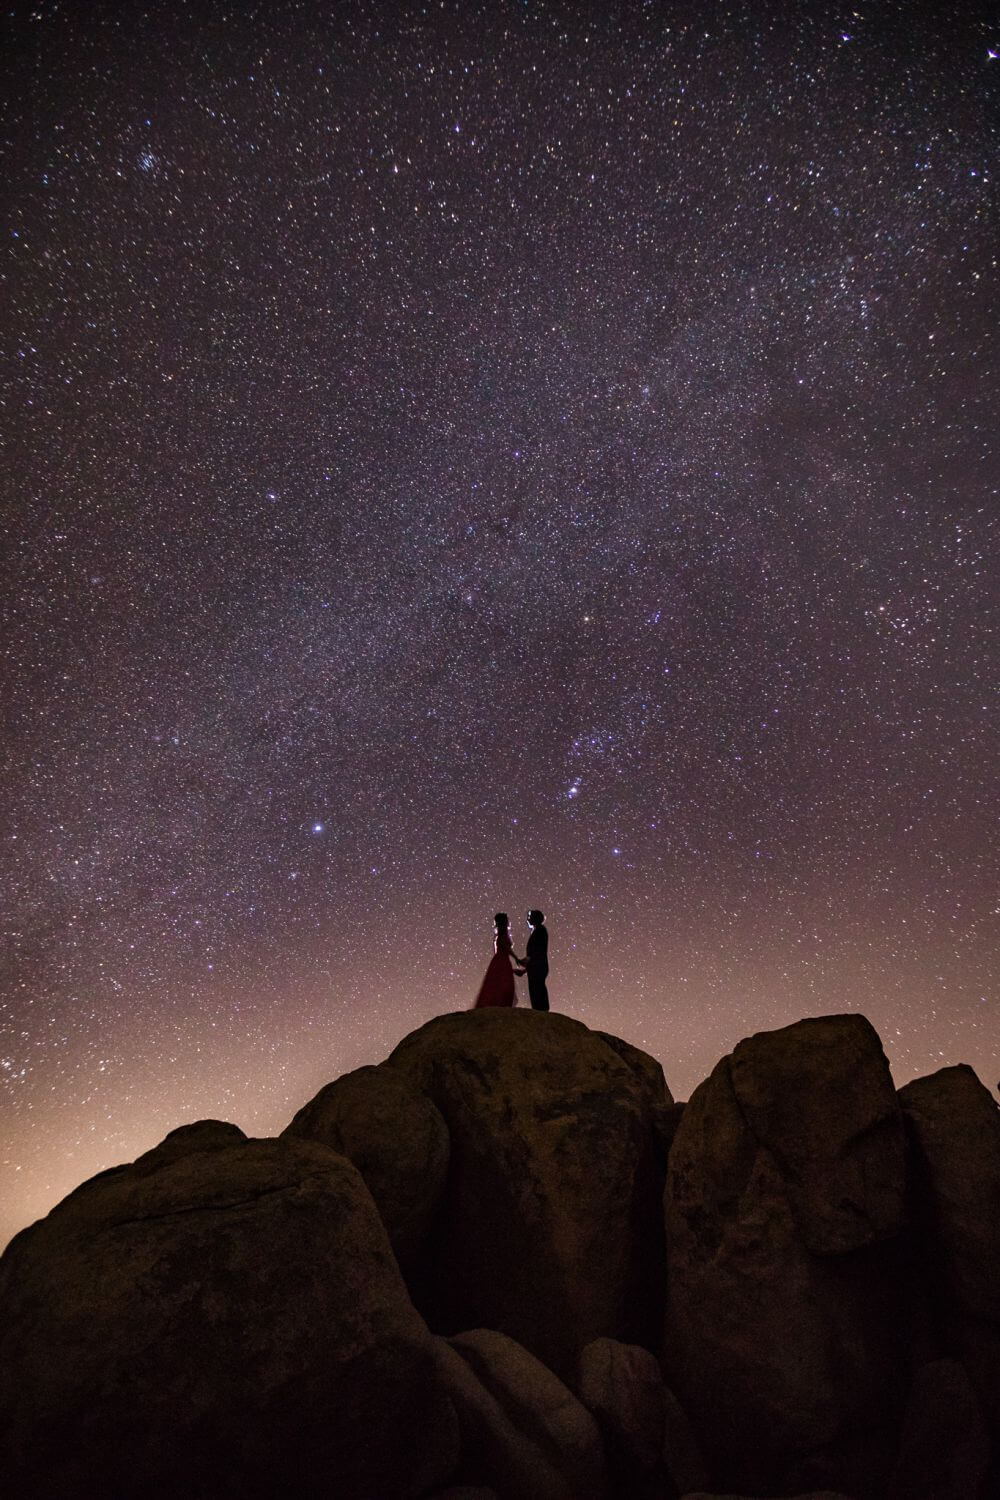
Milky Way Portraits
If you are in a location without light pollution and a clear view of the stars, consider taking a photo of your subject with the night sky.
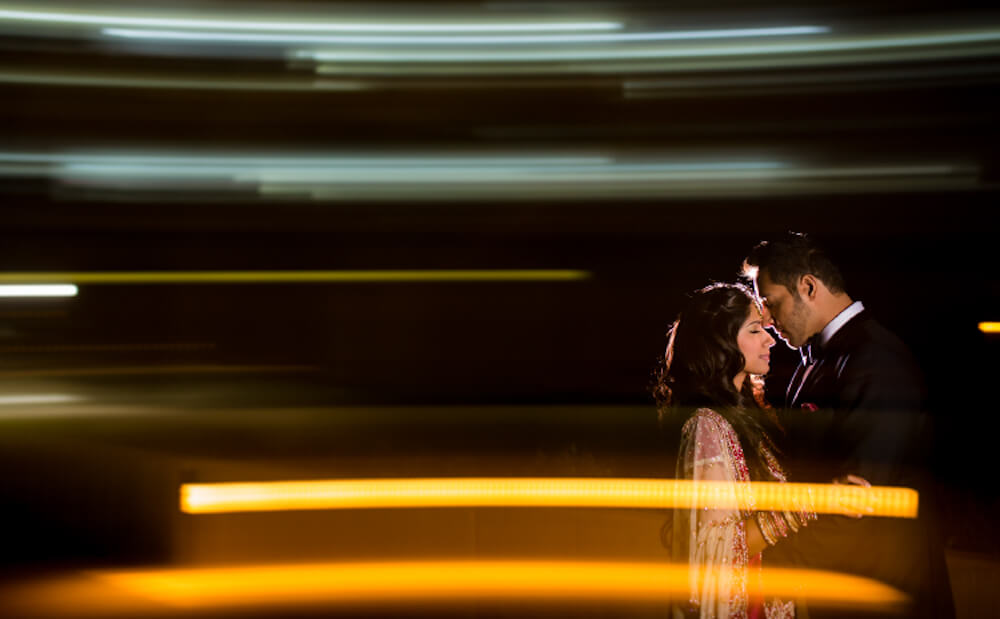
Night Portraits in the City with Camera Movement
Moving the camera can create interesting streaks of light when using a longer shutter. More on shutter speed later. This can give you a more abstract photography look and feel.
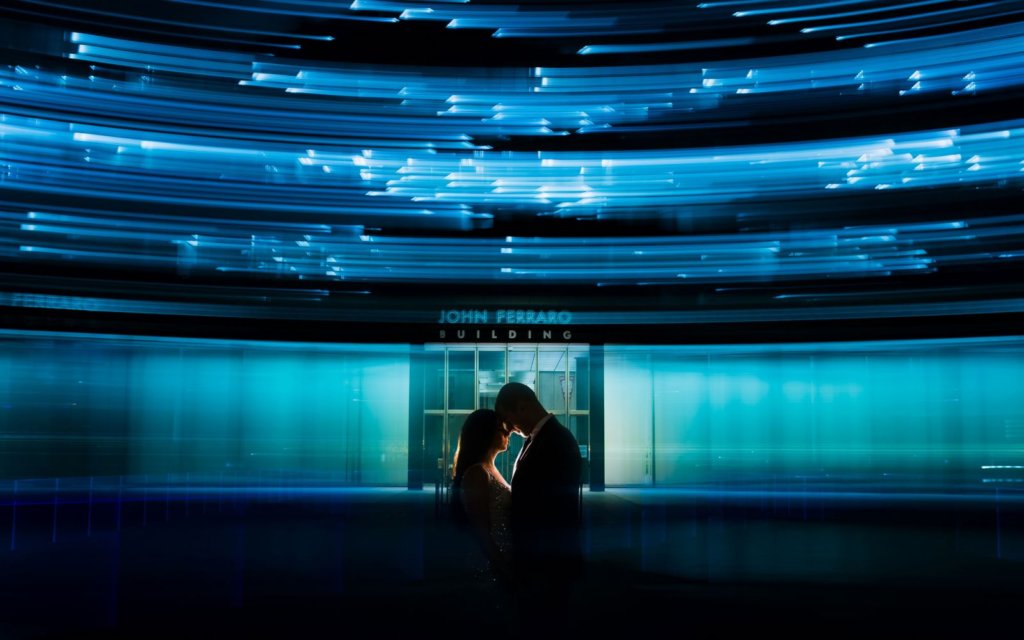
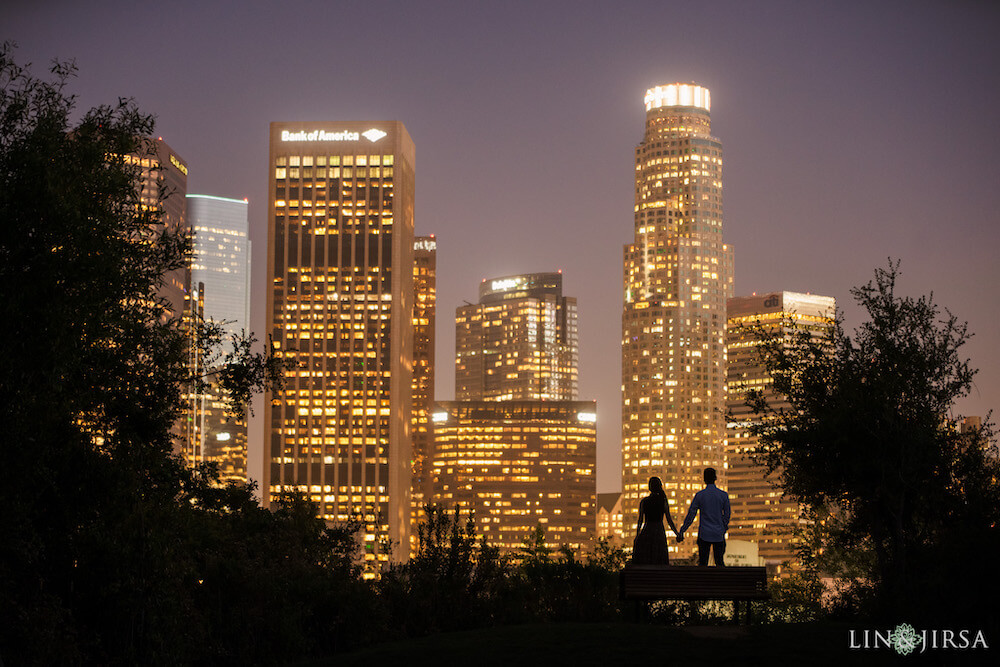
Night Portrait Silhouettes
City lights at night offers the opportunity to use the creative technique of silhouettes, as you can see from the picture below.
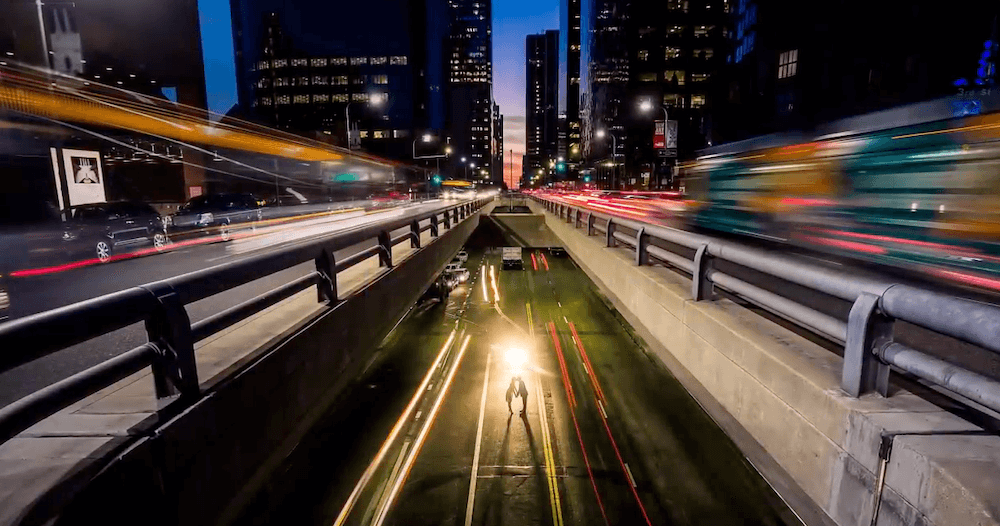
Night Portraits in the City with Car Movement
Instead of moving your camera with a slow shutter speed, you can also capture the movement of the objects around you. In the image below, you can see the lights from the moving cars.
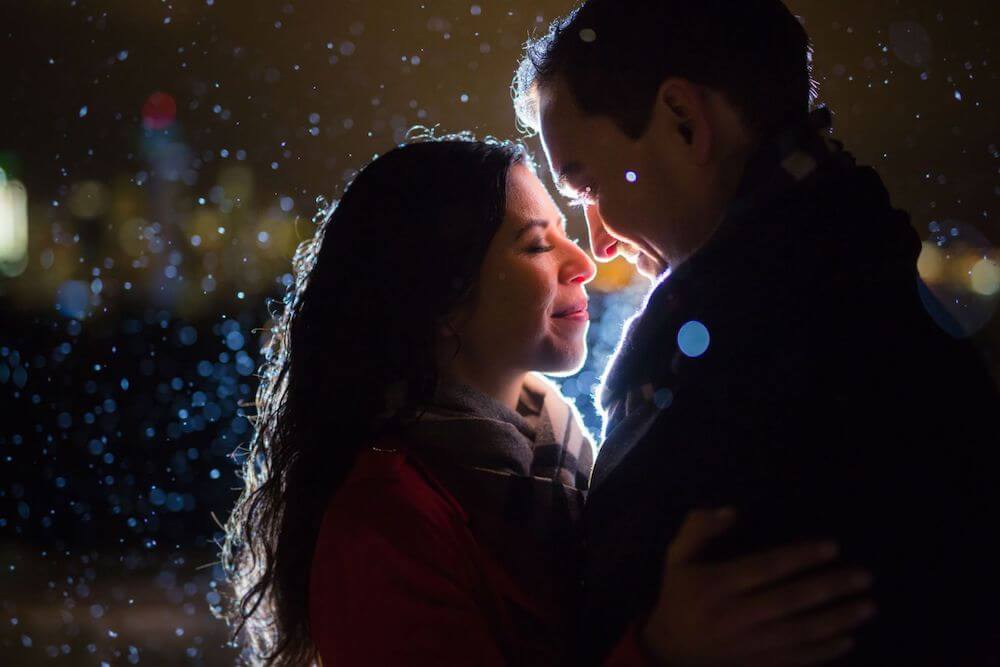
Backlight with rain at night
Night photography offers the opportunity to light up falling rain with a subtle back flash, as you can see from the night portrait below.
More Examples
Night portrait settings and gear
The first thing to consider with night portraits is having the right gear. As with any gear advice we give, work with what you have. You can get incredible results with just about anything. Here is the gear we recommend for night portrait photography:
- Camera (required) – A camera with good low light performance, i.e. ISO performance, will help you get better results with night portraits. Consider Full Frame Cameras with big sensors and great low light performance.
- Lens (required) – A low aperture lens will be better than a lens limited to higher apertures. Consider prime lenses that drop all the way down to F/2.8 or even F/1.2.
- Flash (recommended) – While a flash is not absolutely necessary, it will help you illuminate your subjects or even freeze them when using slower shutter speeds.
- Flash Stands (recommended) – Flash stands will give you an easy way to move your flashes into position. You may also use an assistant for this function.
- Flash modifiers (optional) – Umbrellas, Softboxes, Grids and other flash modifiers and accessories will come in handy when you’re going for a specific look with your lighting. Consider Magmod Modifiers.
- Tripod (recommended) – A tripod will allow you to drop your shutter speed to very slow speeds without worrying about camera shake. Consider a sturdy tripod like the Peak Design Tripod.
- Constant Light (optional) – A constant light, like an LED panel can either complement or replace the use of a flash, though they will give you a different overall look.
General rules of thumb for night portrait camera settings are as follows:
The following tips are based on the assumption that you have a sound understanding of the exposure triangle.
- Use your lowest possible aperture. The lower your aperture, the more light you can let into your camera, which can be critical for portraits in dark settings.
- Use a slower shutter speed but be careful about camera shake or subject movement. Drop your shutter down until you let enough light in to achieve your desired exposure. Having a tripod will help you do this without creating a blurry photo.
- Use a high ISO that brings out the background but does not destroy image quality. Increase your ISO as needed to get your desired exposure.
Common settings for night portrait photography would be as follows:
While settings will vary depending on your desired affect and the amount of light in the scene, here are some good starting points for your settings.
- 1/100, ISO 1600, F/2.0
- 1/60, ISO 3200, F/2.8
- 1/30, ISO 6400, F/2.0 (on a tripod)
Night flash photography
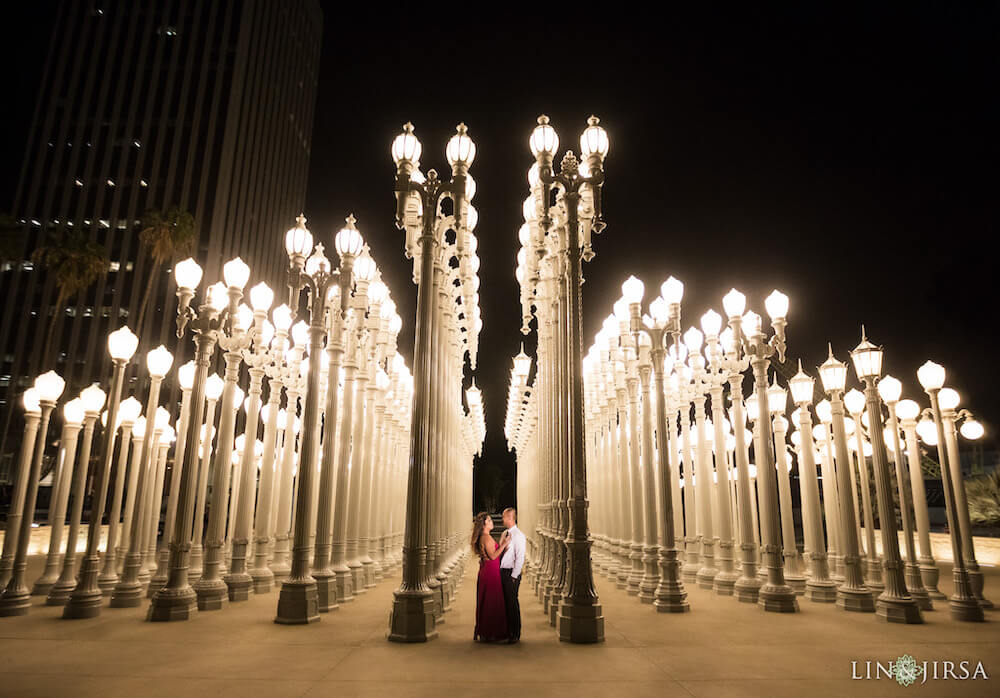
Using Flash Photography can offer clean, studio-like portrait opportunities with your night photography. Below is an example of an engagement photo in Los Angeles.
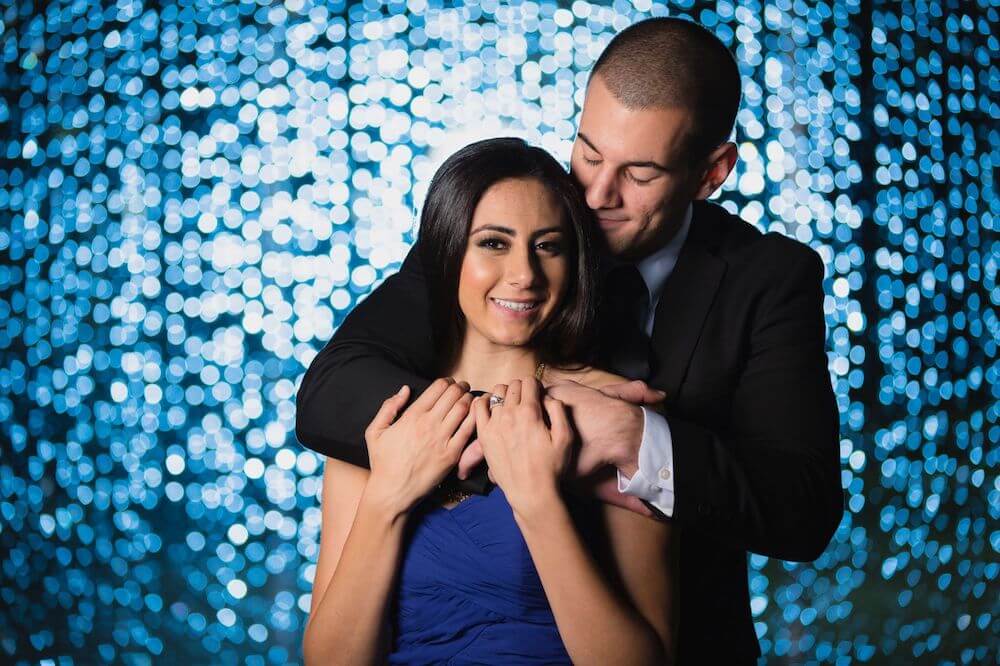
Without any natural light available, a photographer must rely on the existing light in the scene or add light with Flash or constant lights. Flash photography with night portraits does not require full strobes or expensive gear. A small flash, often known as a “pocket flash” will be sufficient since your settings are typically a combination of high ISO and low aperture. In short, a little bit of flash power goes a long way.
On a pocket strobe, it’s not uncommon to find your flash power at 1/16, 1/32 or even lower depending on your ISO, Aperture settings, and modifiers. Without the need for much flash power, you’ll also experience faster recycle times and more flexibility in terms of the modifiers. You may use soft-boxes, umbrellas, grids, gels, and more. Or you can keep it simple with a bare flash. The choice depends on your desired look.
How shoot at night without flash
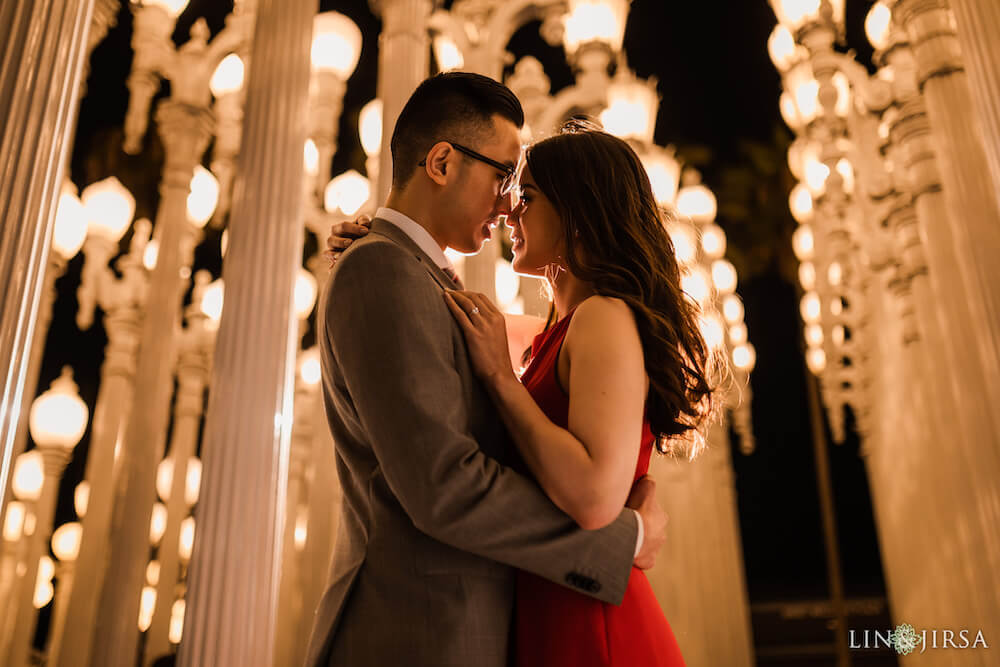
If you do not want to use flash, you can also opt for using a constant light like an LED panel. The advantage of a constant light is that you can see that “what you see is what you get,” in that you can see the final affects of the additional light in camera before you take the photo. In contrast, a flash fires in a fraction of a second, making the final impact of the added light only visible after the photo is taken. For this reason, many beginners choose to use constant lights over flash until they develop enough experience to use flash.
Keep in mind that constant lights do not have the freezing power of flash. Flash has the power of freezing a subject, while constant lights do not. If you decide to use constant lights, then take extra caution to ensure that your images are not blurry from camera shake or movement in your subjects.
Conclusion
While photos at night can be intimidating, the techniques are worth exploring. As you can see from the examples above, it opens up a world of creative possibilities for your photography. If you’re interested in exploring more about flash photography and night photography, we recommend the Flash Photography Training System by SLR Lounge.
