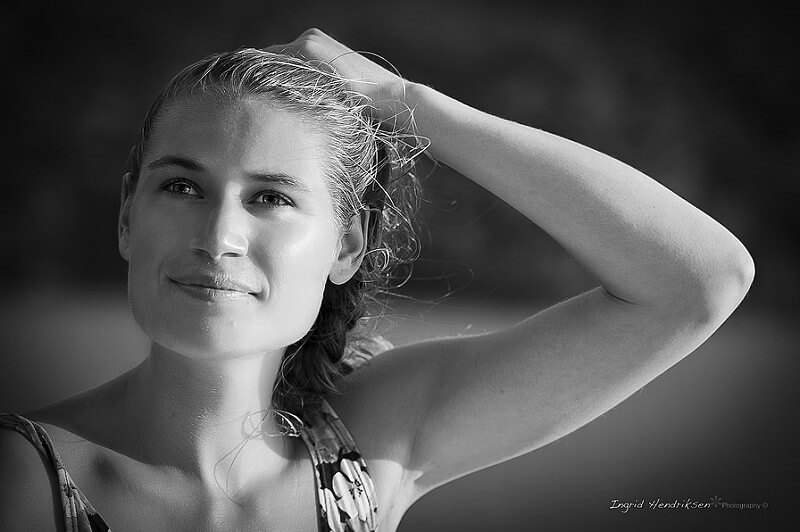
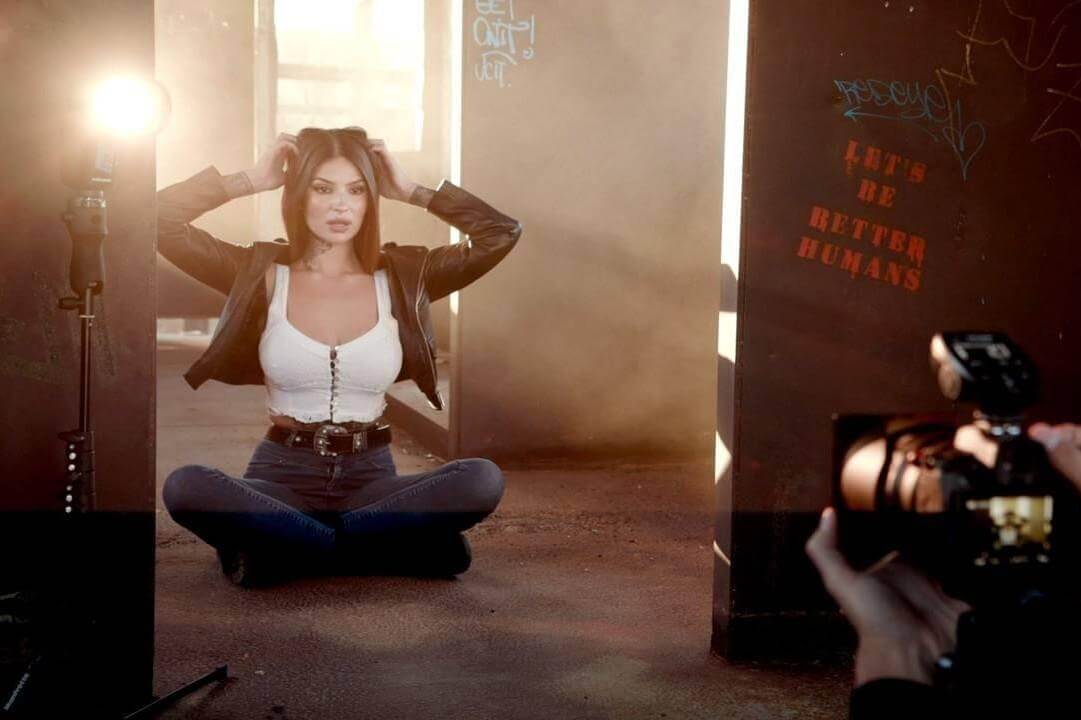
Not knowing how to pose a model is one challenge beginners can struggle with. It’s an important step to master, though. You need to know how to pose your model if you want to create perfect portraits.
Below are some tips to help you get the right poses for each portrait you take. Remember that reading alone won’t immediately improve your skills. Practice makes perfect! These tips will only be useful if you actually practice them by taking plenty of portraits.
1. Help your model feel relaxed.
There’s a fine line between flattering and unflattering/unnatural poses. A lot depends on the person you’re photographing. A certain pose could work well with one person, yet flop with another. This variability is partly due to each person’s comfort level. A nervous or tense model can make any pose seem unnatural, no matter how ‘normal’ that pose is.
For this reason, it’s important to help your model feel relaxed before you start posing. An uncomfortable model will make your portrait seem less genuine, regardless of the pose, so do your best to help him/her feel at ease. Create a relaxing and calm atmosphere, and get to know who the model is. The more you know about the model’s style, mood, and personality, the better you’ll be at capturing a great shot of that person.
2. Pay close attention to seating and composition.
Unless you specifically want to use chairs in the pose, it’s best to use stools. They’re less imposing and often don’t show up in the pictures. As an added bonus, they keep the model from slouching, which never looks good in a portrait.
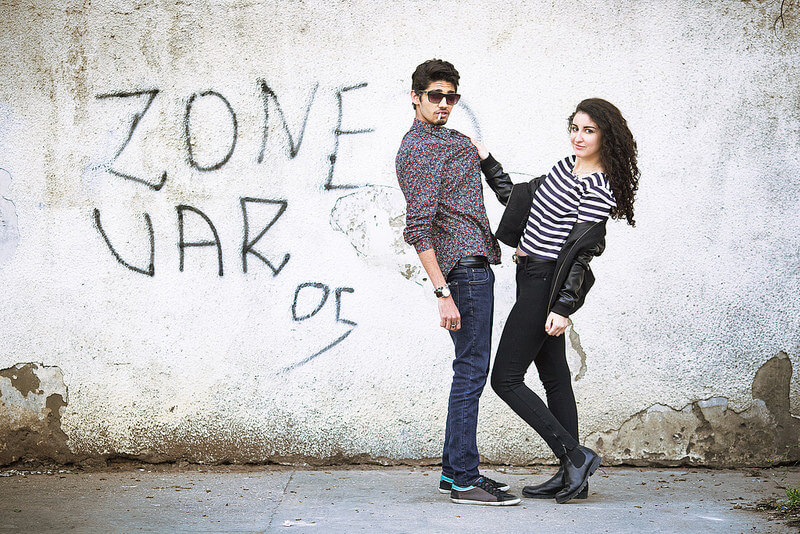
If you are photographing two people (like engagement or siblings portraits, for example), take care when seating and posing the subjects. If the models have the same height, their heads might line up evenly in a certain pose. This straight line can look unnatural. Instead, choose to have one subject higher than the other for a portrait that flows.
While arranging the model(s), think about where the frame will begin/end. What will you include/exclude in the shot? Pay particular attention to the models’ arms, legs, hands, feet and neck. You don’t want to cut off appendages at joints. While you may not want hands and feet in the frame, you also don’t want to chop off the model at the ankles, wrists, elbows or knees. These cut-off points will make the model look strange.
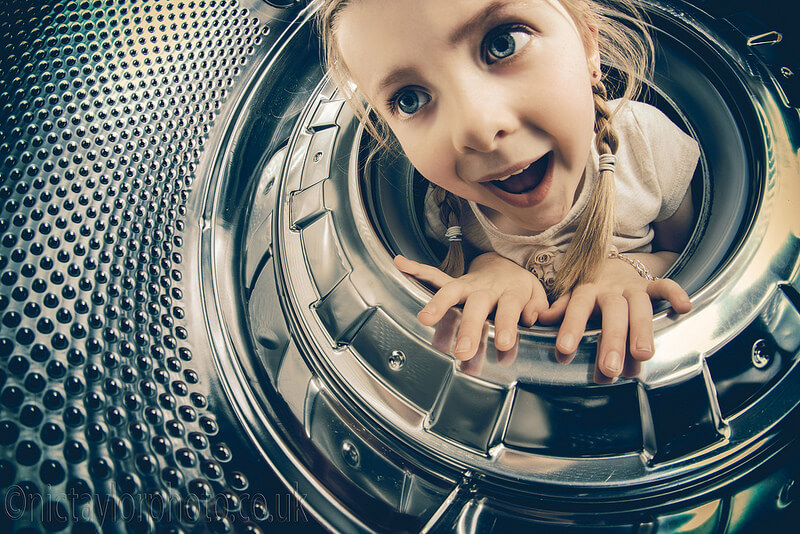
Finally, don’t feel like you have to sit or arrange your models in frozen poses. Movement can be a great thing! Even in the studio, movement can make images look more natural and fun. Posed portraits may be useful in some situations, but they don’t always look natural, especially if your model is an energetic person. Movement may relax these models and help you capture their personality better.
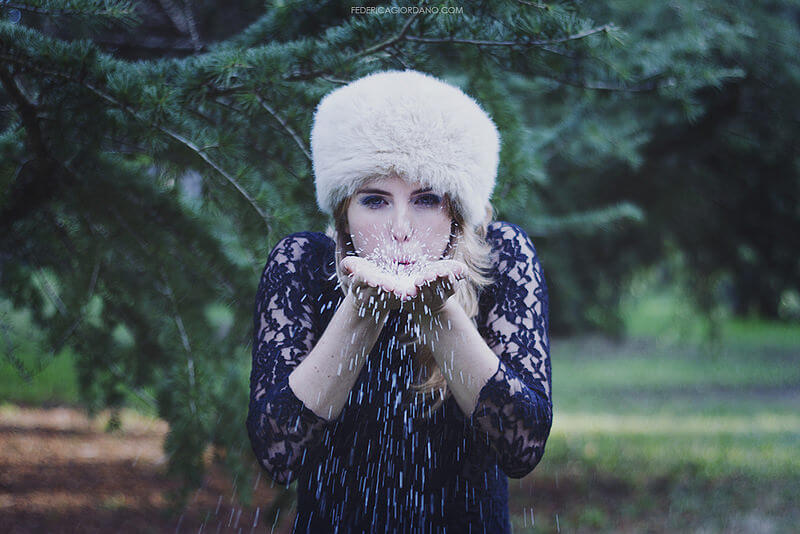
Federica Giordano – Winter Wonderland II
3. Choose flattering poses/angles, especially for close-ups.
Digital photography has made it easier than ever before to create flattering close-up portraits. However, you still can’t depend on your camera or computer to do all the work. The posing and angles you choose for close-up portraits will matter just as much.
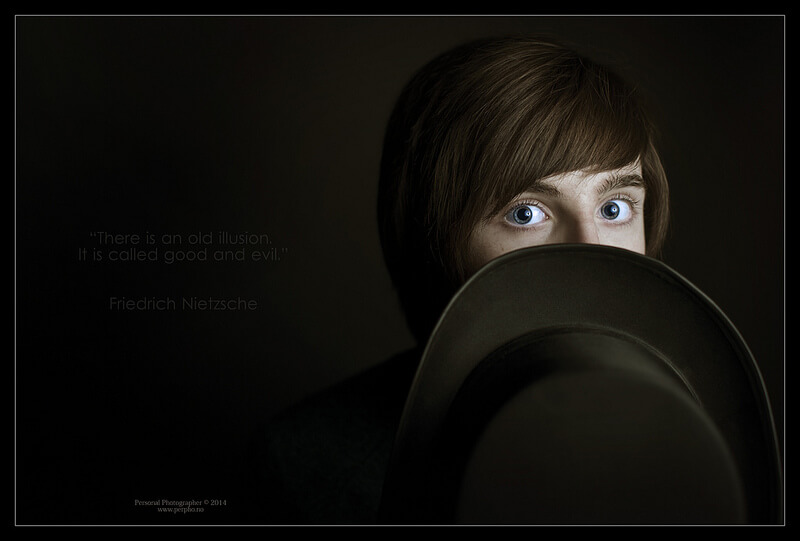
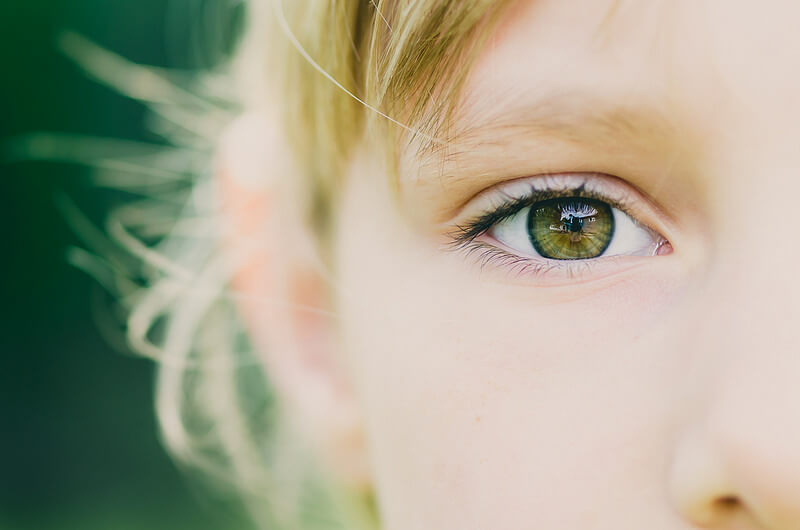
First off, always focus on the model’s eyes. As the old saying goes, “The eyes are the windows to the soul.” To capture your subject’s ‘soul’ or personality in a close-up, pay attention to the eyes. Even if you choose a soft focus for the rest of the image, the eyes should always be sharp and in focus.
Also, shoot from a flattering angle to play down the details that your model may be self-conscious of. For example, an image will be more flattering if you shoot with the camera slightly higher than the model’s line of sight. This angle will slim down the face and give the nose a more flattering shape.
However, for models with bald heads, try lowering the camera slightly and having the person elevate their chin very slightly. This angle will avoid shine or light bounce, which brings attention to the bald head.
Likewise, you can minimize prominent ears by changing the model’s pose or your angle. When you arrange the shot, avoid any angle/pose where the person faces the camera directly head-on. Similarly, for a prominent nose, avoid any shot where the model is turned in profile. Instead, have them face the camera straight on.
Glasses can make a person look attractive or odd in a portrait, depending on the angle. Any reflection of light on the glasses will block out the model’s eyes–a look you definitely want to avoid. You can prevent this reflection by asking the model to lower their chin just slightly. This simple change will keep reflections off the glass and be unnoticeable in the final picture.
4. Aim for softness.
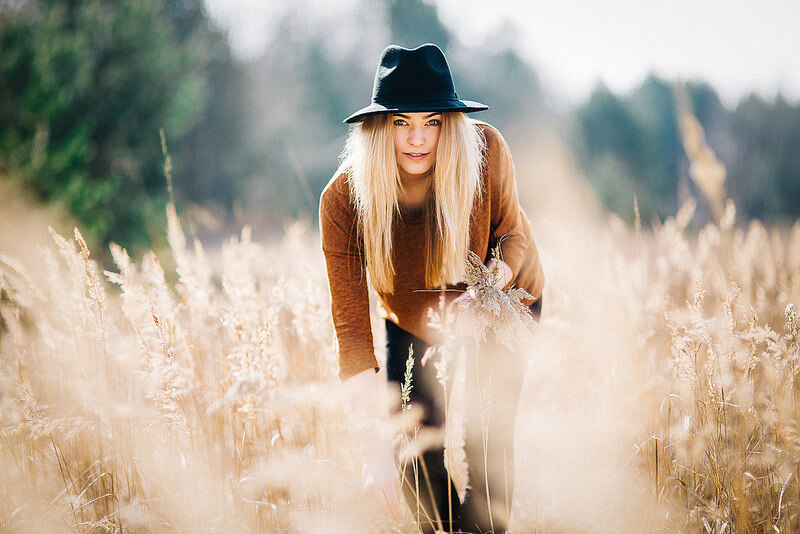
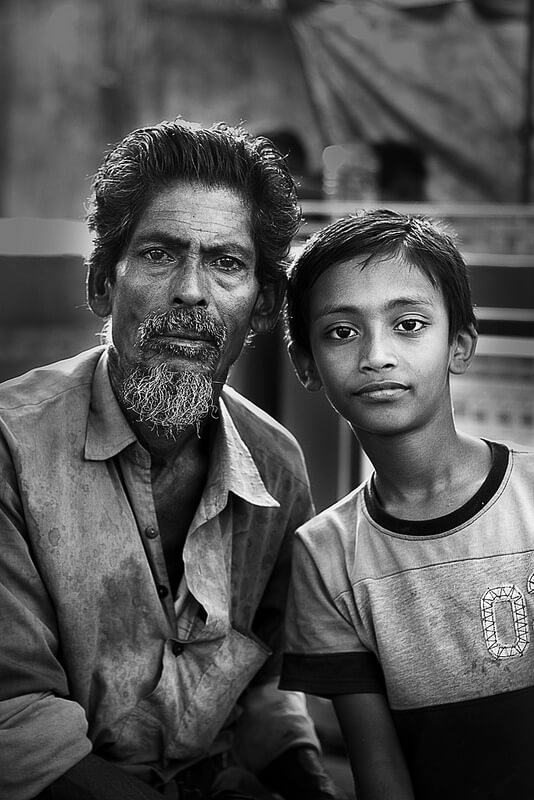
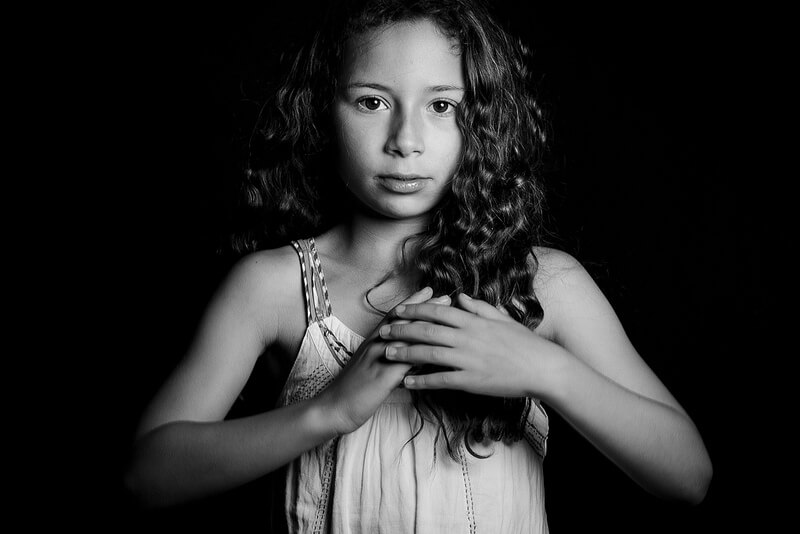
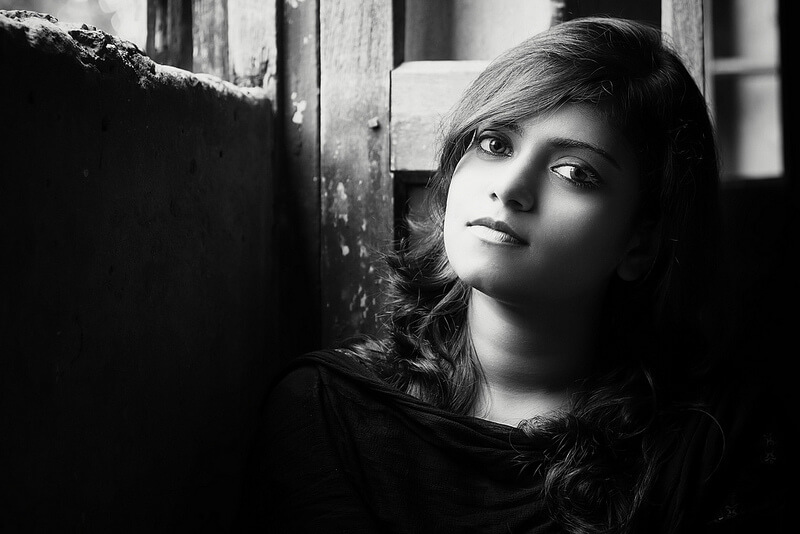
Typically, softer portraits look better. Although softness isn’t a fixed ‘rule’ of portrait photography, it does tend to work well, especially when photographing women and children. Soft images will minimize any distracting defects, skin flaws, or characteristics that your model would rather downplay. For instance, older models may appreciate how the soft portrait minimizes their wrinkles.
Of course, it’s possible to overdo softness as well. Keep in mind the preferences of your model, current trends, and your photography portfolio. In the end, the image should resonate with your identity and photography style. Otherwise, you may lose your unique perspective or interest in portrait photography.
In any case, experimenting with softness is easy. For beginners, start by choosing portraits that are slightly farther away (e.g. from the waist up), so less focus will be on the subject’s skin. This step isn’t necessary–close-ups certainly also work with softness–but you might be less frustrated if you start with some distance.
Then, put the main lighting at eye level. This angle helps to avoid shadows that accentuate skin flaws or wrinkles, rather than hiding them.
Finally, use diffusers that attach to flashes and lighting, which give the image an overall soft effect. Be sure to remain focused on the model’s eyes, though. Their eyes are still the soul, after all–and often their most beautiful attribute.
5. Accentuate Jawlines
For men, use the angle and lighting to accentuate the jawline. It’s as simple as having your models extend the neck and playing with the lighting to use the shadows. From there, extend the head up or down to find the most flattering look. For more info on posing men, see this article on Adorama on male model poses.
These photos were selected from our Flickr group. Next time you capture a beautiful portrait, share your photo with the group so we can admire your work!
