Photography is often gratifying, but rarely lucrative. Being a professional or even amateur photographer can push you buy expensive equipment without ‘paying you back’ financially. Sometimes even the basic equipment you need for new projects can seem out of your budget. When this happens, you might be tempted to abandon those projects altogether.
Instead of giving up on your creative goals and projects, try making the equipment yourself first. This strategy may not work for everything, but it can be a great solution for accessories like lighting equipment.
So, if you enjoy DIY projects, like to save money, and are in need of some lighting equipment for your next shoot, take a look at these 10 awesome ideas tried and tested by photographers.
1. Beauty Dish
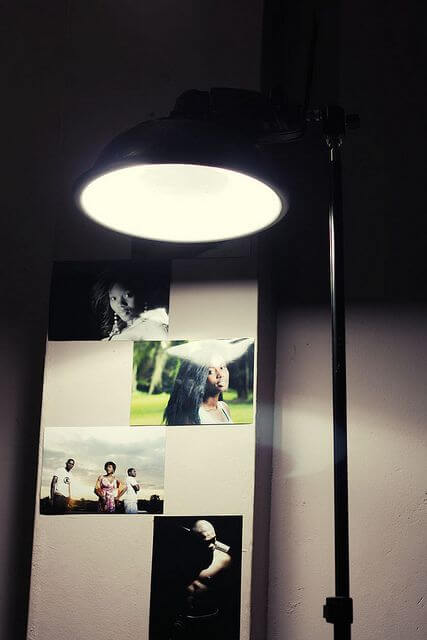
You can make a beauty dish from objects as simple as a turkey pan or plastic bowl. The equipment could cost you as little as $3 instead of $200, and the final photo looks just as good. Check out the instructions here.
Kwame Nkansah – DIY Beauty Dish
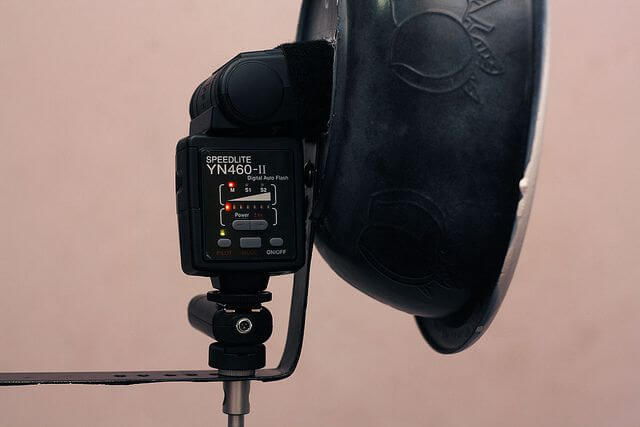
Kwame Nkansah – DIY Beauty Dish
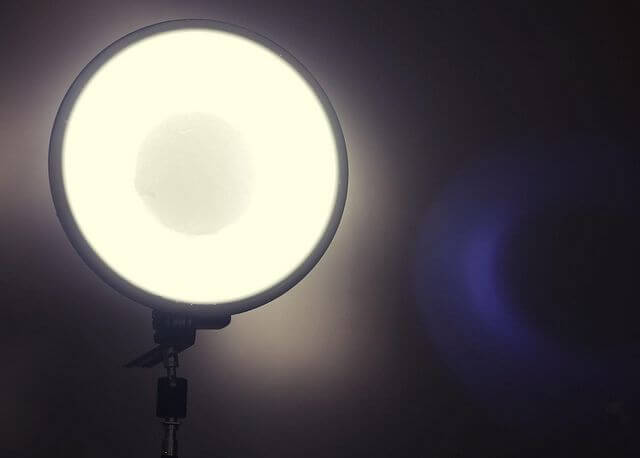
Kwame Nkansah – DIY Beauty Dish
2. Flash diffuser
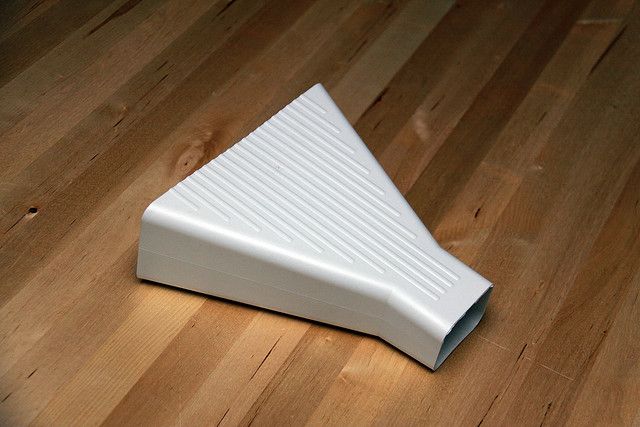
Even relatively inexpensive gear like a flash diffuser can be expensive when your budget is limited. Before using up your savings, try looking around for substitutes at home or while shopping. Photographer Jeff Vier discovered that a downspout funnel from Home Depot made a perfect substitute for a flash diffuser on his Canon Speedlight 580ex II. He saw it had a large surface area, which created excellent shadow softening. It came with little tabs sticking off one side, but he just clipped those off with wire cutters. Other than that, he made no alterations.
Jeff Vier – DIY open-top flash diffuser
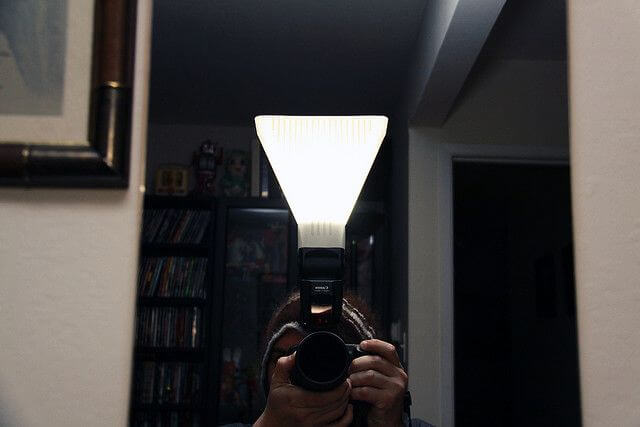
Jeff Vier – DIY open-top flash diffuser/light cloud
3. Straw grid spot
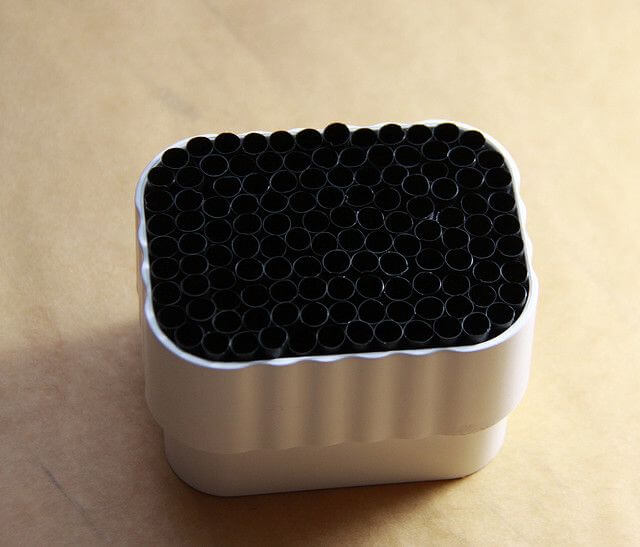
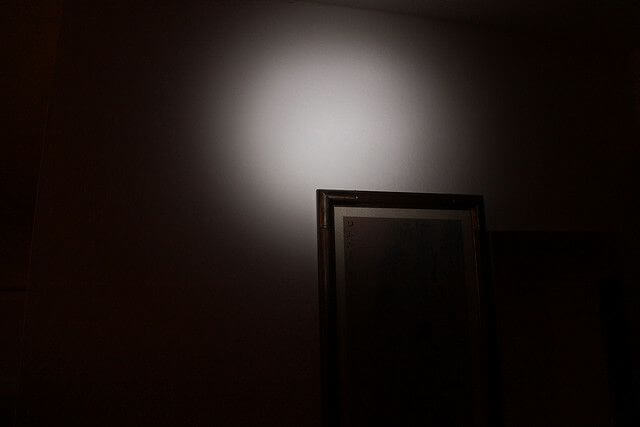
A grid spot is another piece of equipment you can make using cheap home improvement materials. Jeff Vier made his version of a grid spot with a $5 gutter adapter, a 50-cent bag of straws, and some super glue to hold everything together. (He also used an x-acto knife and a scrap of plywood to cut against, but you be fine with just a pair of scissors.) The grid spot he made fit his Speedlight 580 EX II without any alterations to the gutter piece, and it worked great.
Jeff Vier – Example shot with DIY Grid Spot
4. Cardboard Gobo
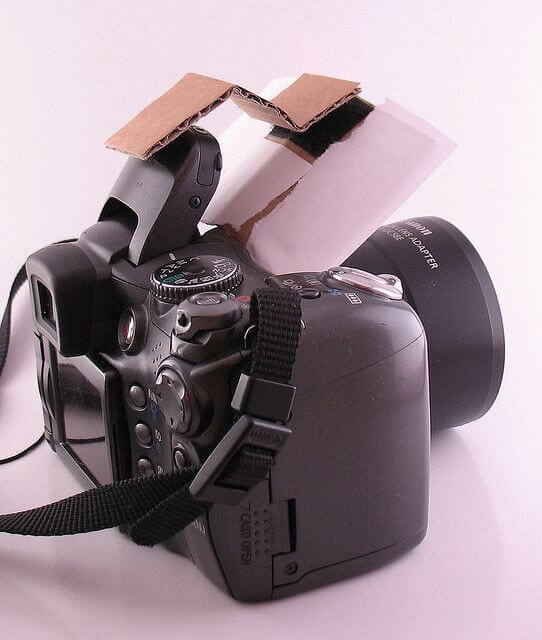
When all else fails, you can try using cardboard. Photographer Tobias Hoffman didn’t have a hot shoe or a PC jack for his camera, so he put together a gobo with two pieces of cardboard, white printing paper, and Velcro. He wrapped one of the cardboard pieces in white paper and used the Velcro to attach everything together. He put one Velcro strip on top of his Canon S3IS flash and another between the cardboard pieces.
“This is really easy and cheap” he says. “It does what it is supposed to do–it successfully blocks any flash from spilling onto the subject while still triggering my external flash guns. Now I can use in manual flash mode the lowest power setting and still trigger my flashes.” He admits that it isn’t really convenient, but he still won’t buy a gobo. “I think one day I will build a more study version.”
Tobias Hoffmann – Gobo for oncamera flash on Canon S3IS
Tobias Hoffmann – pops (taken with a flash triggered by his cardboard gobo)

5. Lightbox
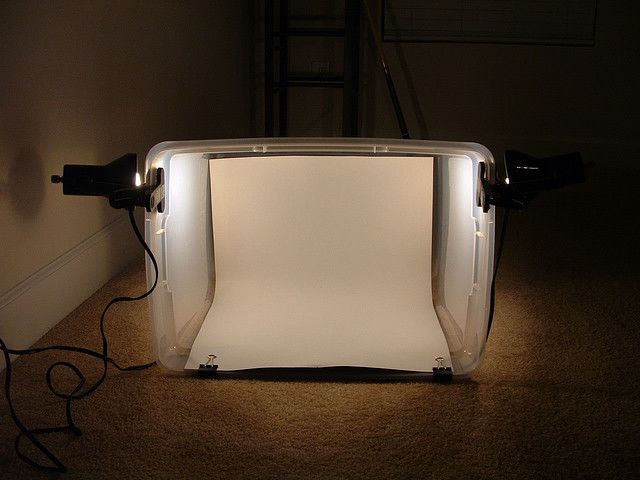
If there’s any piece of lighting equipment you should definitely try to make yourself, it’s a lightbox. There are two ways to approach this project: you can use either a cardboard box or a clear storage bin. For both options, you’ll need white paper or poster boards, plus lighting on the sides. Cheap clip-on lights or florescent lamps work fine.
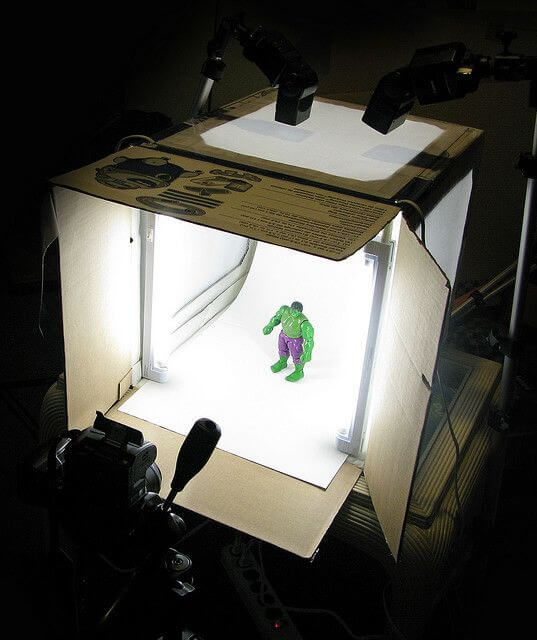
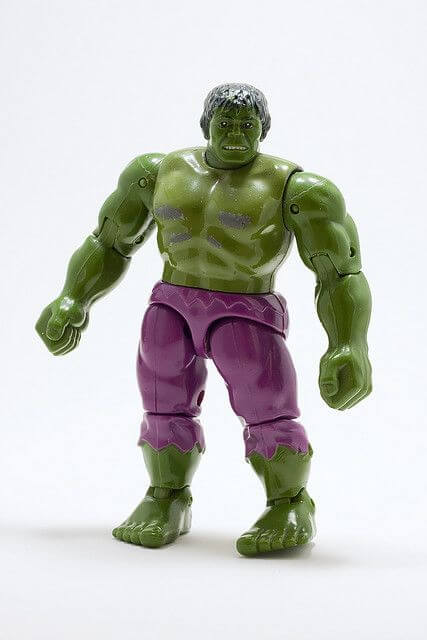
Photographer Michael Carian chose to make a lightbox with a cardboard box. He put holes in the top and side, and covered them with paper. Then, he sprayed the inside of the box matte white. Finally, to make a mini Cyc wall, he put a sheet of paper against the back wall. All he needed for a professional shot after that was lighting: two 18″ florescent lights on the sides, plus two flashes on the top.
Photographer Joe King went with a clear storage bin instead. Following these simple instructions, he was able to put together a lightbox for just $15.
Michael Carian – Hulk (DIY Lightbox Test)
6. Ring Flash
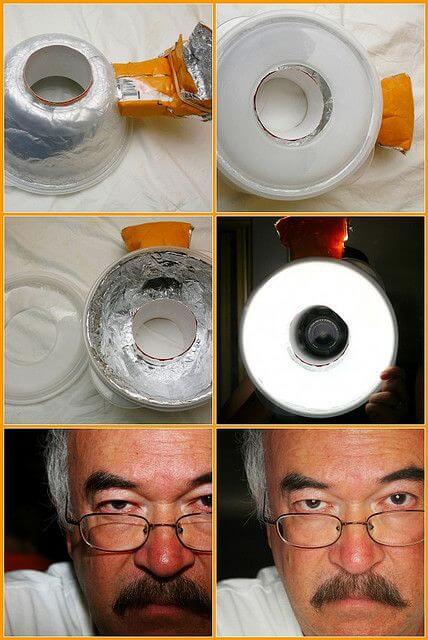
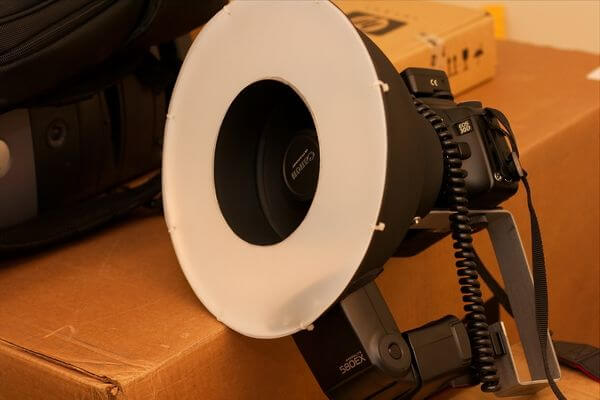
If you don’t mind a more complex DIY project, a ring flash is completely doable. Photographer Amanda Y. created one using cardboard, a clear plastic food bowl, wax paper, lots of foil, and a Big Gulp cup from 7-11, lined with black paper. Her tools were scissors, tape, and a Dremel tool kit. Read her full instructions here.
Feeling ambitious? You can make a nicer version that’s slightly more complicated by following these video instructions: part 1 and part 2.
Roy Niswanger – DIY Ring Flash Test
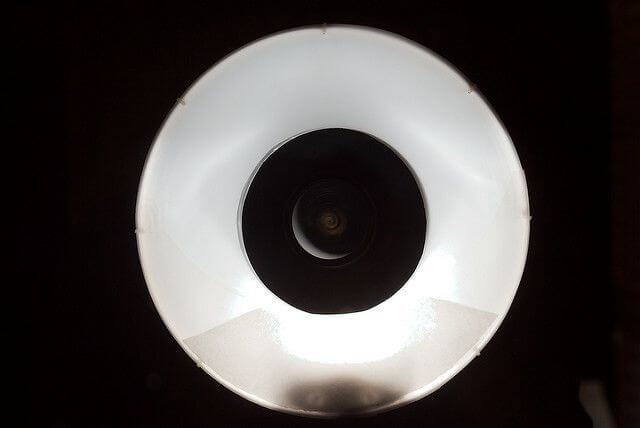
Roy Niswanger – DIY Ring Flash Finished Build
7. Snoot
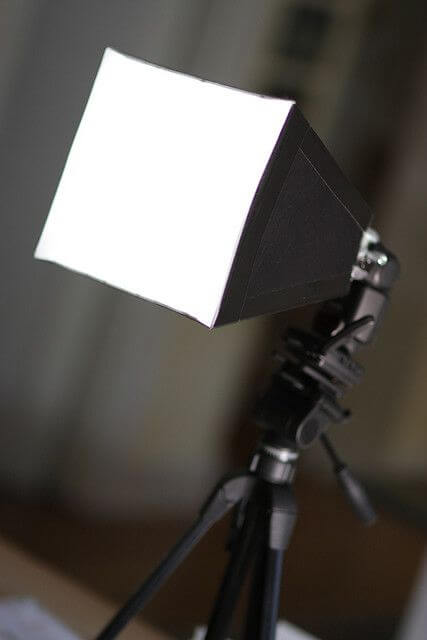
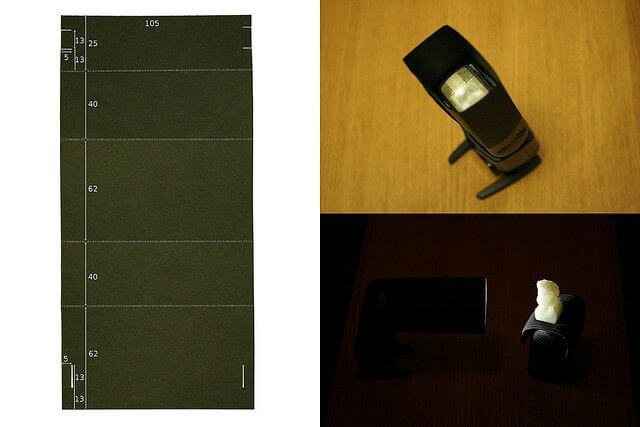
Unlike a ring flash, a snoot is incredibly simple to construct. Photographer Philippe Teuwen used 100% black cardboard, measured and folded to match his Speedlite 430EX exactly. He didn’t even need tape.
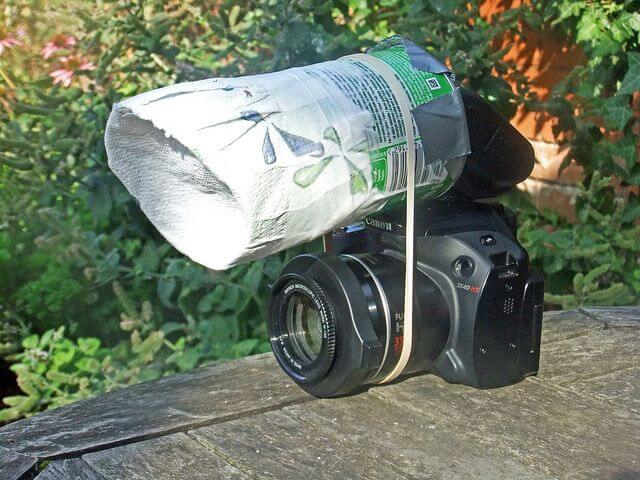
Outdoor photographer Martin Cooper made a more rugged snoot using a Pringles tube, held in place by a rubber band. He cut a slot at one end for the flash, then cut diagonally across the other end to direct the light. Next, to diffuse the light, he used gaffer tape to attach a paper towel over the diagonal end. He also put gaffer tape around the edges of the slot so it wouldn’t scratch the flash gun.
Philippe Teuwen – Cheap handmade snoot
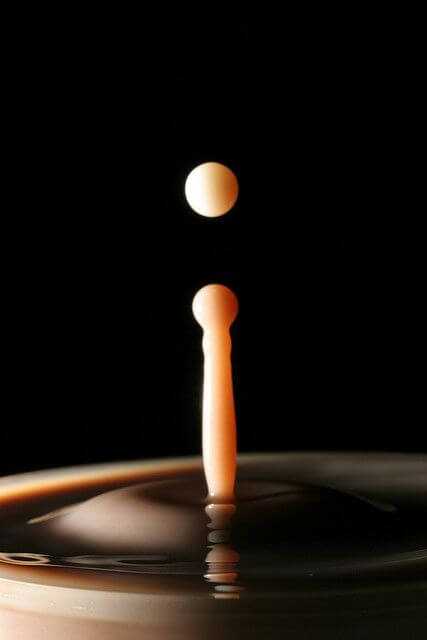
Philippe Teuwen – Drop-impact backjet
Martin Cooper – Outdoor Macro kit
Martin Cooper – Female Anthomyiidae

8. Softbox
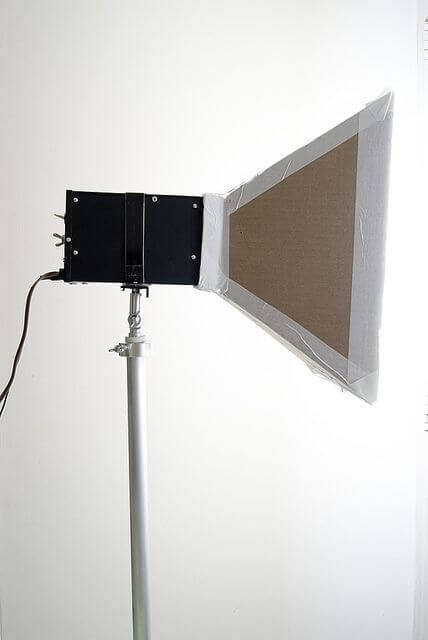
You can make a softbox in several ways. Photographer Alexandre Ataide constructed one using a cardboard box, but you can also make a softbox out of oak tag paper or even a plastic box. Photographer Nick Allen chose to use oak tag to make his. “I probably spent ~$10, and I am overwhelmingly impressed with my results,” he says. His softbox doesn’t fold together like a ‘real’ softbox, though. So, if you travel a lot, you might want to choose a different construction method.
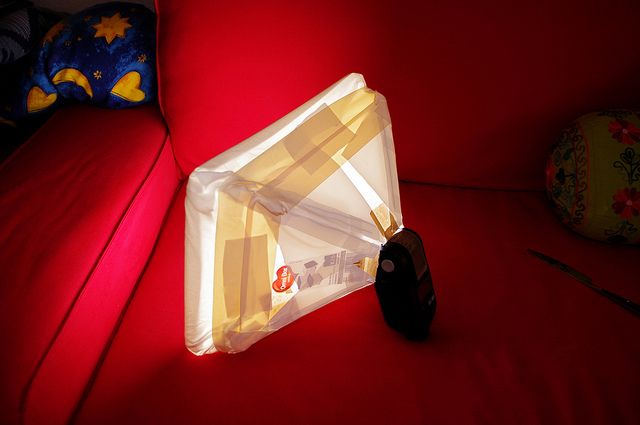
A cheap plastic box will give you similar results. Photographer Gunnar Grimnes put his softbox together with an old white t-shirt, a €2.99 plastic box, and a €1.99 roll of white self-adhesive sheet. It doesn’t look pretty, but it works exactly how it’s supposed to.
For detailed instructions on how to make one from cardboard, check out this video. Then, you can just improvise according to the materials you’ve chosen.
Alexandre Ataide – my own flash
9. Straw spotlight
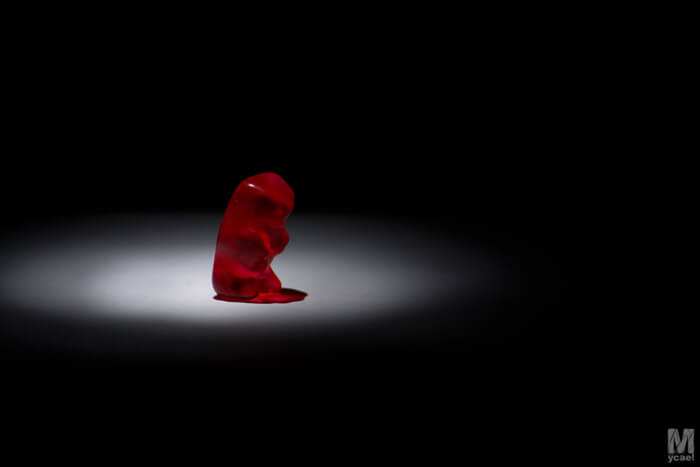
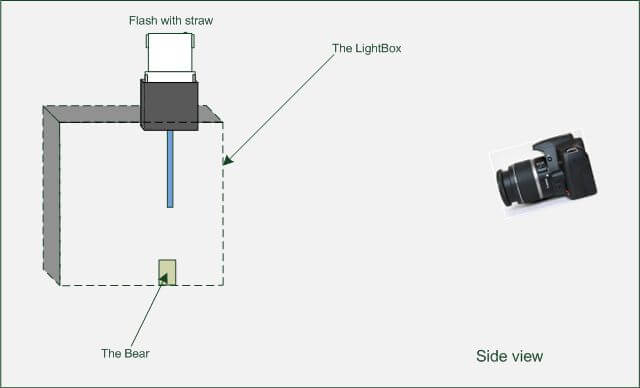
The DIY mindset isn’t only useful for saving money. It can also help jumpstart your creativity and get you to rethink how you set up lighting for a shoot. Photographer Michael Hensmann was able to create some awesome photos of gummy bears just by changing the way he approached lighting. His photos show gummy bears in unusual poses or situations. What makes his photos unique, though, is the tiny spotlight he used to draw attention to the gummy bears.
How did he create such a tiny spotlight? All he needed was a drinking straw. This straw worked as a micro-snoot, so when he put his flash on top of the lightbox, he had a perfectly-sized spotlight for the gummy bears.
Michael Hensmann – Loneliness
Michael Hensmann – This is a side view of the light set-up:
10. Umbrella
DIY projects can seem intimidating at first, but when you finish one with fantastic results, it’s tempting to try another one. You might even begin to find inspiration in trashed objects like a broken umbrella. Photographer Heipei, after building his own lens hood and mini-softbox, decided to make his own reflective umbrella using a broken rain umbrella. “I simply taped plain printer paper to the inside, sawed off part of the handle and stuck it in the grip of my tripod,” he says. It may seem strange and unprofessional, but it got the job done–and it was fun to make.
heipei – Reflective Umbrella DIY
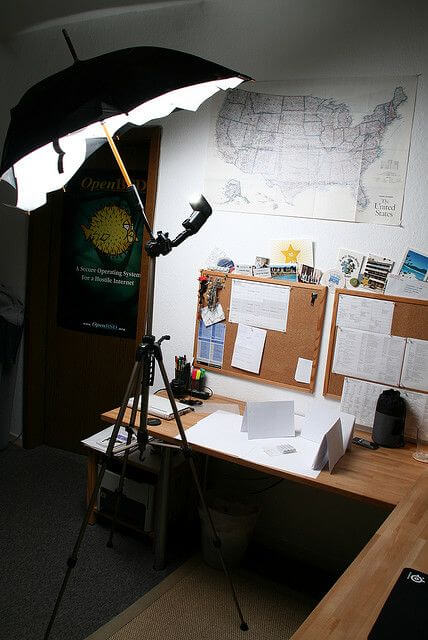
heipei – Reflective Umbrella DIY
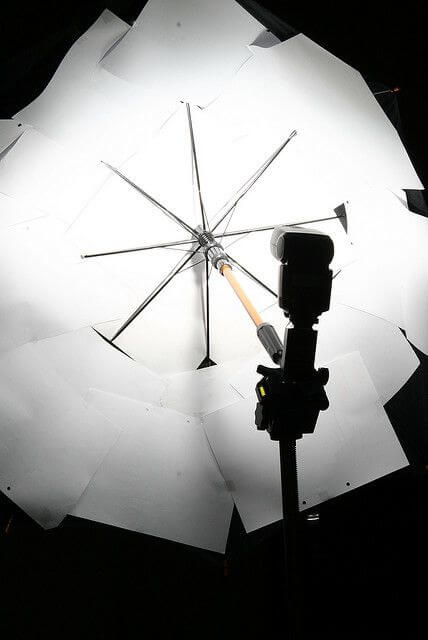
heipei – Reflective Umbrella DIY

