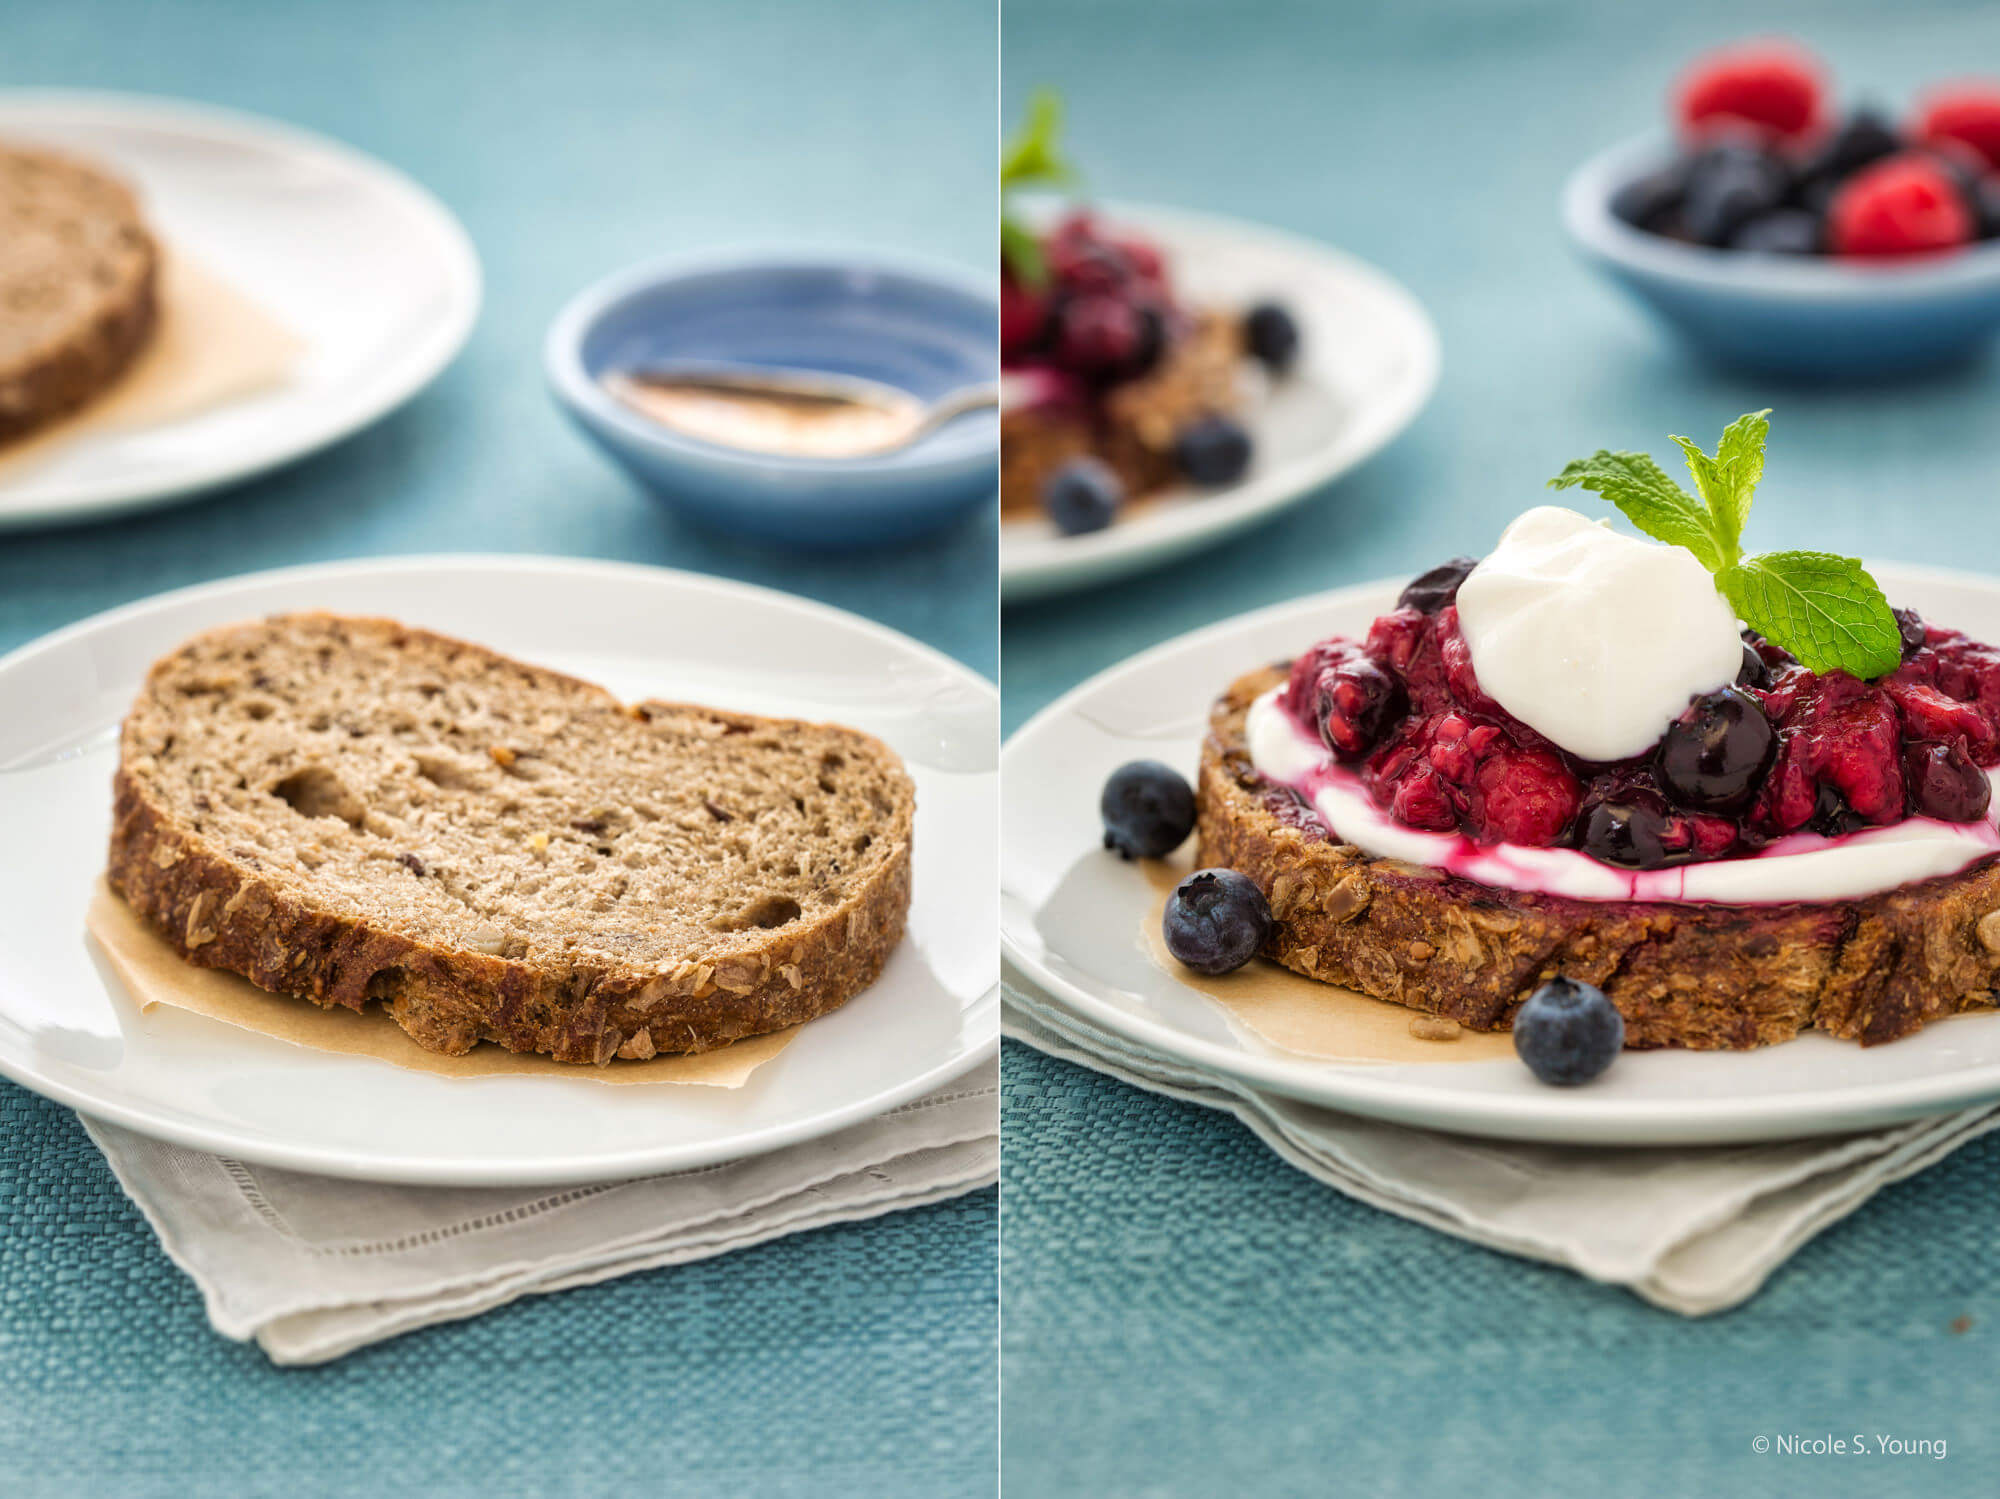
We all love looking at photos of tasty food. In fact, one of the best compliments I receive on my food photographs is that they make people hungry! Capturing the flavor and aroma of a dish is impossible with photography; however, we can make the image look so good two-dimensionally that the viewer’s imagination kicks in. Making an image look as tasty as the food it depicts is one of the main goals of food photography. If you’re just starting out with photographing food — or if you’d like a refresher — check out my five top food photography tips.
All images created by Nicole Young and edited using LuminarAI.
Food Photography Tips for Tasty-Looking Images
- Use Freshly Prepared Food
- Make It Colorful
- Add Movement
- Use Small Dishes
- Give Your Food Photos Life in Post-Processing
Food Photography Tip #1. Use Freshly Prepared Food
It might seem like a no-brainer, but one of the best ways to make your food photos look delicious is to photograph food while it’s fresh. Cooked food needs to be plated and photographed immediately, as its beauty will likely fade within five to ten minutes of its sitting out. This timing will vary depending on the ingredients and type of preparation, but it’s good to keep in mind that it won’t look its best for very long, even though it might still taste good. You’ll want to make sure you work quickly and get your images before the food “dies” on set.
One way to ensure you’re ready for your dish is to create a stand-in object. This is one of my go-to food photography tips for every single food photograph I create. A stand-in is an object that’s similar in color and size to your food and is placed in the same dish on-set that you’ll be using for your actual food photographs.
Sometimes, it can be as simple as a crumpled-up piece of paper, or it can be samples of the food you’ll be using in your main image. A stand-in allows you to fully construct your tabletop scene without wasting time with a freshly cooked dish. You might still make changes to your setup after the food is prepared, but using a stand-in will help get you about 90% of the way there.
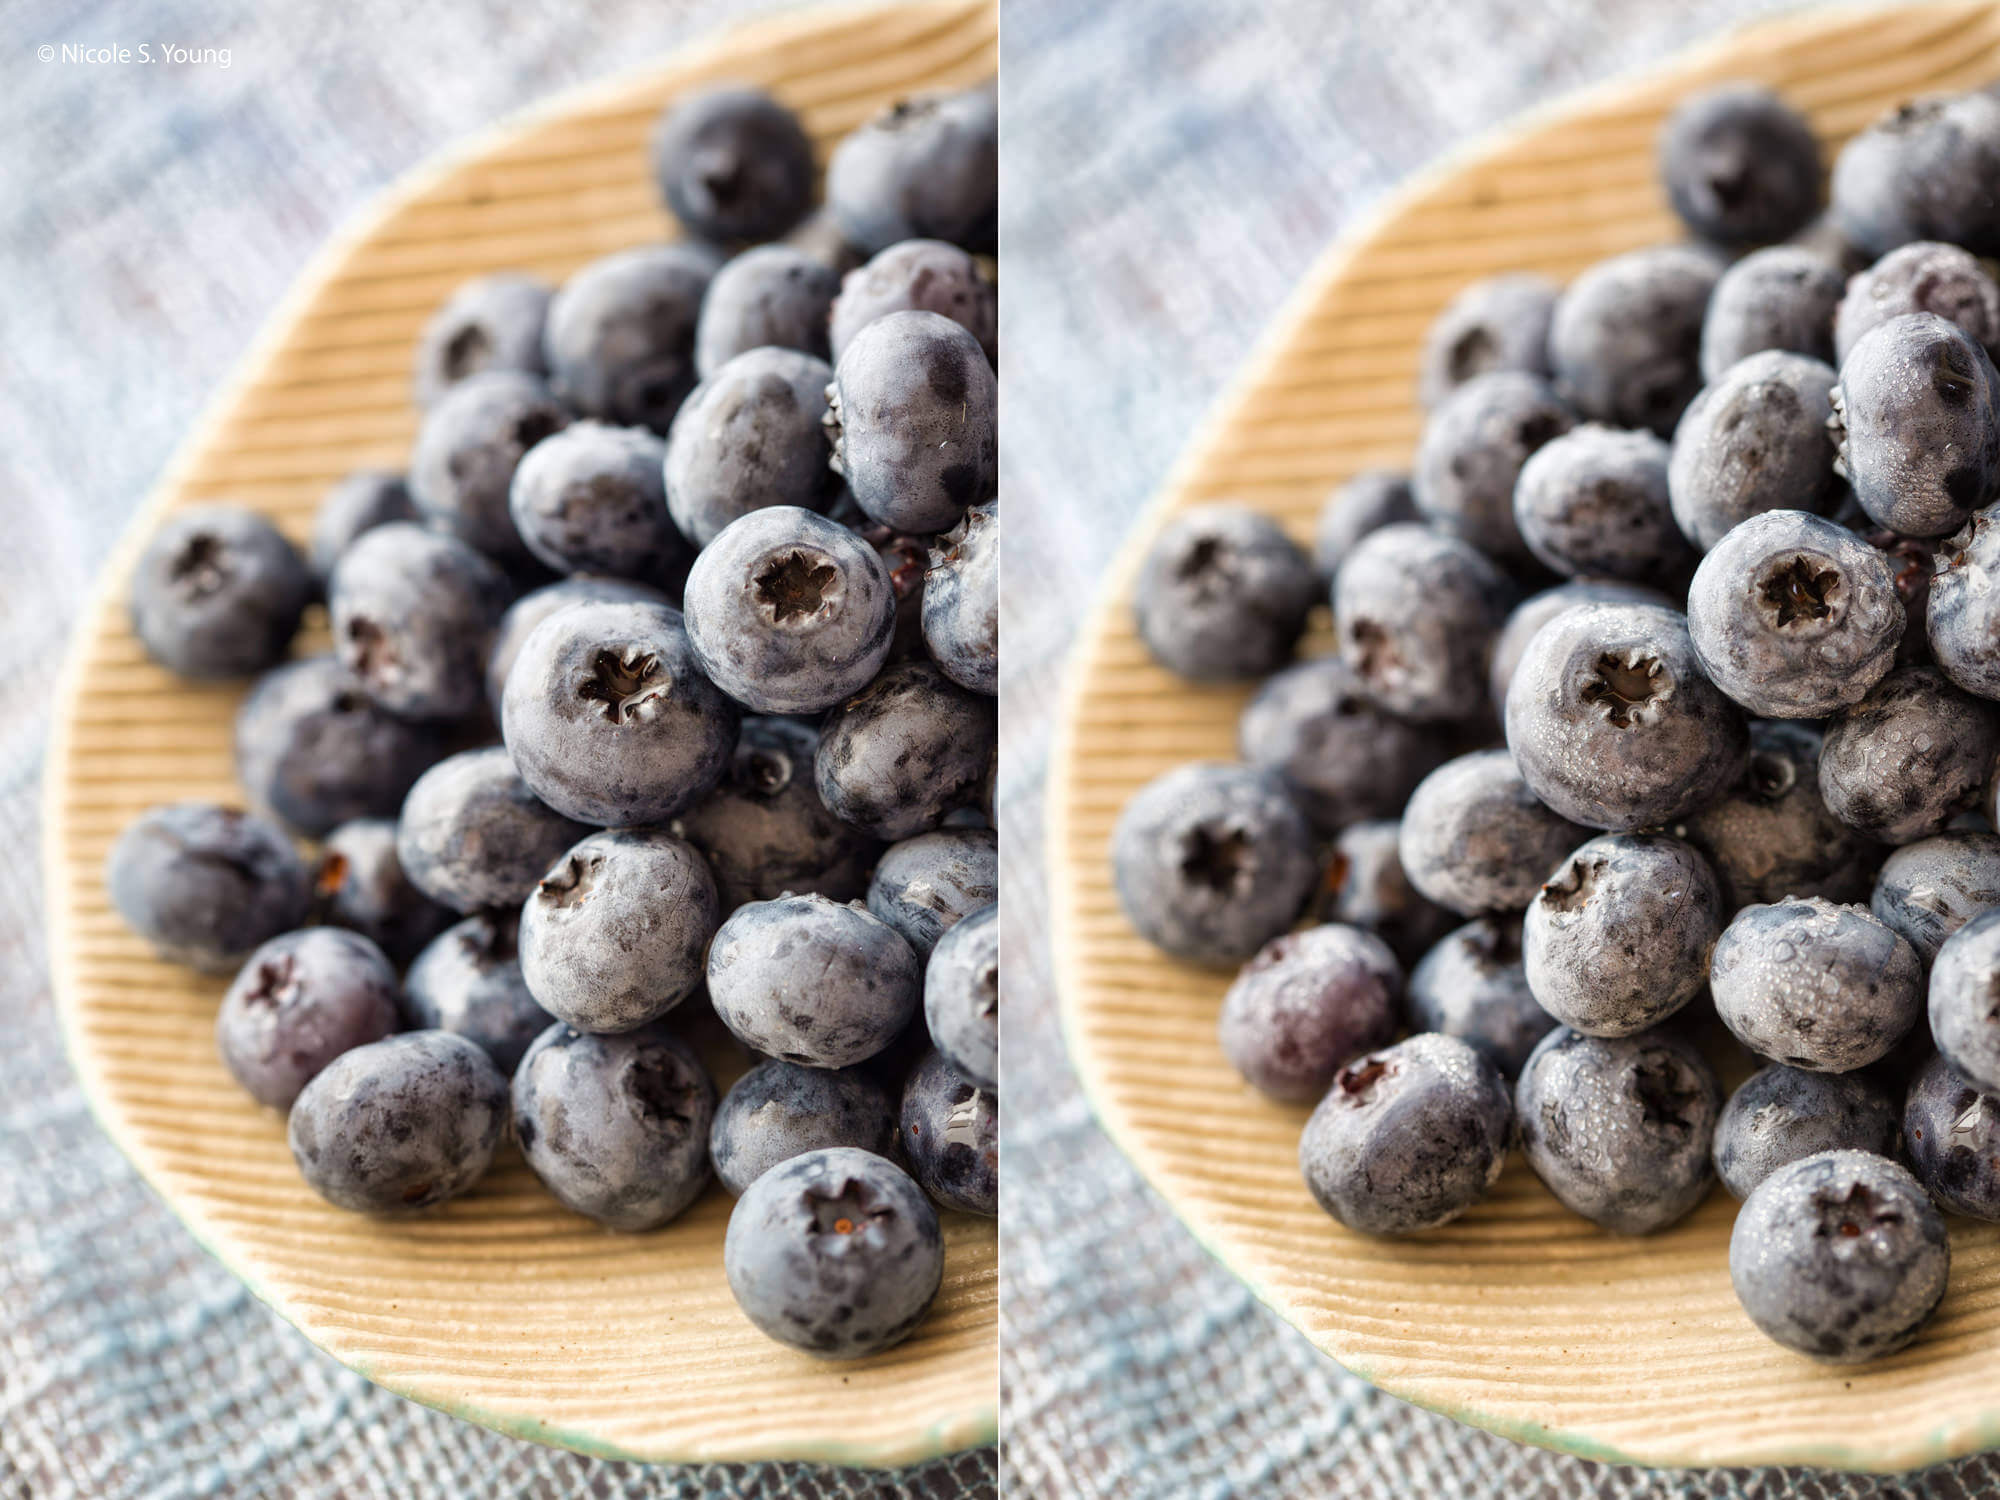
Food photography tips apply to uncooked foods as well. If you’re photographing something that doesn’t need to be cooked, such as a bowl of fruit, you’ll still want to make sure it hasn’t been sitting out too long. Uncooked food will last longer on set, but in time it will start to look sad and withered. One trick I use to make sure fresh fruits and vegetables look fresh is to spritz them with a fine mist to add small water droplets. This helps them look fresh and clean for the camera.
Tip #2. Make It Colorful
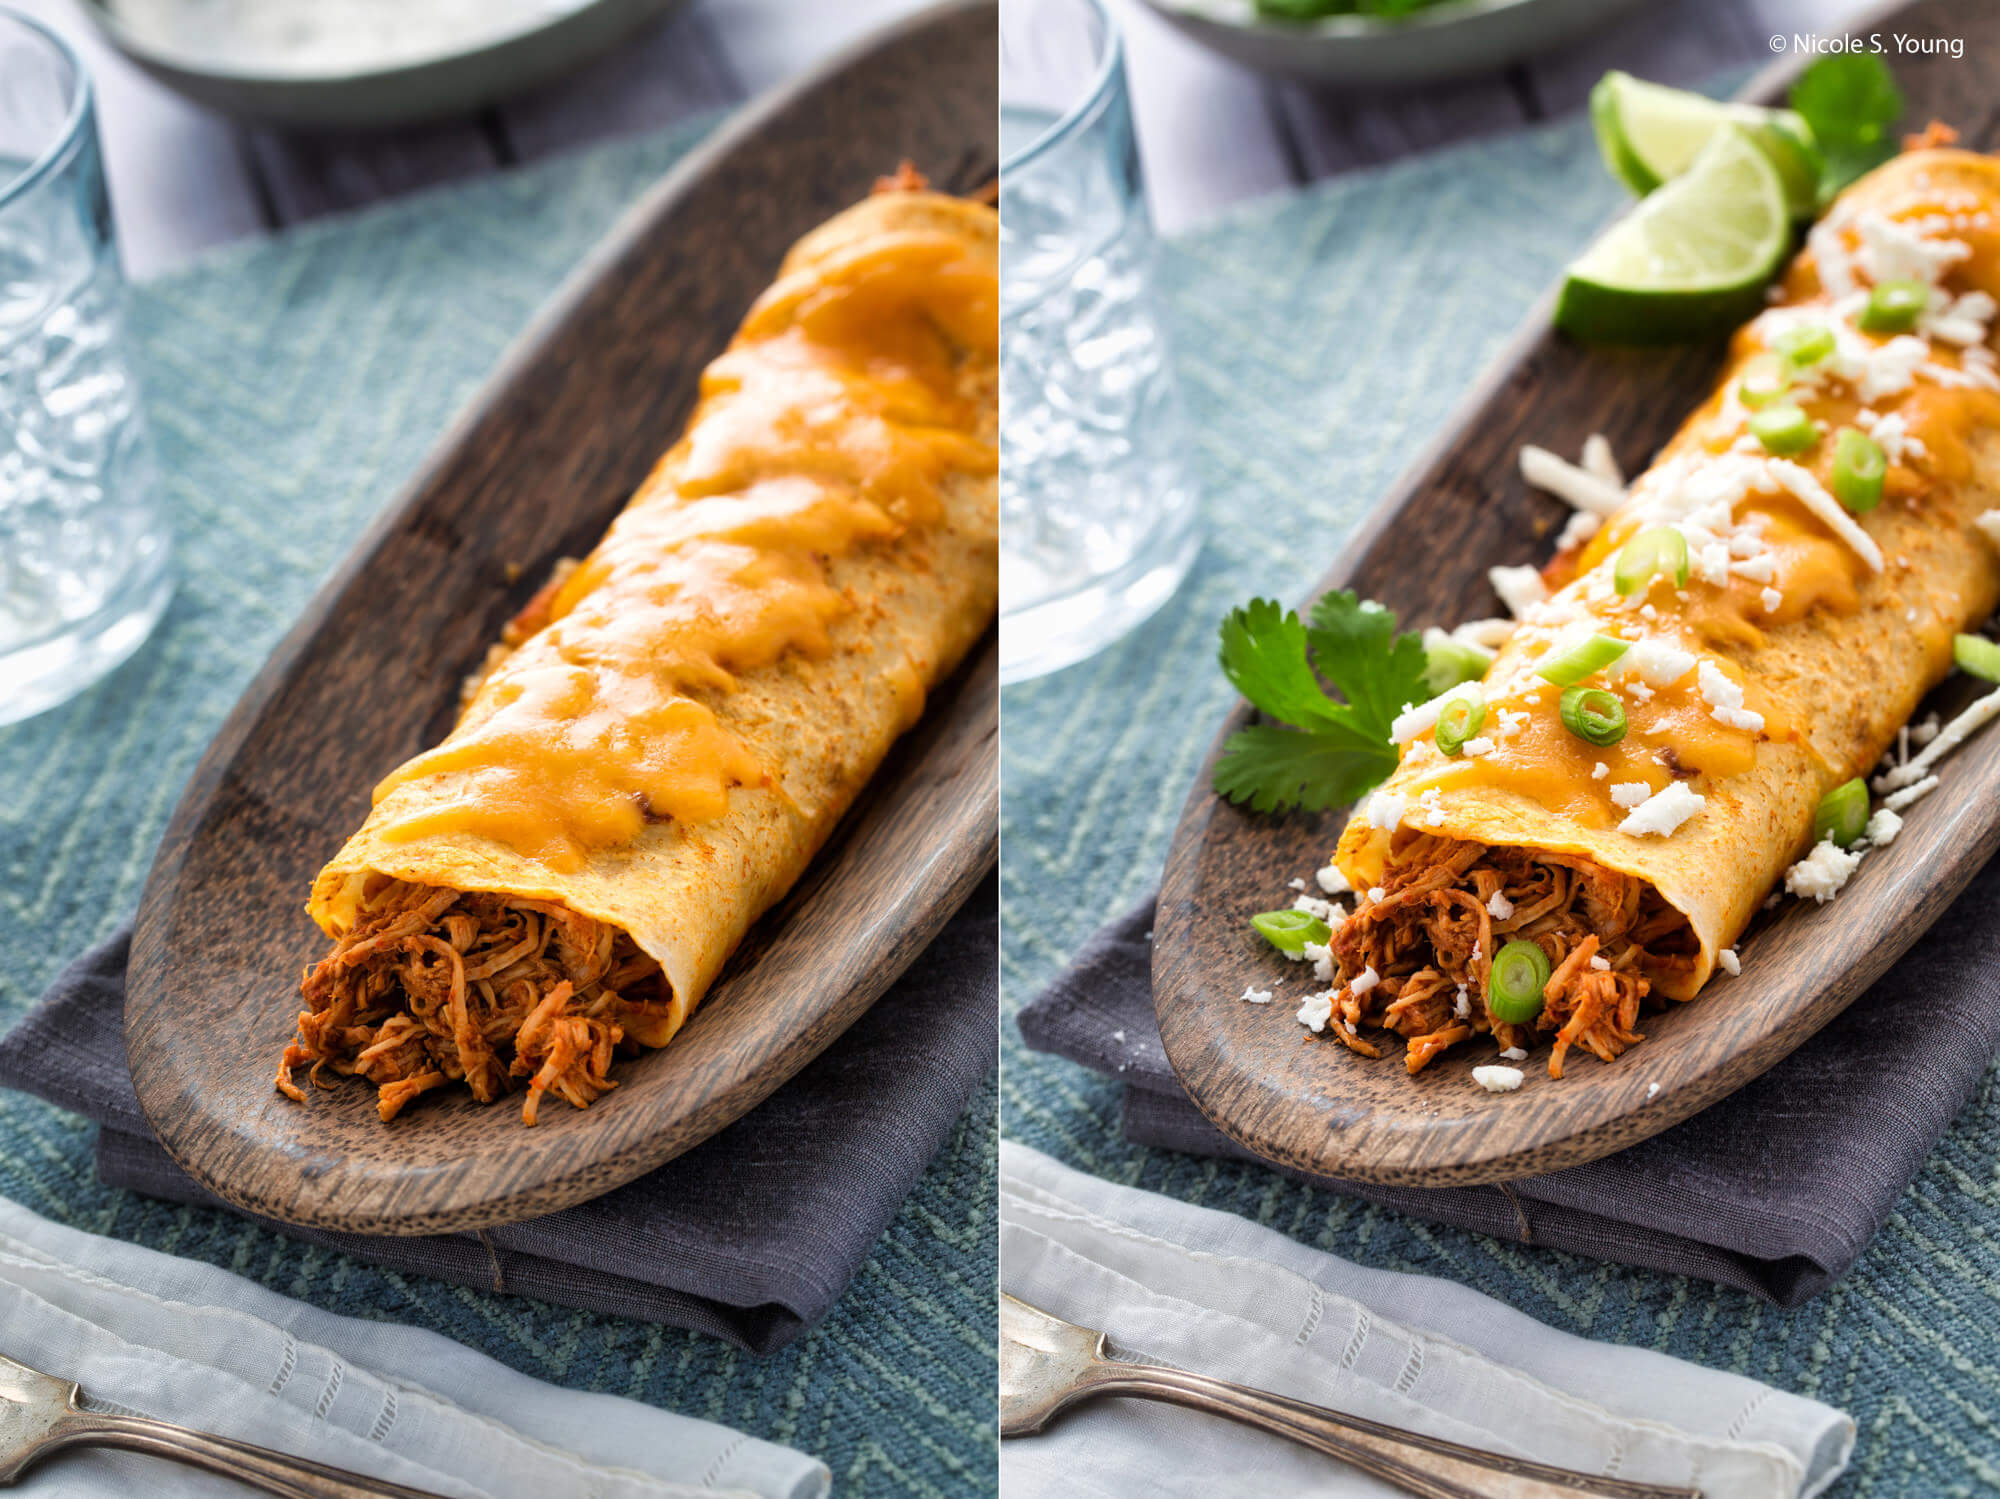
Let’s be honest: Some food doesn’t look entirely appetizing on its own. When you have a lot of browns and oranges in your dish, it can easily start to look mushy and blah. Whenever I photograph food that might not have an appeal all on its own, I make sure to add a colorful garnish to balance it out. Sometimes all it takes is green herbs or vegetables to improve the look of a food photograph.
In the above image, I had a nicely wrapped enchilada, but the browns and oranges were very similar to each other and didn’t look fresh. The tablecloth is a nice color, and the blue contrasts well with the meal, but this dish still needed garnishes to make it look more appetizing. To improve it, I added green onions and Cotija cheese on top of the enchilada and garnished it with cilantro and lime wedges.
A pulled pork sandwich, on its own, is brown and bland-looking. If you’ve ever eaten one, though (or have enjoyed a delicious and tangy barbeque sauce) you know that the flavor is far from boring. Still, the colors in this image needed some improvement. So, I added freshly made coleslaw as a garnish on top of the pork inside the sandwich, giving the image a bright and colorful appeal.
On its own, shrimp can look colorful and delicious. But when photographed, if it has nothing to balance it out, it will be a sea of pink and white. For this food setup, I decided to add elements of green by integrating green onions within the sauce and between each shrimp to make sure the pinkish color of the image wasn’t overpowering.
Food Photography Tip #3. Add Movement
Food photographs are typically considered still life images, but I like to make my photos come to life by implementing movement in the scene. This can be done with utensils, hands, or even with the cooking process. I bet you didn’t expect to find action shots included in a list of food photography tips.
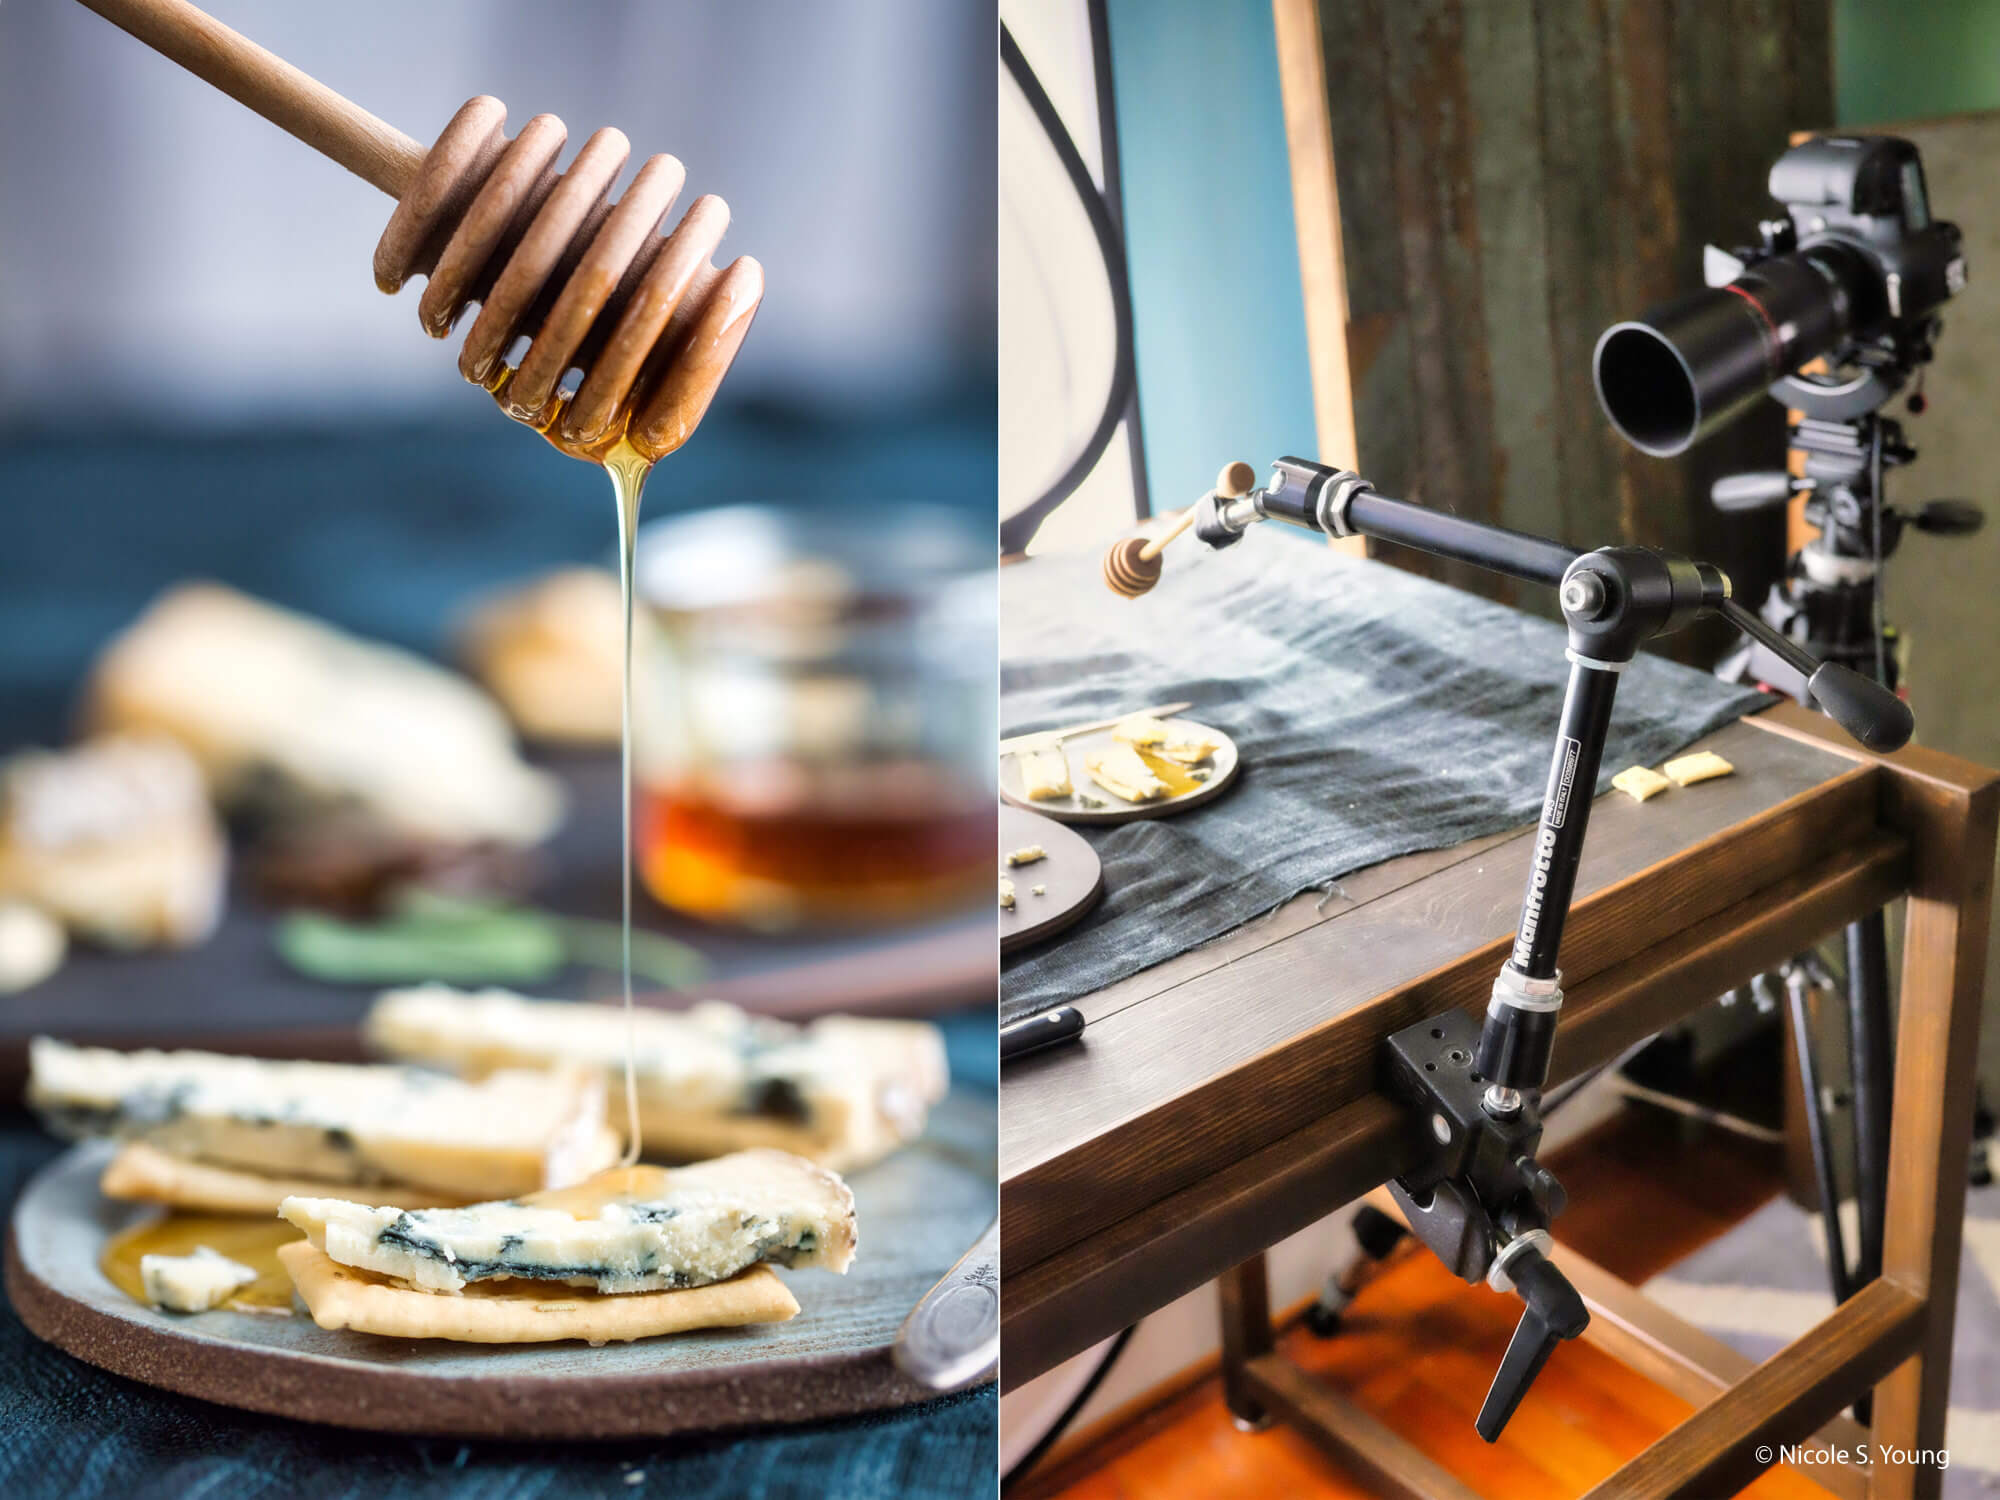
The series of photos I created with this setup consisted of several still life photos of a cheese plate with jam and honey. I first created as many still images as I required, and then I was able to have some fun with the food! To add an element of life and movement, I used the honey dipper to drip honey on a plate with cheese on it, implying that there was a hand off-camera doing the action.
In this photo, however, I used a piece of photographic equipment called a magic arm and positioned it so it would be perfectly composed for this setup. To add movement, I raised the small jar of honey to coat the honey dipper, then took several photos to capture different stages of the drips.
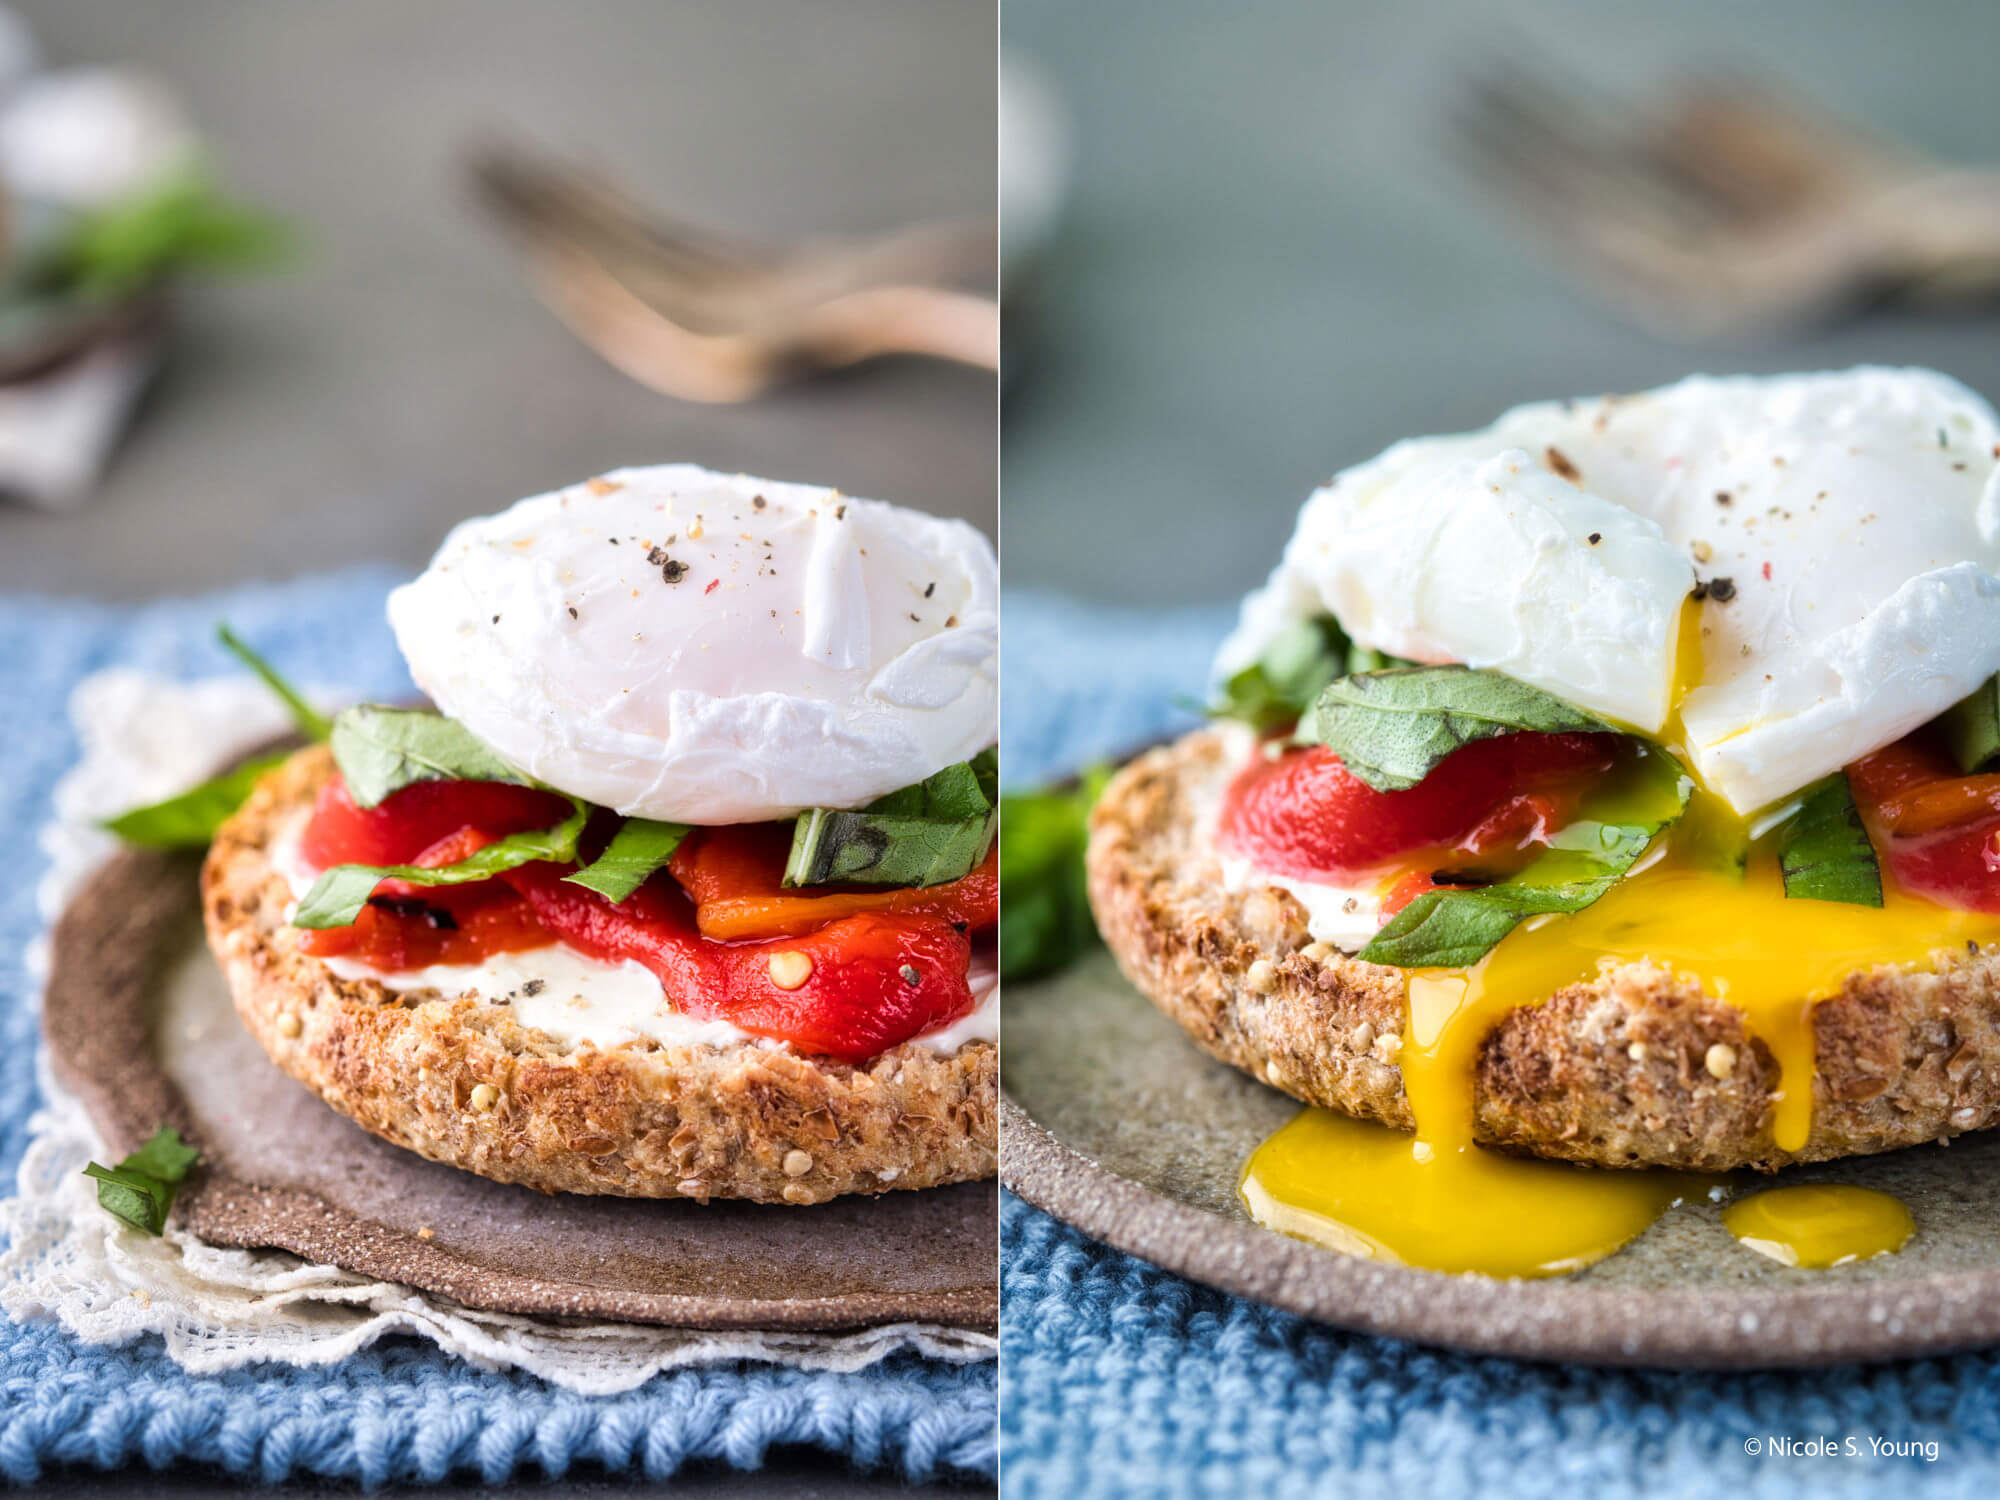
One of the many culinary pleasures I love is a perfectly poached egg. With this image of Eggs Benedict, the first shot looks good, but it’s definitely missing something. After I was certain I had the best composition, lighting, and setup, I used a knife to make a small slit in the egg, allowing it to drip and run down the food and onto the plate. This movement makes the photo look delectably messy and inviting.
Another way to add movement to a photo is to use the elements involved in the cooking process. This pile of asparagus is cooking on a grill and the wood is adding smoke to the surrounding area. I took advantage of the atmosphere surrounding the food and photographed it head-on to capture the smoke filling the scene.
Tip #4. Use Small Dishes
One trick I use when photographing nearly any plate or bowl of food is to use a dish that’s a bit smaller than I would use in real life. Unless it’s a design choice (such as a chef-plated meal with a large white plate, for example), you’ll want to make sure there’s not a lot of excess plate or bowl space left over in your scene. This helps fill the scene and make the food look big and beautiful.
In the above image, the items I was photographing were quite small. I wanted to place only a few items on the plate, but I also didn’t want there to be too much excess plate surrounding each item. Instead, I opted for a small plate (roughly 4 to 5 inches wide) so that I could easily zoom in on the food without being overwhelmed with the plate.
Sometimes, you’ll want to showcase a standard-sized dish of food, but you’ll want to make it look big and appetizing. For this setup of a traditional Thai noodle dish, I used a very small bowl. This makes the greens and other garnishes look large and delicious.
Set the Scene
It’s good practice to mindfully set up your scene.
Setup Method 1: Table Setting
One way to do it is as if you were going to sit down and eat. For this method, I like to add elements to the background that make sense, such as a beverage, utensils, and napkins. Occasionally, I add full plates of food in the background to mimic a table setting for multiple diners.
What you want to avoid when using this style of setup is adding uncooked items, such as uncut bell peppers or a head of garlic. Adding dishes in the background adds to the reality of the food setup and makes the photo feel more inviting.
For the above image, I used a light blue tablecloth to help bring out the blue in the blueberries. I also added a glass of orange juice in the background along with a small bowl of blueberries. As a result, we get a realistic addition to this table setting. To finish it, I added a fork in the scene, implying that you can sit down and take a bite.
This image of grapefruit salad is bright and colorful, but I didn’t want to forget the fork! I also added a second bowl of fruit salad in the background. It’s out of focus but adds depth.
Setup Method 2: The Perfect Ingredients for Still Life
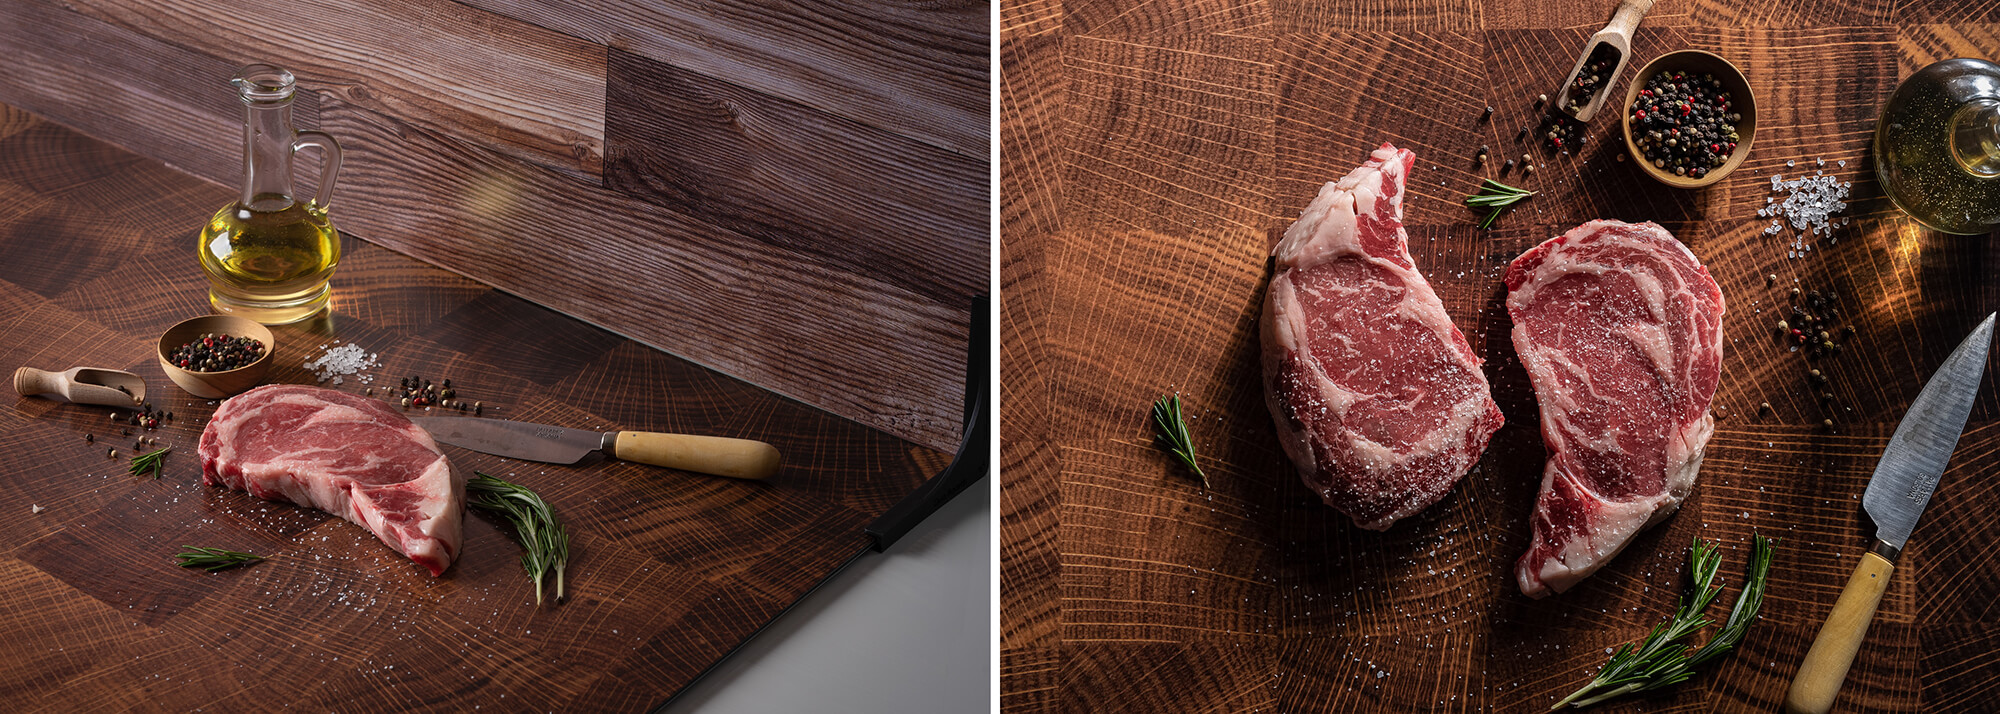
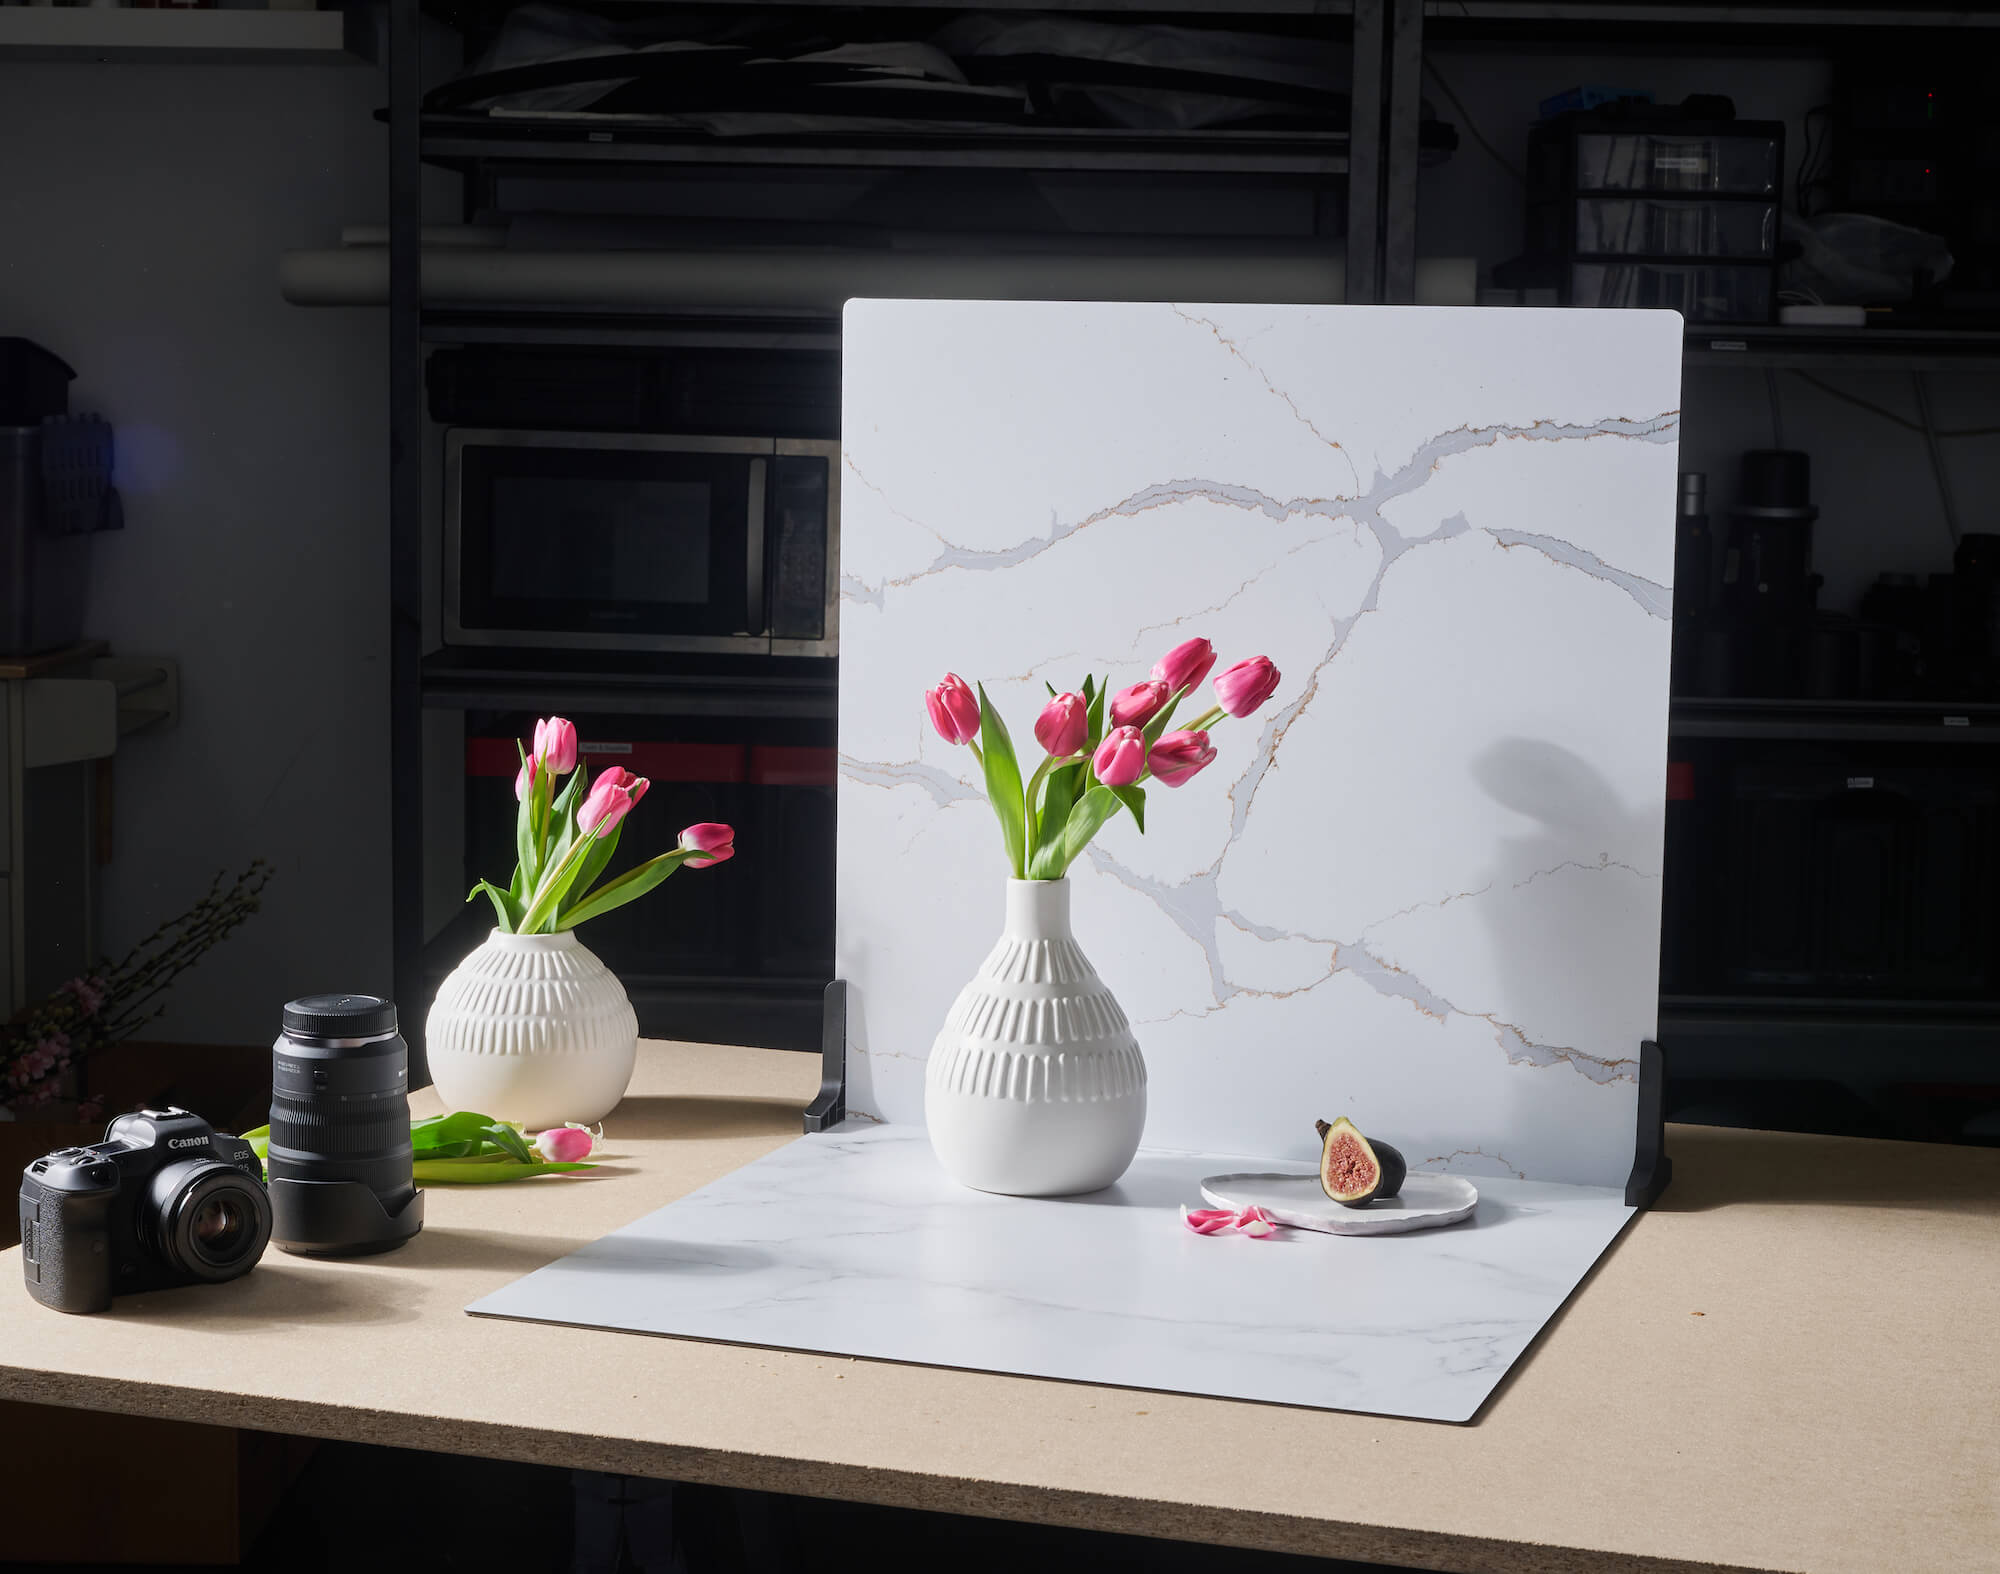
Another great way to set up for your food photography is to use hyper-realistic backdrops that complement food prep or provide a scene built for beautiful still life photos.
You might not always find an ideal backdrop for cataloging food prep shots (or any food photography shots) when shooting on location, but you can easily take along some highly portable photography surface boards and ensure that you’ll have a great backdrop no matter where you find yourself. If you’re unsure which boards to try, I recommend checking out V-Flat World’s Duo Boards. They come in two sizes (24″x24″ or 30″x40″) and offer a wide range of textures (wood grain, concrete, marble, subway tiles, and more), with each featuring a different texture on each side of the board. They’re also highly durable and easy to clean.
The portability and numerous texture options of photography surface boards make them highly versatile for a number of genres. In addition to food photography, they also work well for product photography, wedding photography, newborn photography, and even headshots (in a pinch). You can find more ways to use these small to medium-sized photography backdrops here.
Food Photography Tip #5. Give Your Food Photos Life in Post-Processing
The final step in creating a beautiful and mouth-watering food photograph is to edit it. With LuminarAI, you can boost the color (and even fix it as needed with the Color Cast Removal slider), add contrast and light with EnhanceAI, improve the details with StructureAI, and add a finishing touch with one of my favorite tools, Mystical. LuminarAI has a lot to offer and is incredibly useful for food images.
I hope you enjoyed this collection of food photography tips for tasty-looking images. A little prep and planning goes a long way towards improving food photography, whether for professional or personal use. Be sure to visit Skylum to get your own copy of LuminarAI and practice perfecting your food photography. Make your photos turn out as appealing as the dishes you’re photographing for $10 off the full purchase price. Use the following discount code: PHOTOARGUS.
About the author: Nicole S. Young is a professional photographer living in Oregon and the author of Food Photography: From Snapshots to Great Shots. In addition to food photography, Nicole focuses on landscape and travel photography as well as photography education. You can learn more about Nicole and view her portfolio on her website Nicolesy.


