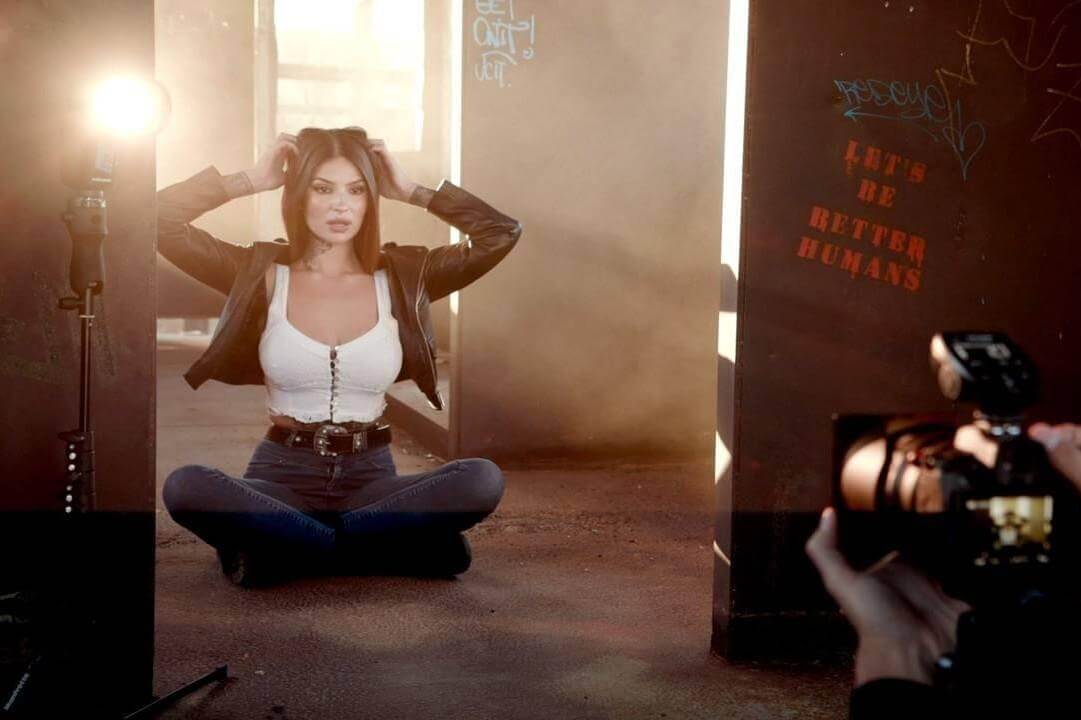
My first event photography experience was as an assistant for a wedding photographer. It was a bit nerve-wracking, and I felt out of place much of the day. Ultimately, it was a great learning experience because my main role for the day was to assist the main photographer, and I got to take some photos as well. So I wasn’t even a second shooter, I was a third shooter!
I’m glad I was able to ease into event photography like this because it took a lot of pressure off of me to produce results right away. It was fortunate for the client that my main role for the event was as a lighting assistant because my photos didn’t turn out so well! However, it didn’t matter because I did my job as a lighting assistant for the head photographer, and he critiqued my photos and gave me some advice on how to improve.
I took that feedback and used it to improve my event photography. I’ve picked up a lot of other event photography tips along the way, which you’ll find below.
Event Photography Tip #1: Know Your Technical Settings
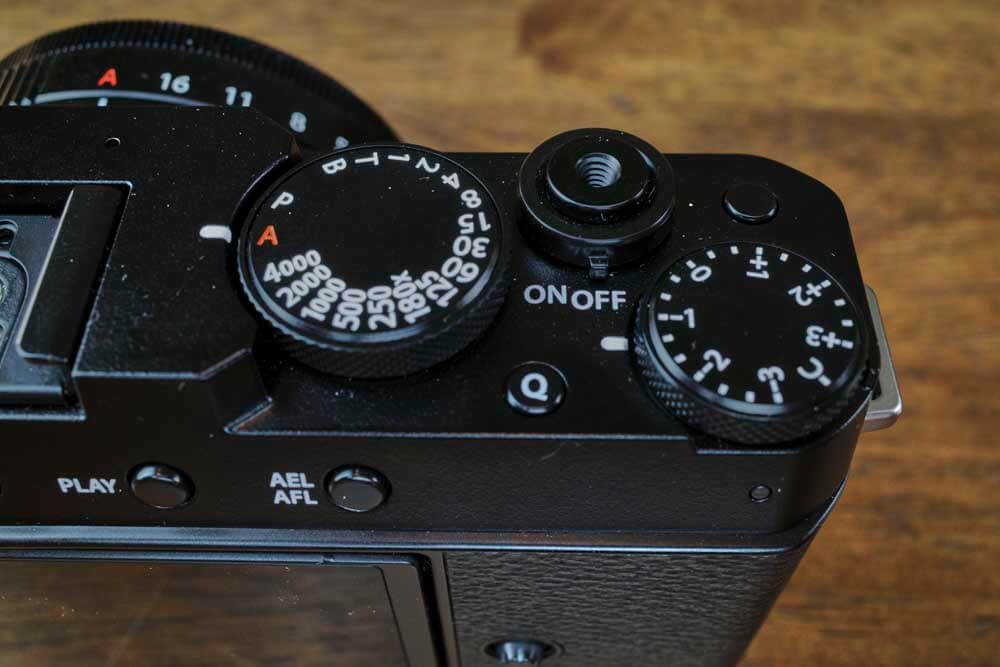
If you’re an experienced photographer, this doesn’t apply to you, but I think it’s worth mentioning, especially if you’re doing a paid event photography job.
You don’t always have to shoot in full manual, but it helps a lot knowing how. Being able to use your camera in manual will help you dial in your exposure more precisely than any automatic mode could. Plus, the insights you gain from learning to shoot your camera in manual will also inform you on how and when to use the semi-automatic modes like shutter priority and aperture priority.
For example, knowing how exposure works means you know in a low light situation you could set your camera to aperture priority and your aperture to its widest setting in order to get enough light into the camera. Or, if you’re in a situation that requires freezing fast action, you can put your camera into shutter priority mode and choose a fast enough shutter speed (such as 1/500s) to capture the action without motion blur.
Here’s what you should know about the exposure triangle:
- Your shutter speed determines how long your sensor is exposed to light. Slow shutter speeds allow more light in, but can result in motion blur. Fast shutter speeds freeze action, but using too fast a shutter speed can result in underexposed photos.
- Aperture refers to the opening of the lens that lets light enter the camera. Wider apertures are good for low light and create shallow depth of field, or bokeh. Smaller apertures create a deeper depth of field, where more is in focus in the image.
- ISO refers to the sensitivity of the camera’s sensor. Raising it will brighten images but can introduce grain. Lowering your ISO darkens the image.
2: Essential Gear
The gear you bring is highly dependent on the event you’re photographing. For example, if someone is hiring you for an event and they want you to take large group photos indoors, that may mean you need to take a couple of large flashes in order to light that properly. So it’s important to coordinate with whoever’s running the event as to what types of photos they’d like.
For small/casual events, I’d say the following pieces of gear are the bare minimum:
- Camera
- Lens – I’ve shot entire events just on a 35mm lens but my ideal setup is two cameras on either side, one with a 35mm lens and the other with an 85mm. 50mm and mid-range zoom lenses are good for events too, if that’s more your style.
- Flash – A flash is always good to have for events, especially if you know you’re going to be shooting in a dark indoor area.
- Batteries, memory cards, and backups of both — and don’t forget to charge your batteries before the event!
Cameras and lenses are expensive, so I know not every photographer has backups of these, but it’s a good idea to have them in case something goes wrong. Cameras can malfunction at any time, or your gear can be damaged at the event. I’ve never had exact backups of my gear, but I’ll take cheaper/older gear that I use less or keep around for emergencies.
3: Know Your Camera Gear Inside Out
This pretty much goes without saying, but I’ve shot events with newer cameras that I thought I had figured out, but in reality, there were settings that I hadn’t used yet and it slowed me down. I wouldn’t want to put myself in that position again, as it’s stressful and can cause you to miss shots.
You don’t need to be able to recite your camera manual front to back or anything, but you should be well-acquainted with your camera’s buttons, settings, and quirks. You don’t want to be fiddling with your settings when you have people waiting in front of you to take their portraits or during important moments of the event.
This goes for things like off-camera flash and wireless triggers as well. You should get these out and practice using them before an event so that you’re confident using them.
4: Shoot in RAW
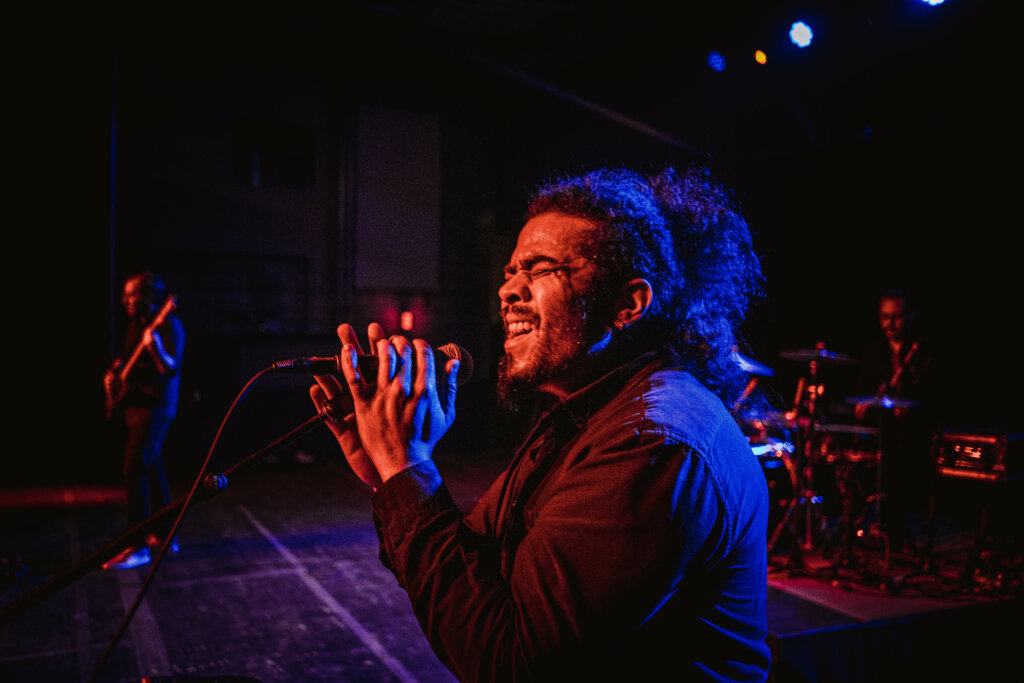
In event photography, there are a lot of changing lighting conditions that you can’t always plan for. As a result, even the best photographers won’t always get the exposure right. For these photos, you have a lot more leeway to make corrections and adjustments if you shot them in RAW.
If you like shooting in JPEG, I would at least shoot in RAW + JPEG so you have the option of editing RAW files when you didn’t quite get the exposure right.
I frequently underexpose my photos to protect the highlights of the image, and shooting in RAW allows me to go back and bring up the exposure and shadows without losing much image quality. You can make the same adjustments to JPEGs, but you’ll degrade the image quality more.
5: Find Out What Your Client Wants
If you’re being hired for an event, it’s a good idea to communicate clearly and find out what the client wants. The client may want certain shots that are totally different from your typical workflow. Finding out the specifics of what the client wants and what their expectations are will help avoid any misunderstandings and will ultimately lead to both parties having a more positive experience.
6: Create a Shot List
If your memory is like mine (like that of a goldfish), then you may come away from a verbal conversation and immediately forget half of it. That’s where creating a shot list comes in handy. You can put together a list of typical shots that you would normally take, and when you speak with the client go over them and ask if there are any shots that they would like to add.
This exercise is especially helpful when you speak to the client and the event isn’t until months later. By having a shot list with you, you’re able to pull it out at any time during the event to ensure you’re getting the specific photos that the client wants.
7: Arrive Early to Assess Lighting Conditions
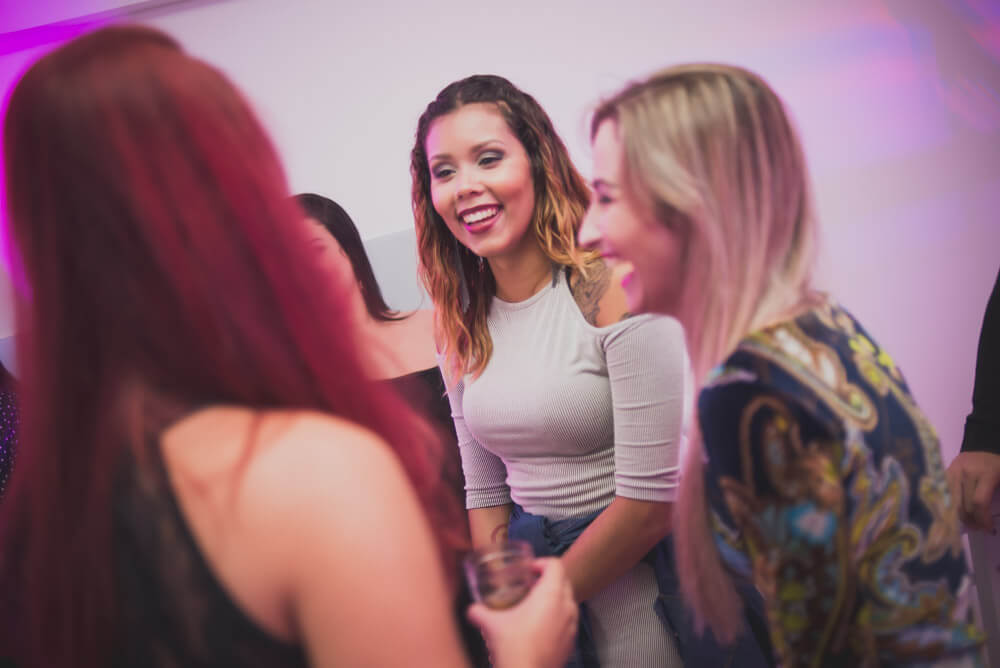
Get to the venue early! It’ll save you a lot of stress, for one. Getting there early will give you time to find the venue and get your bearings on the place.
Plus, arriving early will give you time to scope out the venue and what the light is going to be like. This will give you an idea as to when you’re going to need to make technical adjustments such as using a wide aperture in a dark area or bouncing flash.
8: Photograph in a Documentary Style
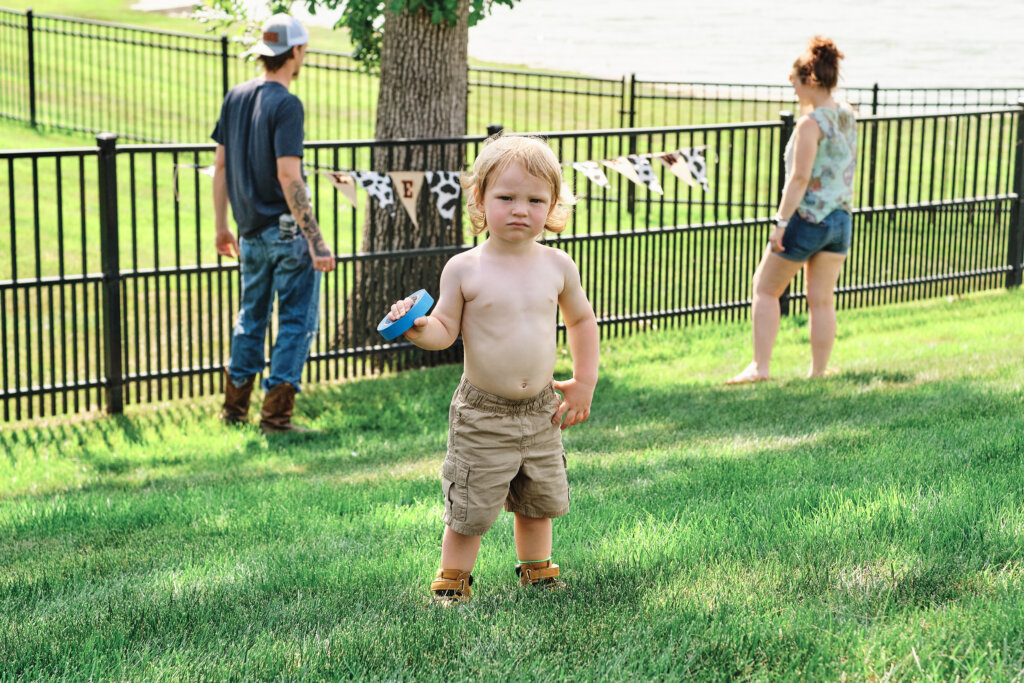
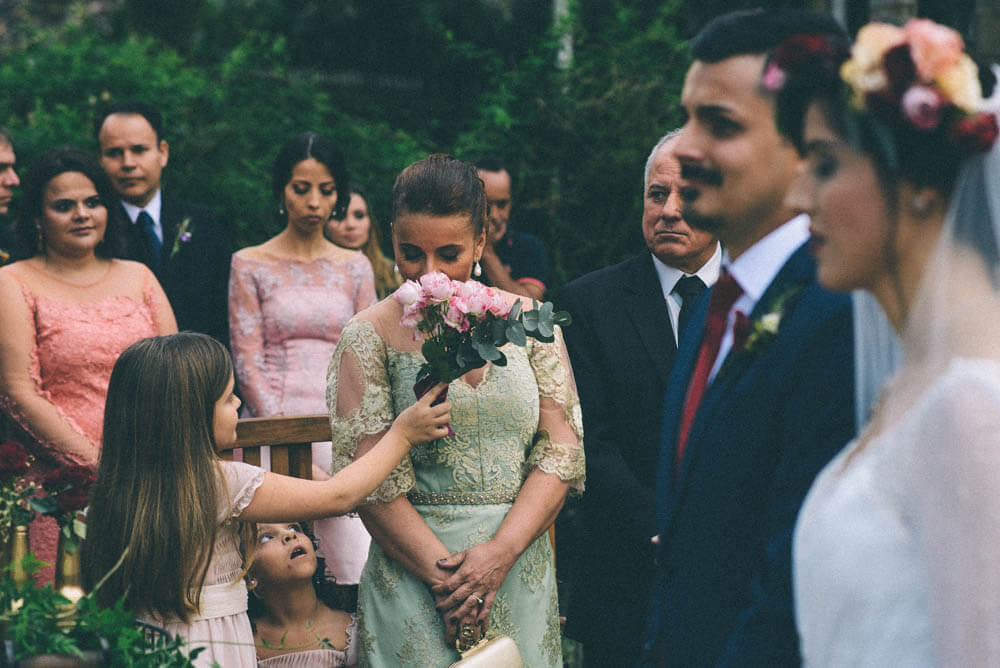
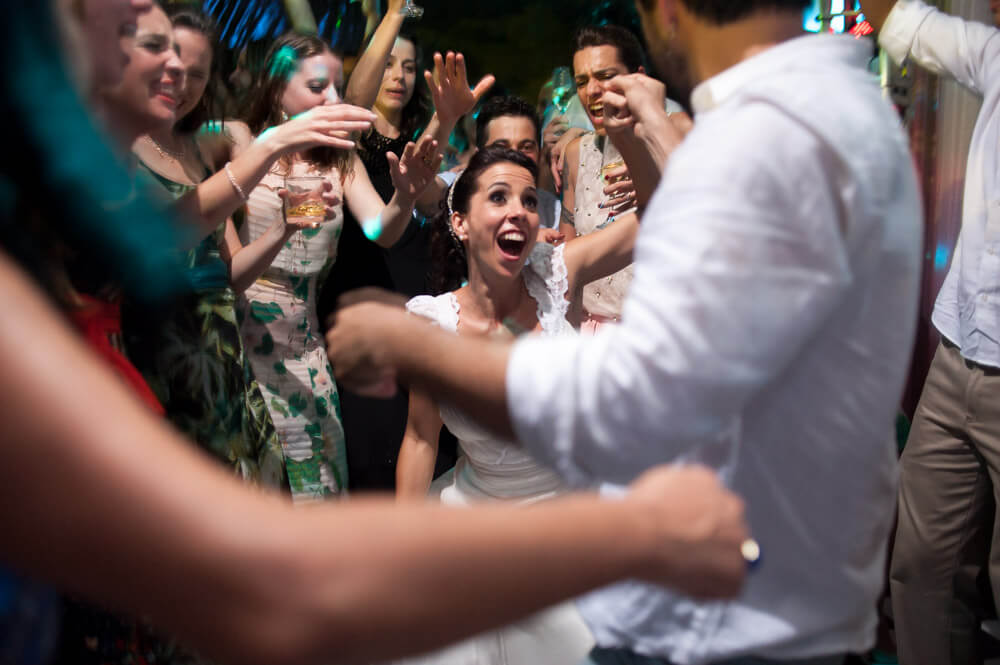
When I photograph events, I’m constantly looking for candid moments that tell the story of the day. I typically look for a subject/subjects doing something interesting and start from there.
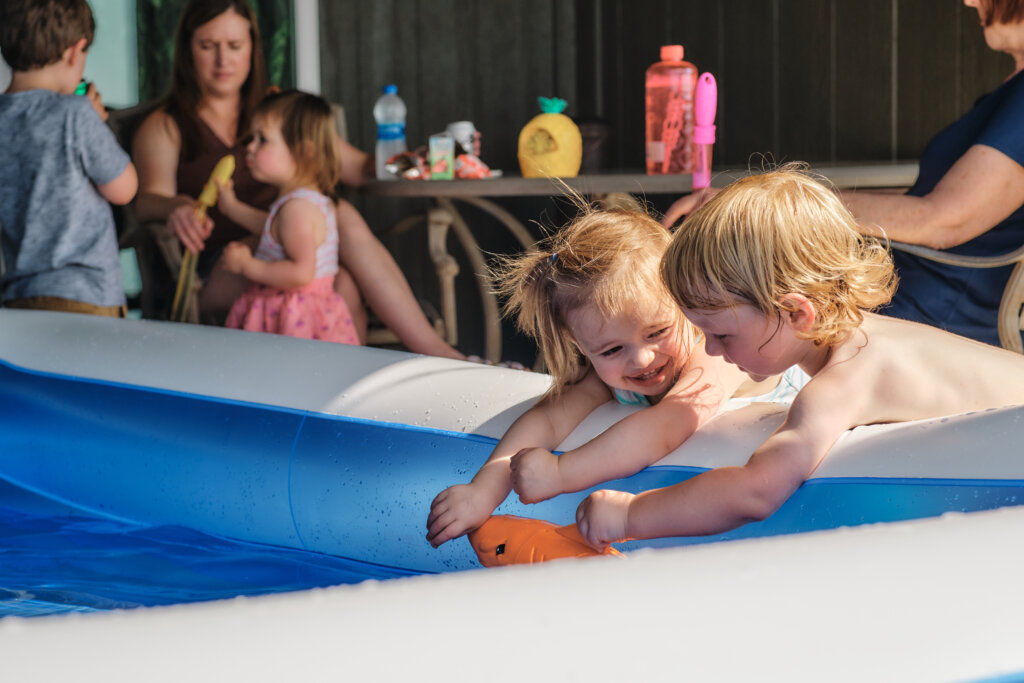
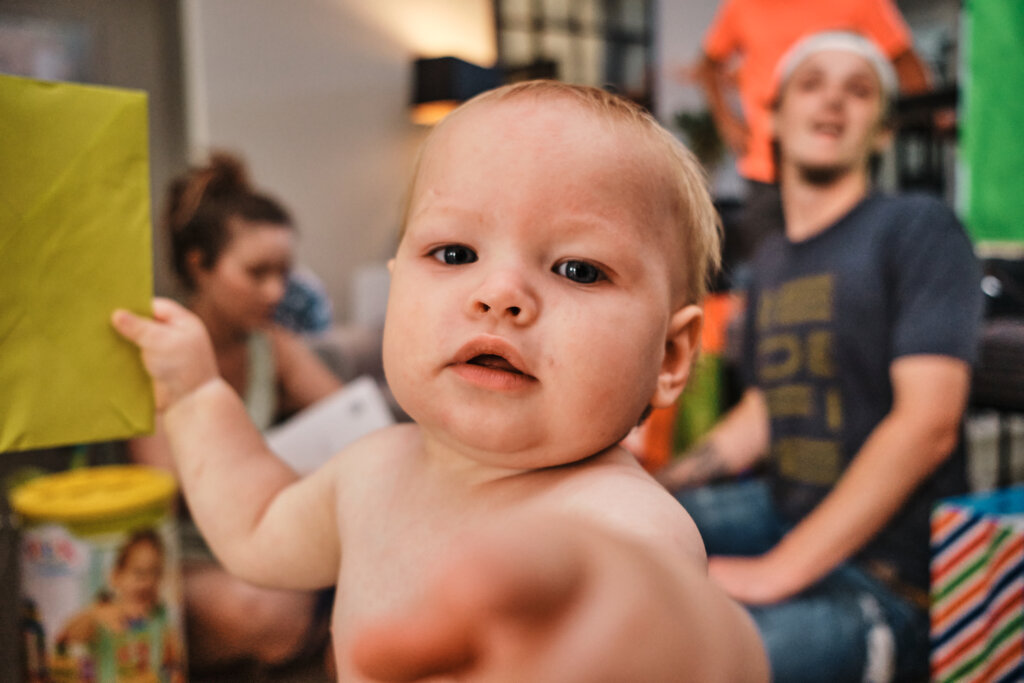
A strategy I like to use is once I find an interesting scene, I’ll put subjects in one corner of the frame and then look to include other subjects in some other area of the frame. This creates layers within your images and creates much more visual interest than just putting a subject in the middle of your frame.
I also try to get interesting interactions as much as possible. For example, imagine someone at an event, and they’re pointing and laughing about someone doing something funny. Rather than photograph the person laughing in the frame, I try to include the scene they’re laughing about as well.
Out of all these event photography tips, I think this is the hardest to master, but it will take your photography to the next level.
Here are some other examples of putting this into practice:
9: Look for Good Light
This is easier said than done, and you improve as you gain experience in photography, but I’m always assessing whatever light I’m shooting in. I might camp out in one spot at an event because there’s great light where the setting sun is hitting. Or I might notice a good opportunity for backlighting or to do a silhouette-style photo.
If you put some thought into how light is falling on a subject, you can adjust your angle to them in order to find an angle with the most flattering light.
10: Know When to Use Flash
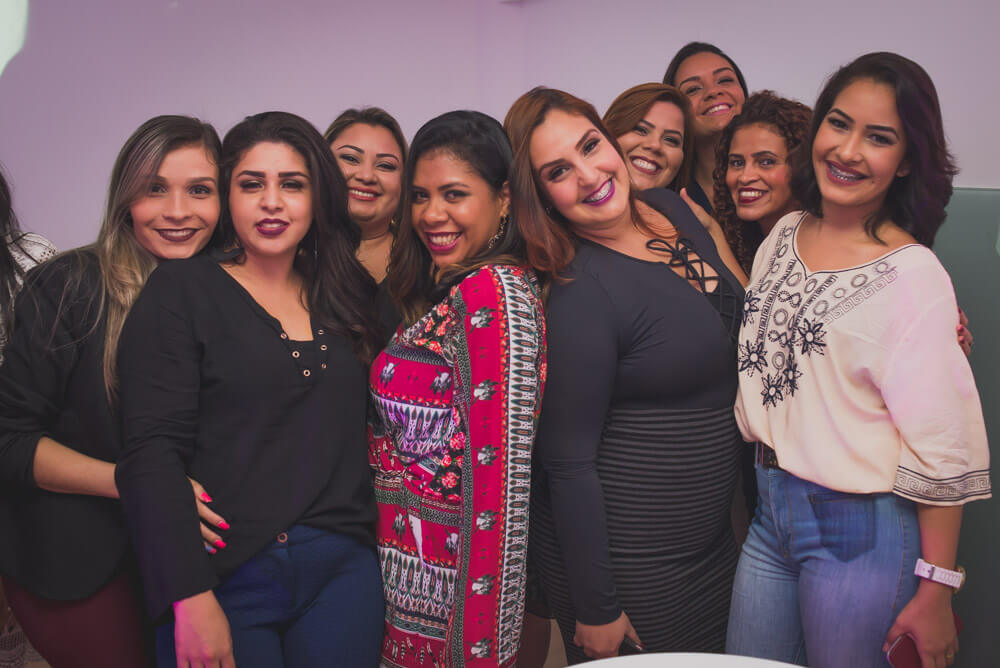
In certain circumstances, flash is your best bet. Even if you have lenses with wide f/1.2 apertures, you still can run into dark lighting conditions where you’re forced to shoot at too high of an ISO or slow shutter speeds. That’s not ideal when you want sharp, well-lit photos.
Having a wide aperture lens can help get enough light for exposures in dark conditions, but it introduces other challenges, namely having a too-shallow depth of field and not being able to get everything you want in focus.
That’s where flash is really useful. Flash allows you to work in terrible light and still get great photos. It allows you to shoot at a shutter speed that freezes the action and a low enough ISO to not get a lot of grain.
The most common way I’ve used flash for events is to point a hot shoe flash up or to the side and bounce it off the ceiling or a wall. Bouncing flash off a ceiling results in soft, flattering light. Bouncing it off a wall gives it a bit more of a lateral direction. Bouncing flash will give you much more flattering light than if you just point your flash directly at people.
If you’re outdoors and you don’t have a surface to bounce light off of, one thing you can do is to point your flash upwards and pull up the white card in your flash. This isn’t as good as bouncing flash off a ceiling but works pretty good in a pinch.
Another way to use flash if you have an assistant is to put your flash on a monopod and connect it to a wireless trigger. This creates beautiful dramatic light on your subjects and looks better than bouncing flash, in my opinion, but takes more resources to pull off. You can also use a light stand to do this if you don’t have an assistant.
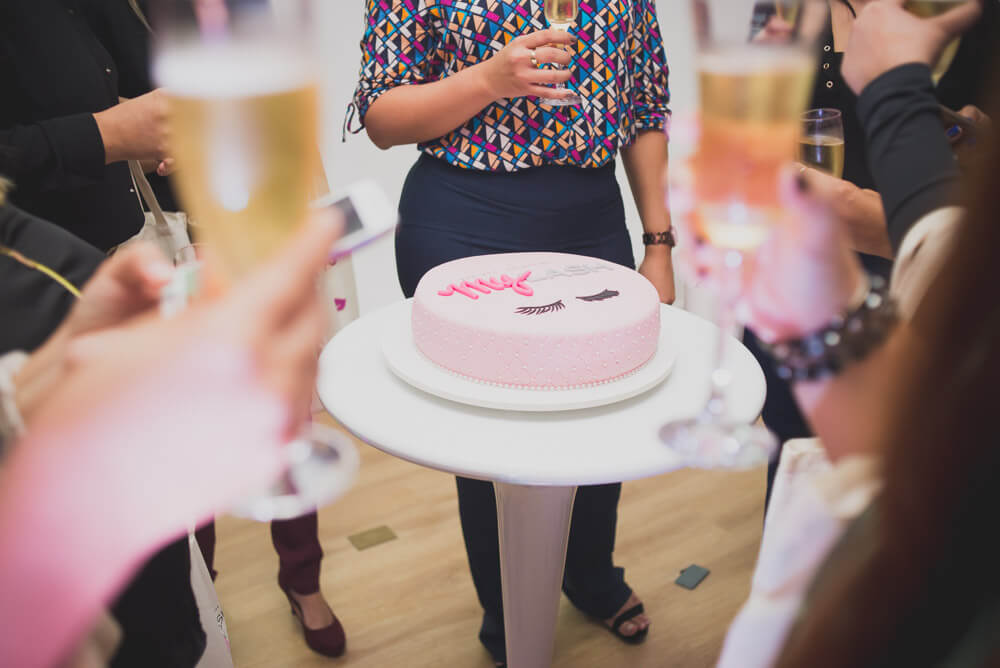
11: Fill the Frame
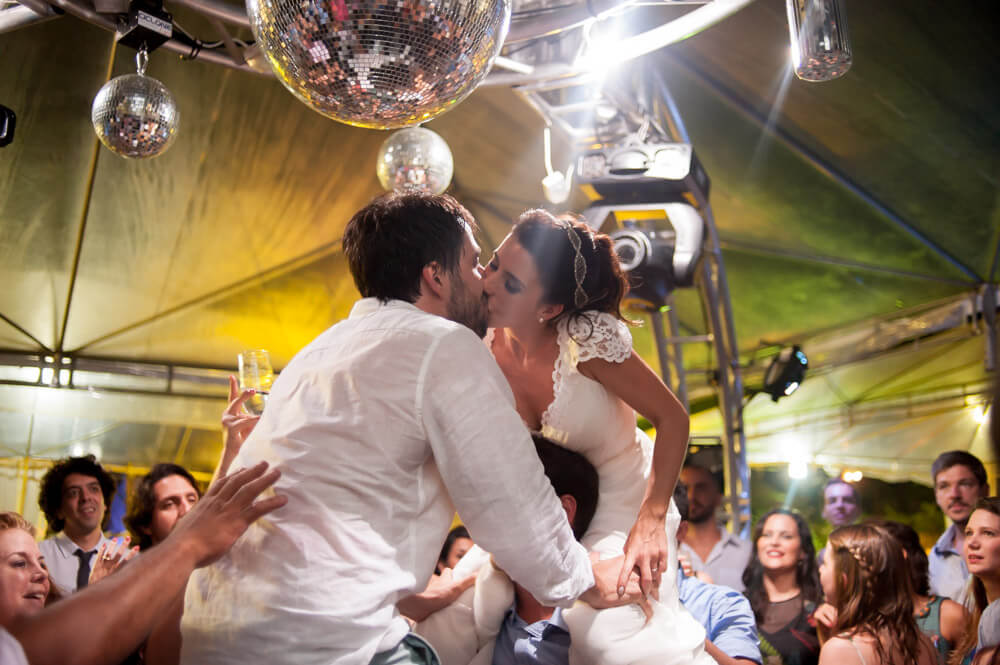
This is a tip that you’ll often hear for street photography, but it’s equally as important for event photography. With street or documentary photography, it can be pretty awkward taking candid photographs of people when they notice. The great thing about event photography is that people know you’re there to take pictures of the event, so they tend to give you the benefit of the doubt and act more naturally.
Still, filling the frame in event photography can be a challenge. When using a wide-angle lens, you just have to face your fears and get close when you’re taking photos. You do get more comfortable with it the more you do it, though.
It can help if you use a longer lens, such as a 50mm or 85mm.
12: Have a Contract in Place
This only goes for when you’re doing paid gigs, of course, but having a photography contract in place will help protect you legally in case any sort of disagreement arises. It’s a good idea to have a lawyer look over any contract you use as well!
Last Thoughts
I hope these event photography tips help you to photograph events more successfully!
Be patient with yourself and build on whatever photography experiences you gain along the way.
Event photography can be an intimidating undertaking for both amateur and professional photographers alike. However, with the right attitude, preparation, and strategy, you can capture great shots from any event. Take some time to practice your technique ahead of time, research the venue or event, and focus on the moments and details that tell the story of the event. Remember to remain flexible and go with the flow in order to make your experience less stressful.
