Long exposure photography makes everyday scenes look otherworldly, like snapshots from a dream. And yet, all you’ve done, technically, is leave the shutter open for longer. Getting great long exposures doesn’t require any special expertise, but it does require a bit of practice and patience. Use the following tips and inspiring photos to help you master the art of capturing long exposure pictures.
Long Exposure Photography Tips
- Long Exposure Photography Gear
- Planning
- Types of Long Exposure Photography
- Long Exposure Wedding and Portrait Photography
1. Long Exposure Photography Gear
The key to getting incredible long exposures isn’t expensive gear. If you have a tripod, a remote shutter release (or cable release), and a camera with bulb mode, you’re well on your way to taking an amazing long exposure. You might also need a neutral density (ND) filter, which covers the lens to block out the light for the purpose of keeping your shutter open longer, even when it’s bright out. ND filters come in handy for daytime long exposures, but if you don’t have one, plan to shoot at night or in a dark indoor setting.
2. Planning
Unlike regular shots, which take a fraction of a second, long exposures take at least a few minutes. Even if the long exposure is short, like 5 or 10 seconds, you have to set up the tripod, adjust the camera settings, put on the filter, etc. You might also need a few minutes (or much longer) to get the exposure right.
For this reason, it’s a good idea to plan your shot and composition before you set up and shoot. Otherwise, you’ll spend a few minutes taking a long exposure, just to find out that a different angle would be better.
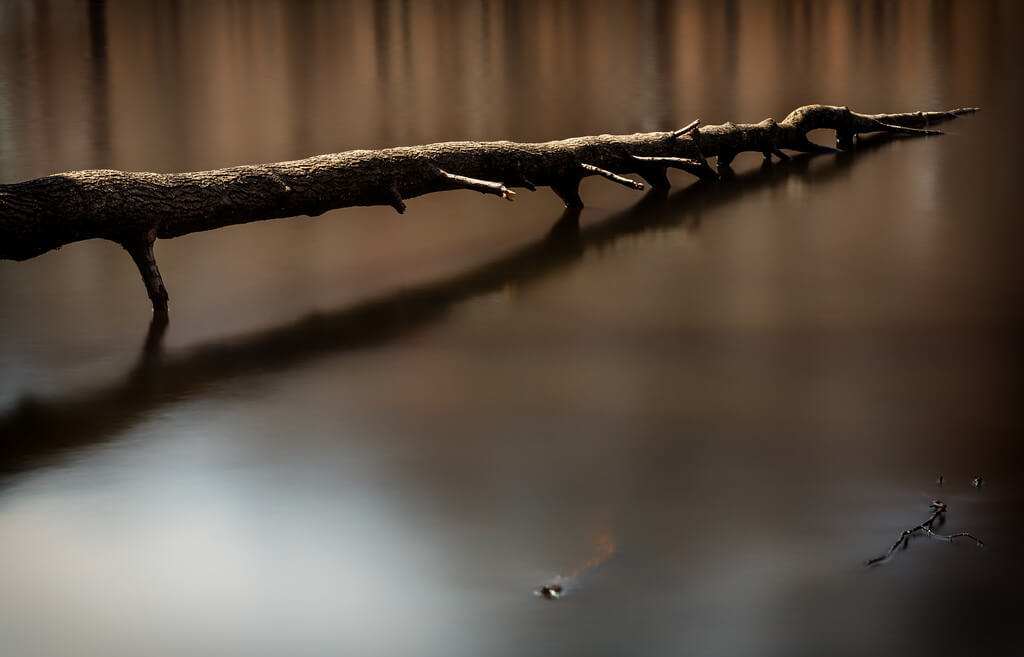
When planning your shot, keep in mind that the best long exposures typically have something moving and something static. For example, you could have moving clouds or water with static mountains or skyscrapers. This contrast between solid and blurred elements creates drama and helps to show the passing of time.
At night, sources of light could also be considered “moving” elements, even if they stay still. While they may seem static to the naked eye, they are actually emitting light waves that do move in a specific direction. Your camera will register this “movement” of light, making it appear brighter and more dramatic in your photo. Just like water or clouds, this light will give your viewers a sense of time passing.
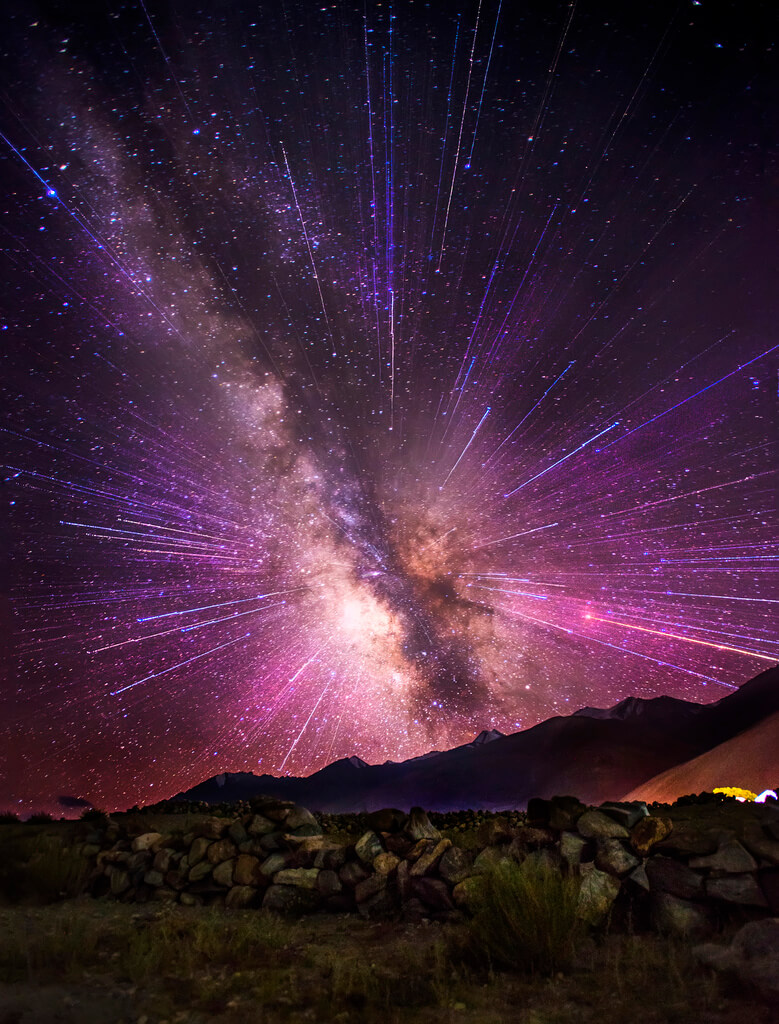
Stephen Humpleby – Milky Way Maintenance
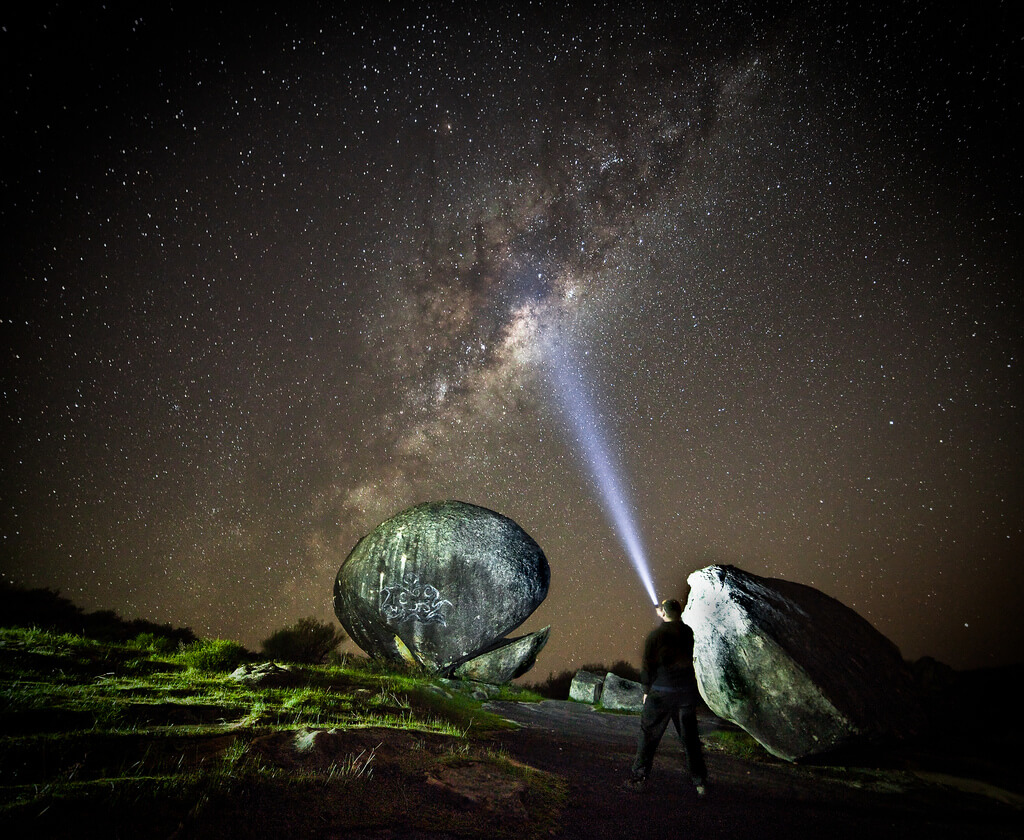
Finding the right balance between movement and stability can take a while. You have to predict how a scene will change over time, which can be challenging even for experienced photographers. If your first few shots are disappointing, don’t give up! Each shot helps you understand the environment better. They’ll all be worthwhile in the end, when you finally capture a fantastic long exposure.
3. Types of Long Exposure Photography
If you’re excited about the idea of long exposures but don’t know where to start, first try to narrow down the type of long exposure you want to take. There’s a wide range of possibilities, but in general, long exposures fall into the following 7 categories.
- Water
- Astrophotography
- Light Painting
- Light Trails from Cars
- Other Sources of Light
- Architecture
- Indoor Long Exposures
Once you’ve got a shot in mind, read some detailed instructions about taking long exposures, like this guide from the Digital Photography School. Then, get inspired by these amazing shots from our Flickr community!
Long Exposure Photography: Water
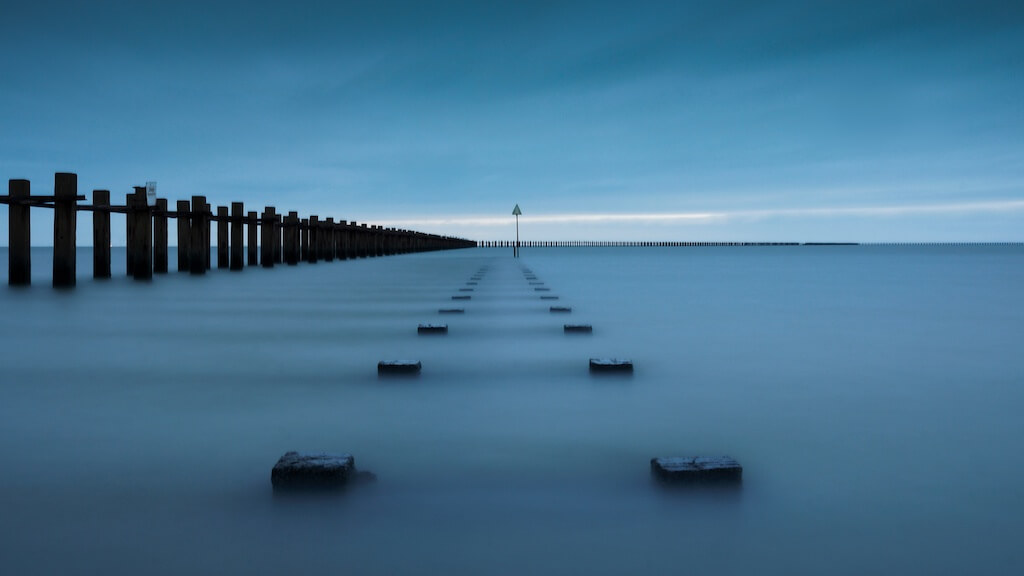
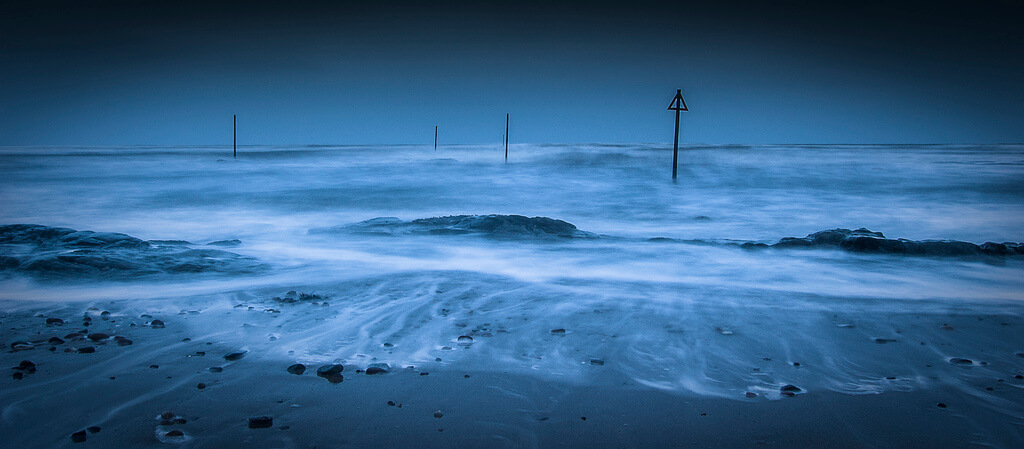
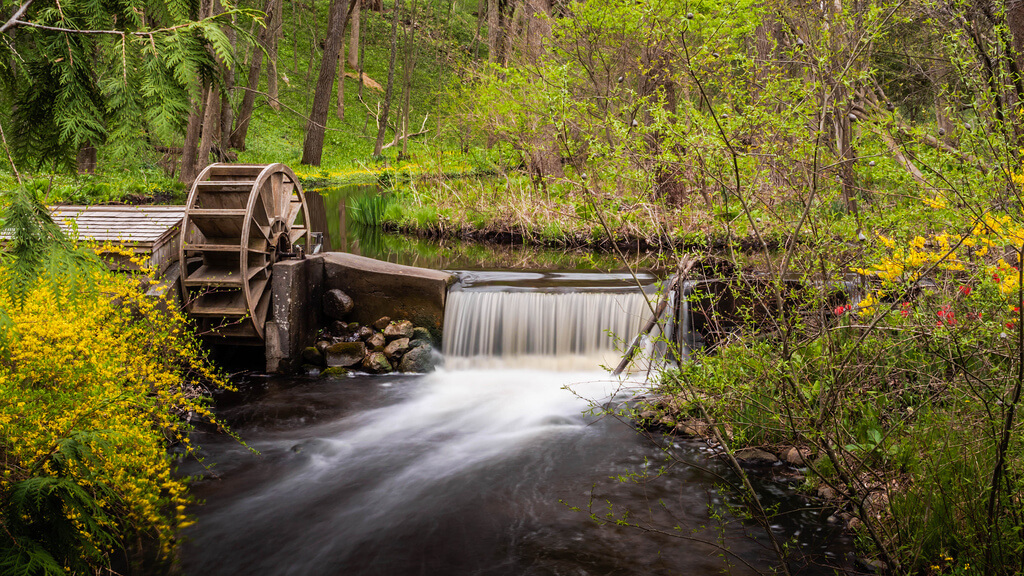
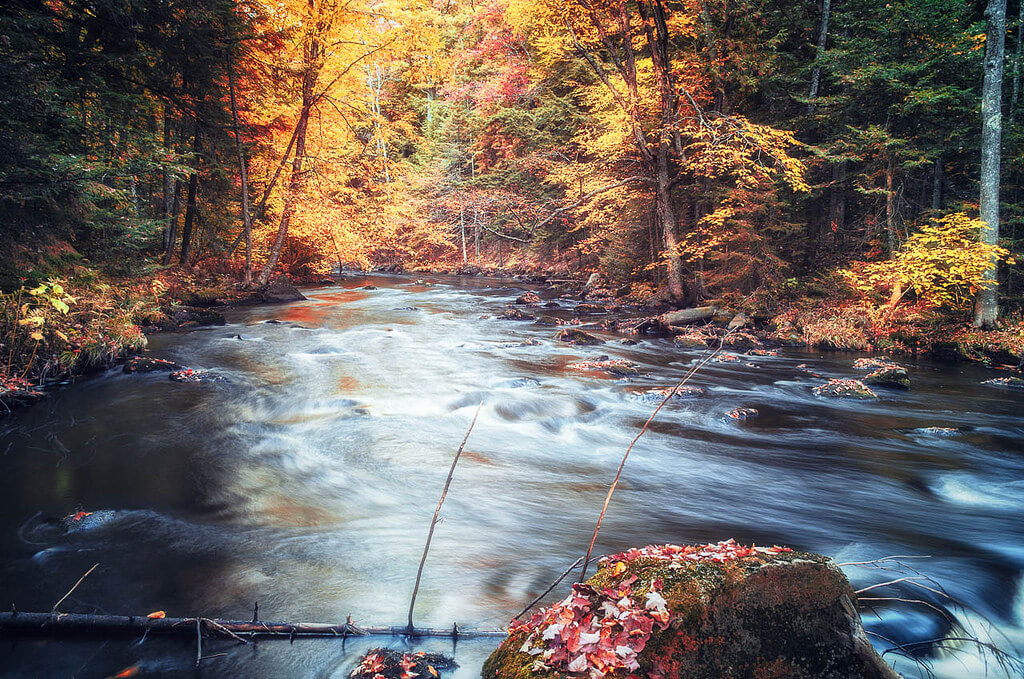
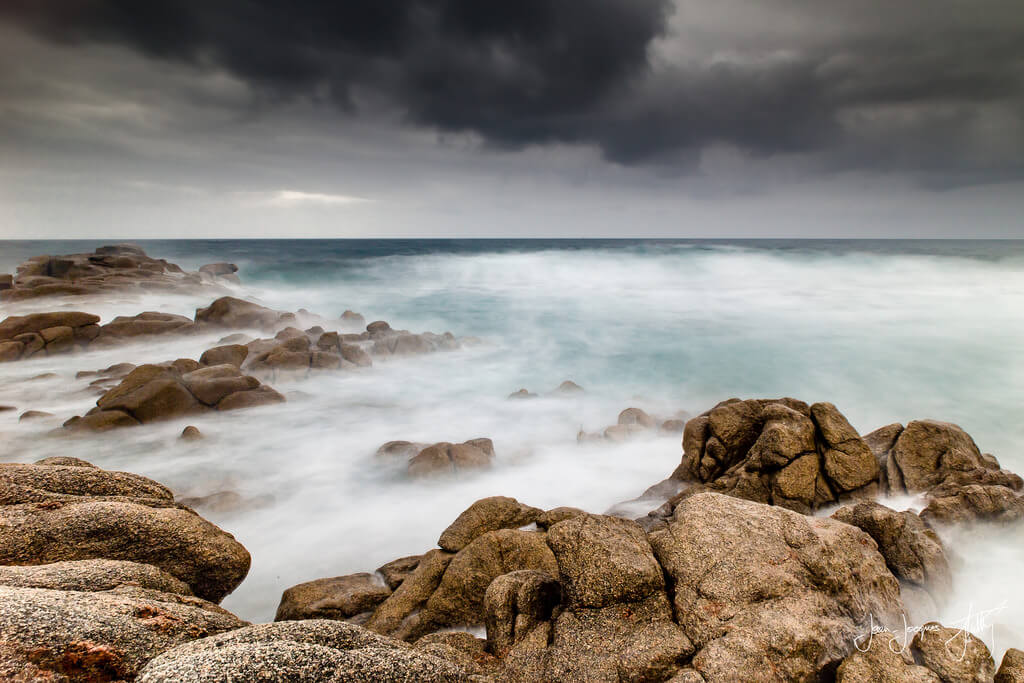
Oceans, waterfalls, fountains, and rivers are all classic subjects for long exposures. Flowing water is a popular choice because it’s so beautiful and predictable. Unlike many other moving subjects, like clouds, you can rely on the water looking more or less the same from day to day. This predictability can make planning the shot much easier.
However, the popularity of water long exposures also means that the bar is higher for your photo. To make your shot stand out from the rest, you have to think creatively. Try interesting angles by positioning your camera higher, lower, or from a different location. You can even wade into the water and set up your tripod in a shallow area. (Just make sure you have hip waders if the water is cold.)
For more tips on shooting long exposures with water, check out these instructions from Envato.
R Casey – falling down the river
Jean-Jacques Mattei – La Testa de Ventilegne
Long Exposure Photography: Astrophotography
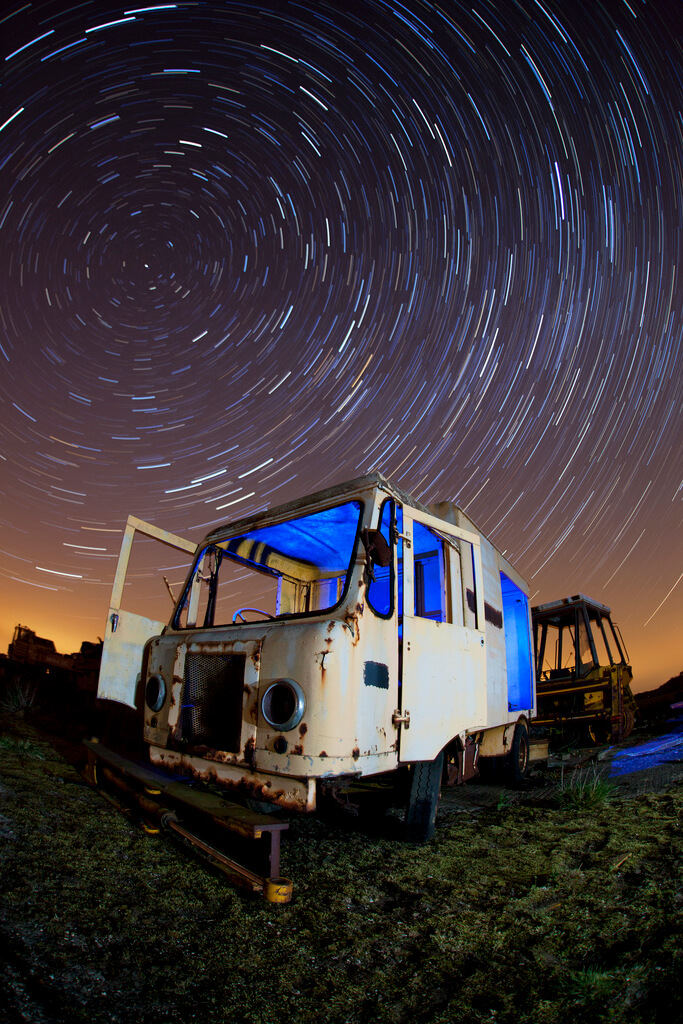
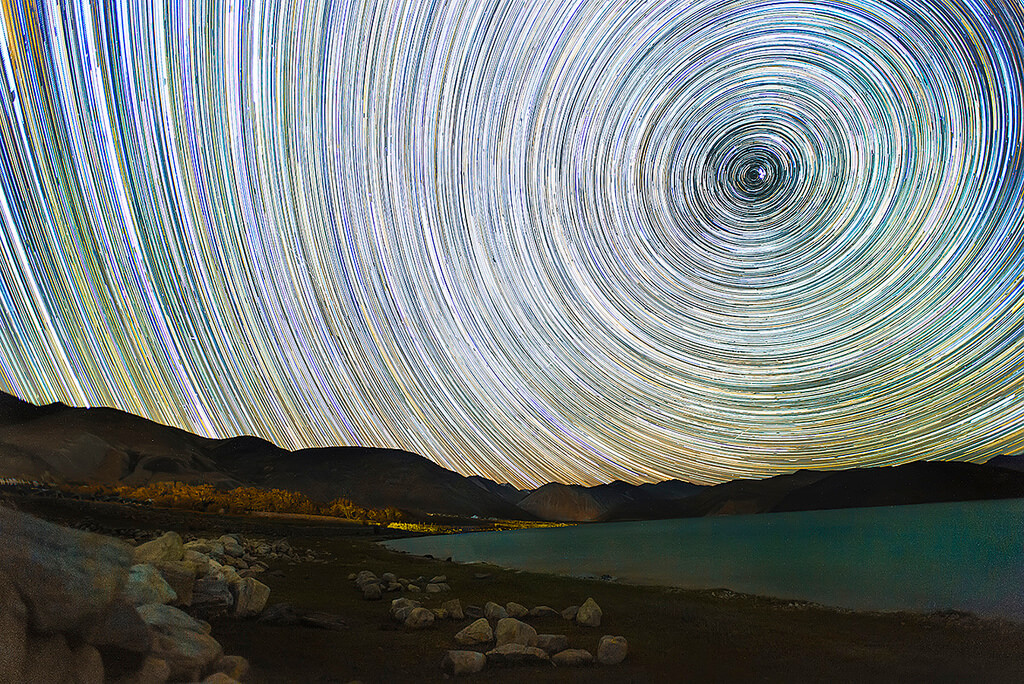
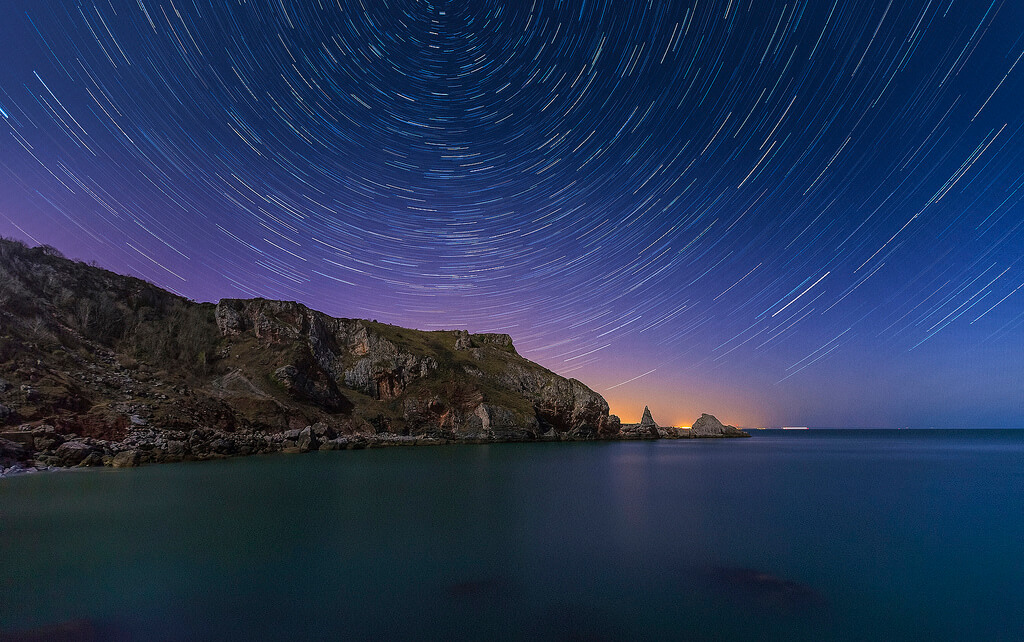
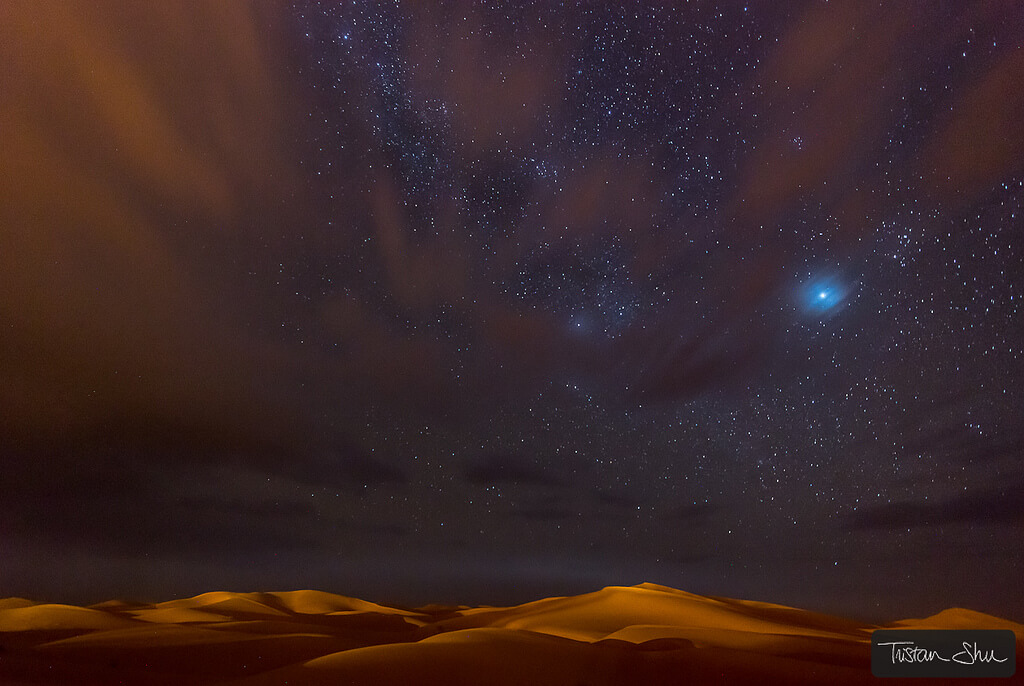
One of the best/only ways to capture a starry night sky is by taking a long exposure. With a long exposure, the stars become clear and bright instead of barely noticeable. While astrophotography may look complicated because it’s so stunning, it’s actually quite simple.
Not convinced? Just read these easy tips for photographing the night sky or photographing stars in the mountains. SLR Lounge also offers helpful tips for long exposure photos in a photography course designed exclusively for photographing the Milky Way.
cover of darkness – A small truck
Nimit Nigam – Pangong Lake Starry Night…
Mark Frost – Ansteys Cove star trails 1
Tristan ‘Shu’ Lebeschu – Stars, Dunes and Clouds in Marzuga Desert
Long Exposure Photography: Light Painting
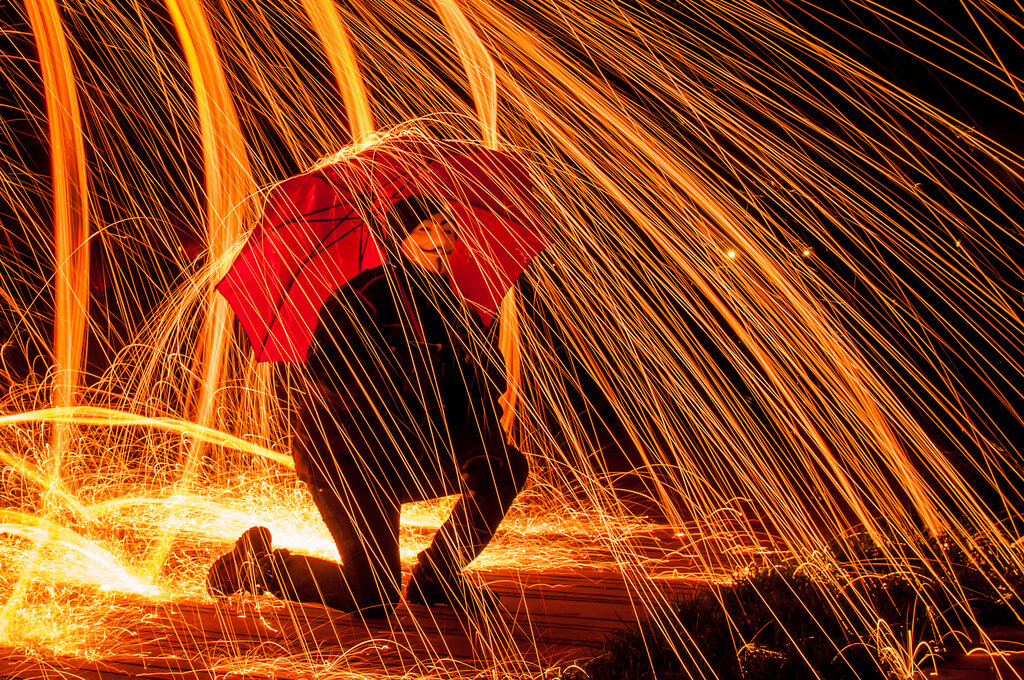
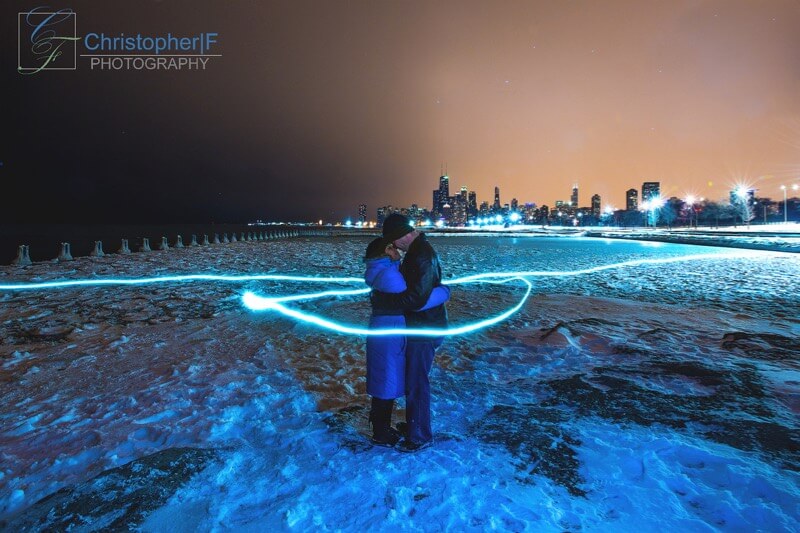
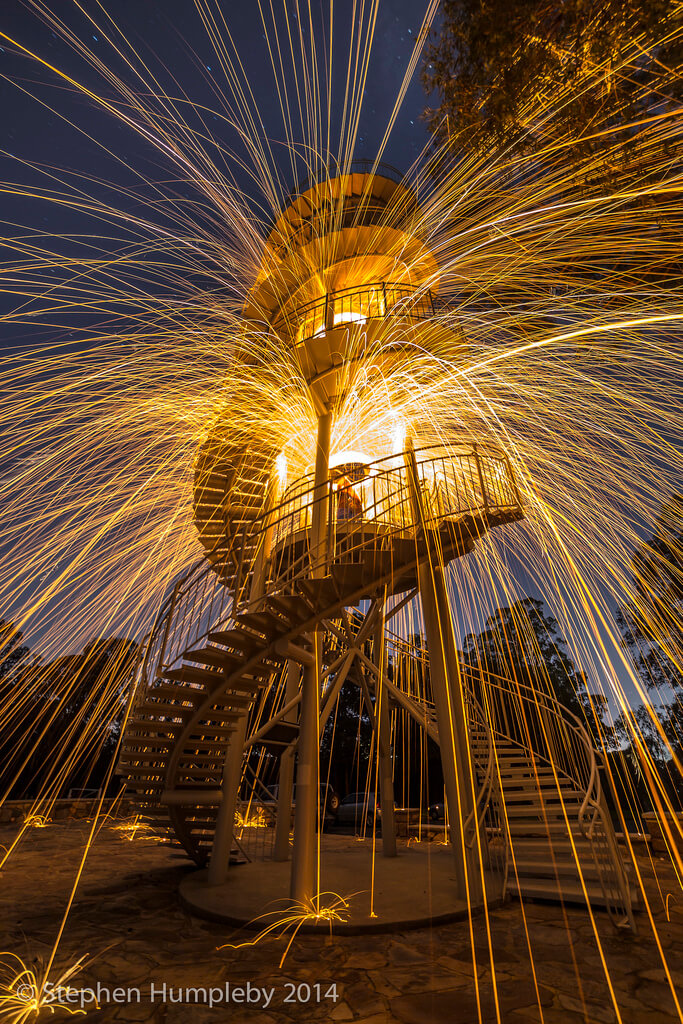
If it’s a cloudy night, or if you live somewhere with light pollution, you can still take interesting long exposures at night. All you need is a source of light to “paint” images for the long exposure. A flashlight, sparkler, or LED light all work great. Once you have the tools in place, you can choose from a number of techniques for light painting:
- Kinetic: This brand of light painting requires the camera to move. This movement will then cause the light sources that are visible in the frame to create light trails.
- On-Camera: The camera remains still this time around, but the light source will move around in whatever artistic fashion you fancy. As the light source moves while the frame remains open, the camera records the resulting trails of light and creates a light painting portrait.
- Off-Camera: Using this method, the light source remains out of the frame, but the effects of its lighting can be seen on the subject in the frame.
You might want to invite someone to help you with light painting, especially when trying to do on-camera light painting as described above. Though you can certainly experiment with the technique by yourself, extra hands are nice to have. At the very least, a friend can watch your camera and gear while you’re painting with light, making sure no one steals your stuff.
For a thorough guide to light painting, read this article from the Digital Photography School. It’s pretty simple. You don’t even need to leave your home; just turn off the lights and have fun!
Stephen Humpleby – London Bridge Stars +
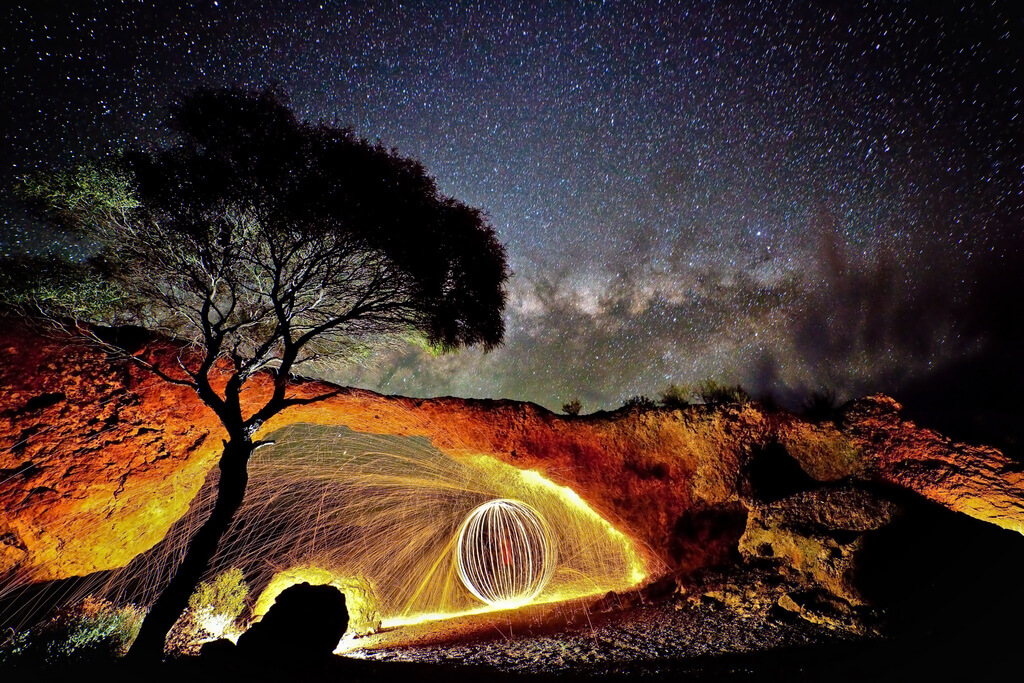
Christopher – Kristin & Phil: {engaged}!
Stephen Humpleby – Lightpainters DNA
Light Trails from Cars
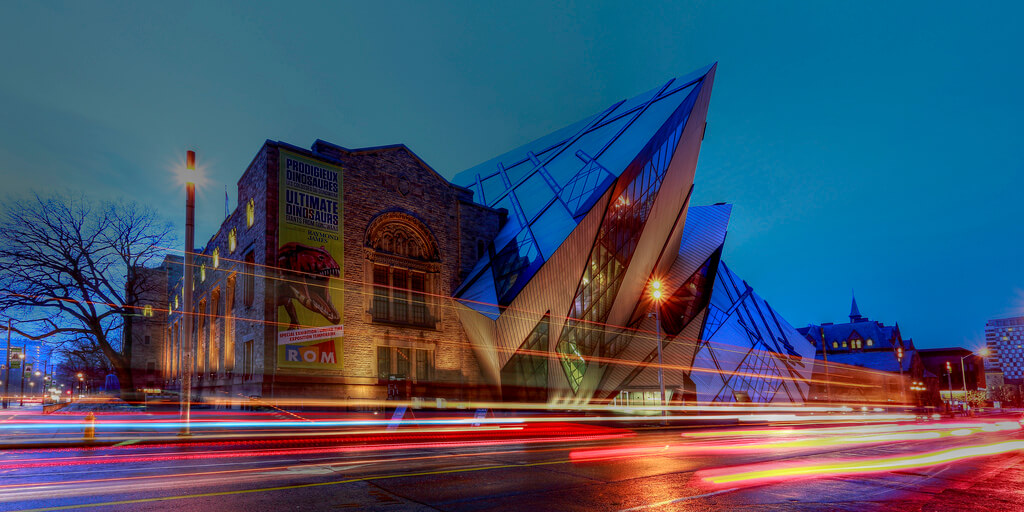
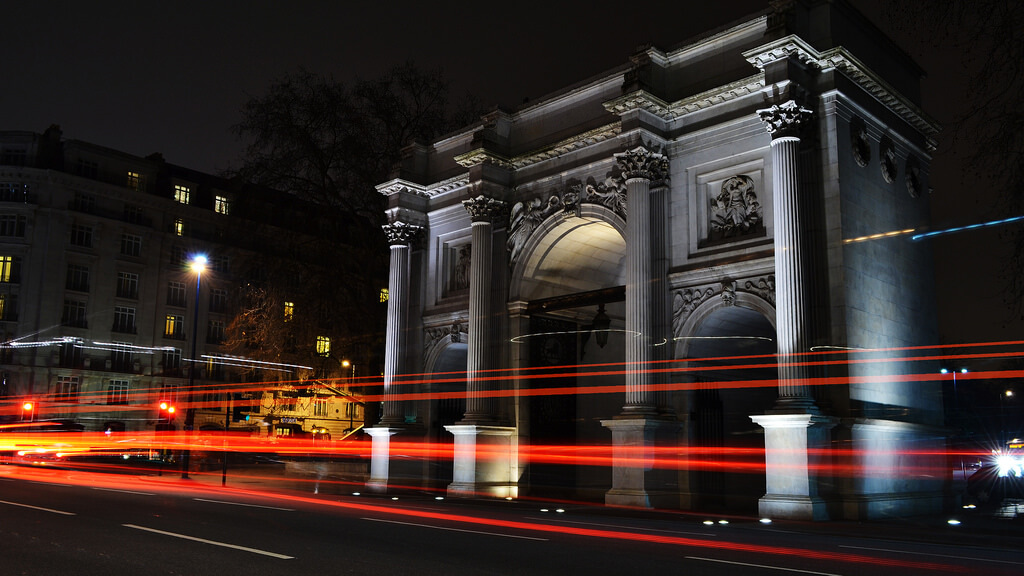
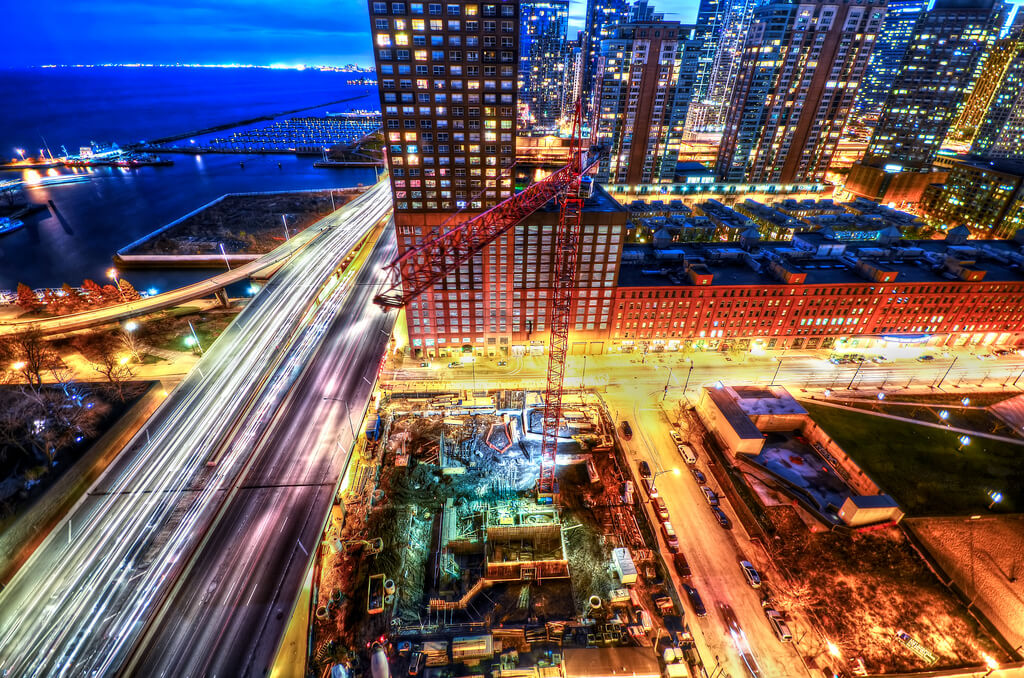
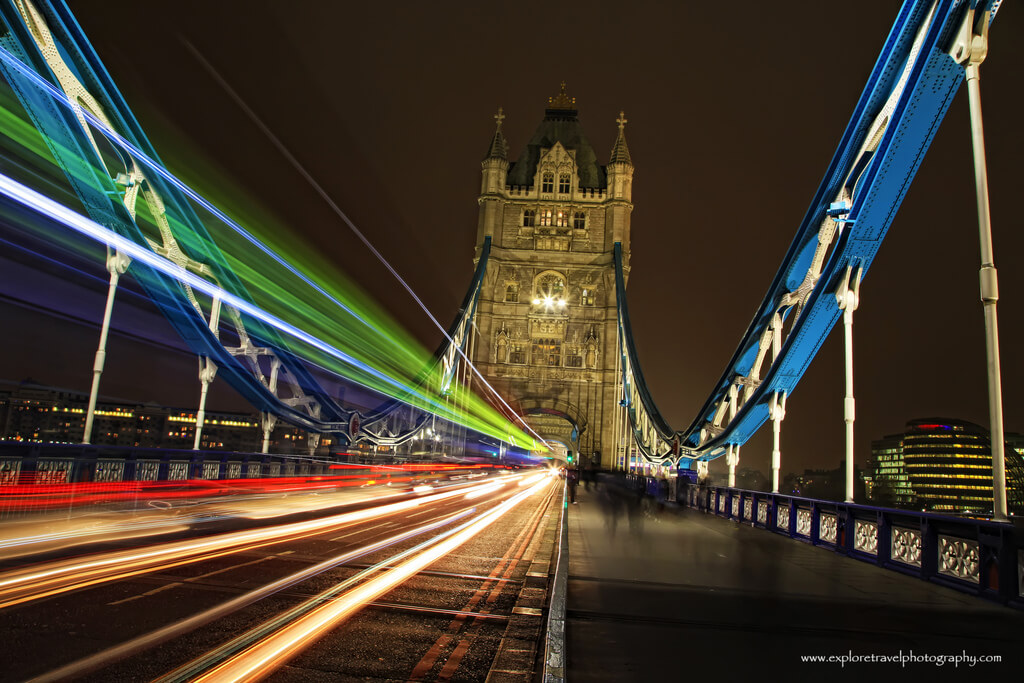
If you’re stuck in the city, photographing light trails can be a great way to spend an evening. It’s pretty easy, too. Like with star trails, the main challenge is getting to a location that’s worth photographing. Only instead of a spectacular night sky, you’re looking for a road or highway that’s visually striking.
There’s no perfect “type” of road for light trails. A variety of places can be striking, from bridges to curving country roads. However, you do want something of interest in the photo. This point of interest could be in the background, like a cool building, or it could be the traffic itself. Roundabouts, big highways, and unique intersections can all lead to interesting light trails.
Giovanna Tucker – London Tower Bridge Light Trails 2*365
Other Sources of Light
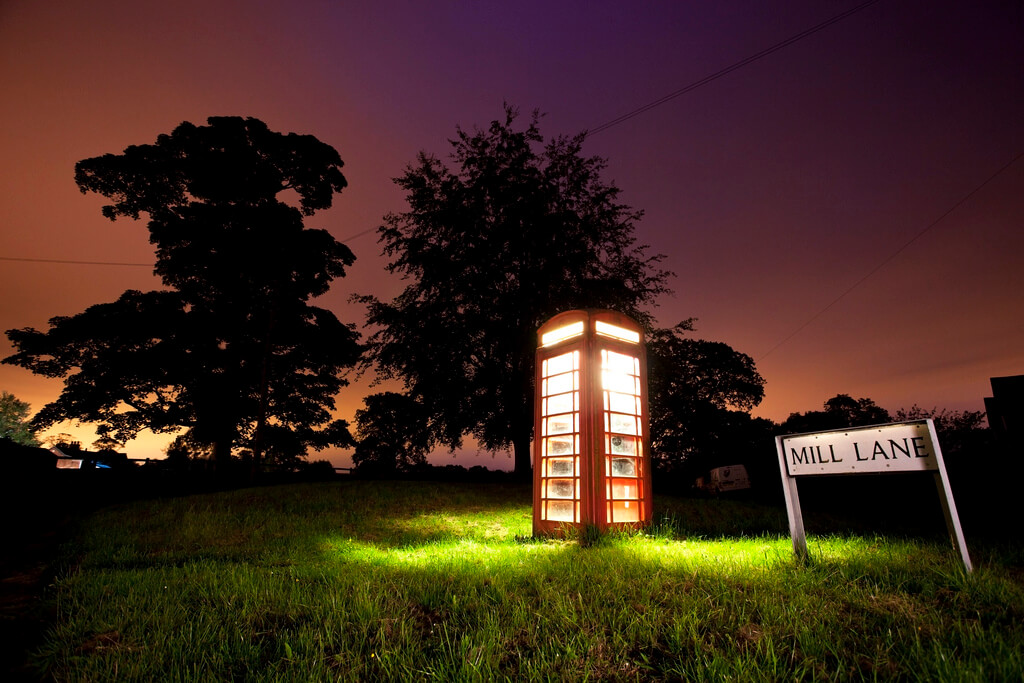
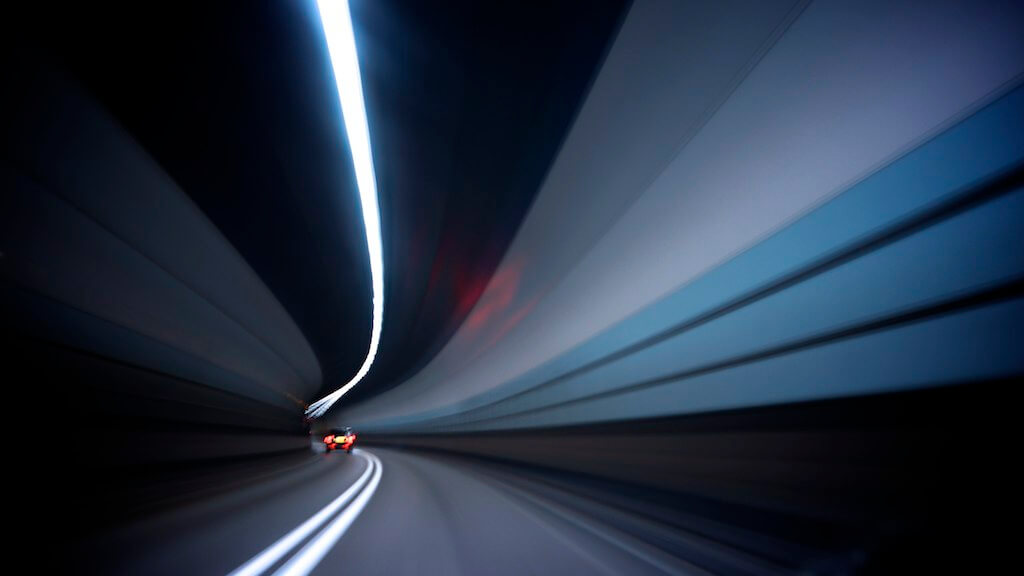
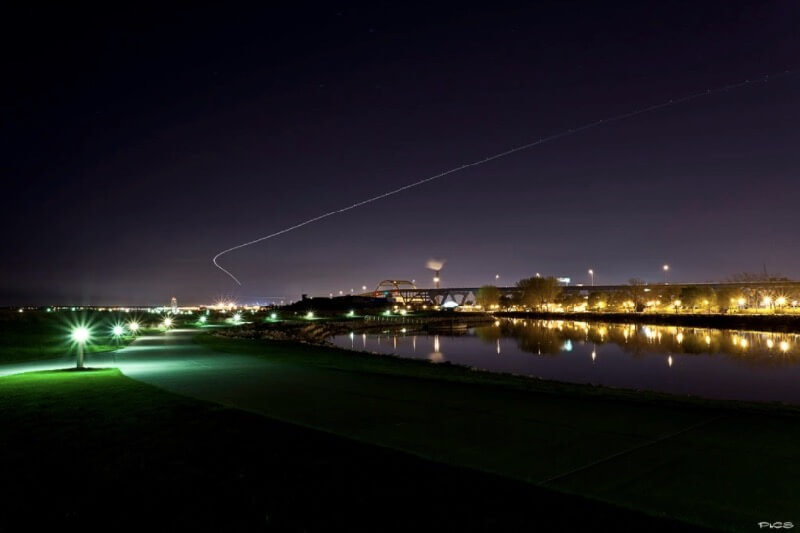
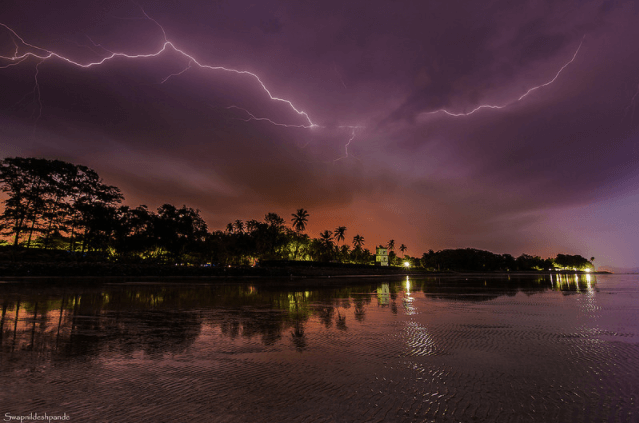
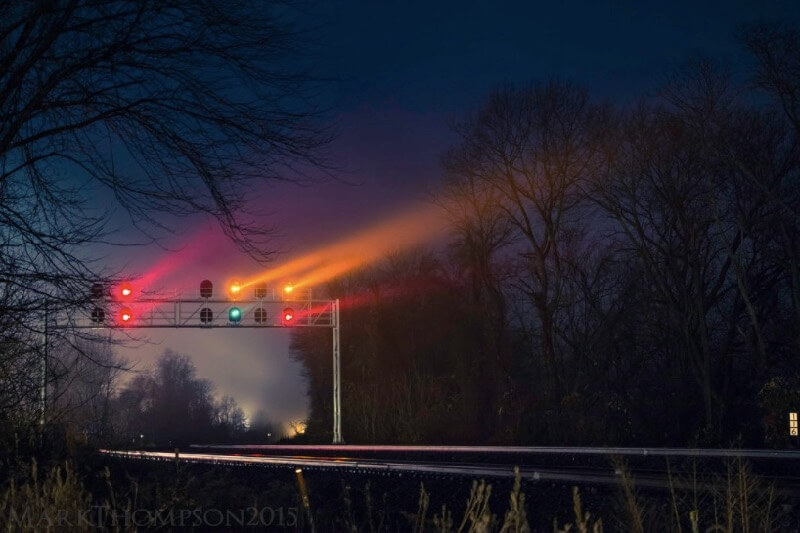
While cars and stars are the most popular subjects for nighttime long exposures, there are countless other light sources you can photograph. Tunnels, airplanes, lightning, traffic lights, telephone booths… No matter where you live, you can find a unique source of light for a long exposure.
Mark Coe – Car Chase Through Time And Space
CJ Schmit – Airplane in the Night Sky
swapnil deshpande – God’s rock concert show ;)
Mark Thompson – Approach Limited
Long Exposure Photography: Architecture
Most long exposure subjects are limited to either the night or day. For instance, a beach can be a beautiful subject during the day, but once darkness sets in, it can disappear from view. Likewise, when the sun rises, a stunning night sky will vanish.
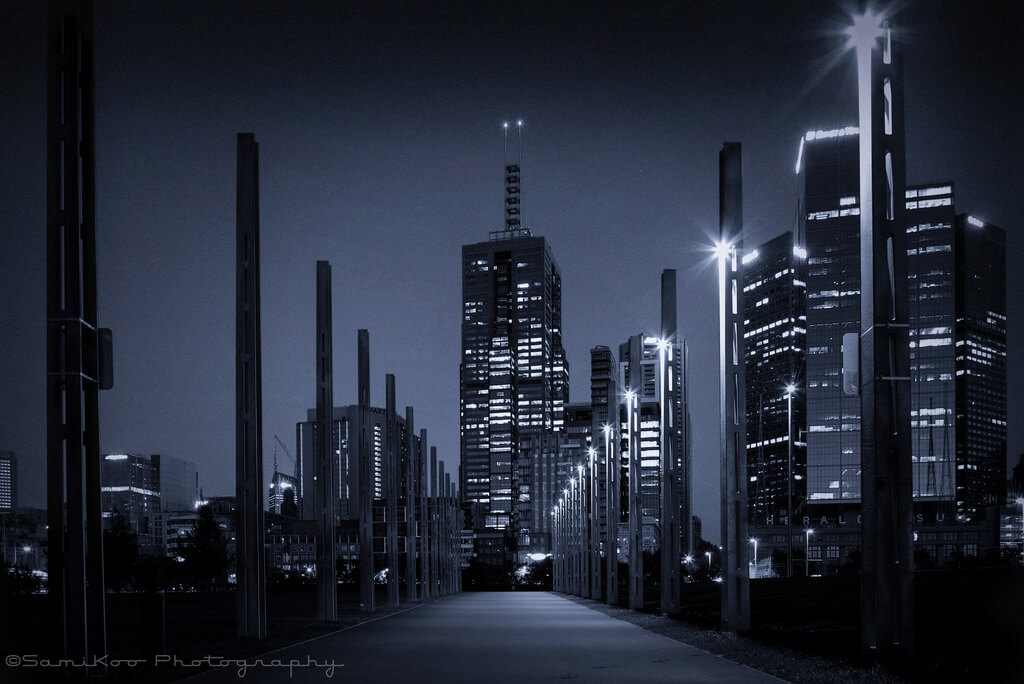
Buildings are one exception to this rule. They can be equally striking during the day and night. As long as the building is illuminated at night, you can photograph it whenever you want.
When photographing architecture during the day, remember that you want to include something moving in your image. In most cases, this movement will come from either clouds or people. With clouds, your main challenge is watching and waiting for the right weather. You want a good balance between clouds and blue sky, so there’s more contrast and drama.
If you’re stuck with a lot of cloudless or overcast days, you can try including people in your photo instead. This approach will give you more flexibility with weather, though you’ll still need to plan your shot carefully. For instance, you might get better shots during rush hour than in the early morning, when fewer people are out.
Regardless of when you’re shooting, make sure you’re not in the way of pedestrians and other traffic. It’s both safer and less likely to draw attention (and security guards). If you have to get in the way of pedestrians for a good shot, try shooting at night instead. Then, you won’t need clouds or people–just a little light.
Fistfulofpowder – All eyes to the sky.
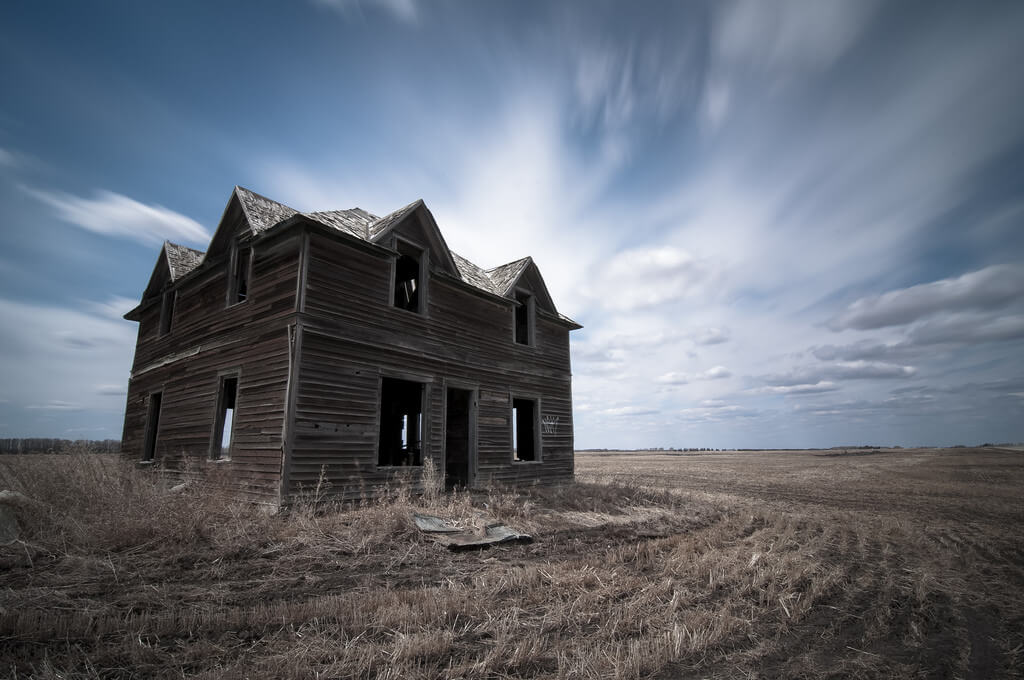
Nimit Nigam – Alvida Jumma Sunset at Jama Mosque

Long Exposure Photography: Indoor Long Exposures
Most long exposures look better with movement except for indoor shots. You don’t need movement with indoor long exposures because your goal is different. Typically, with indoor shots, you’re not trying to capture the passing of time. You’re trying to solve the problem of poor lighting.
What’s Better? Higher or Lower ISO?
If you’re taking a regular shot in a poorly-lit building, you have two basic options. You can use a higher ISO for a sharp hand held photo with more noise, or you can use a lower ISO with your camera on a tripod for less noise. If you want a sharp, noise-free photo, you have to take a long exposure. Because light is “magnified” in a long exposure, you can use a low ISO without any blur–as long as you’re using a tripod and photographing a still subject.
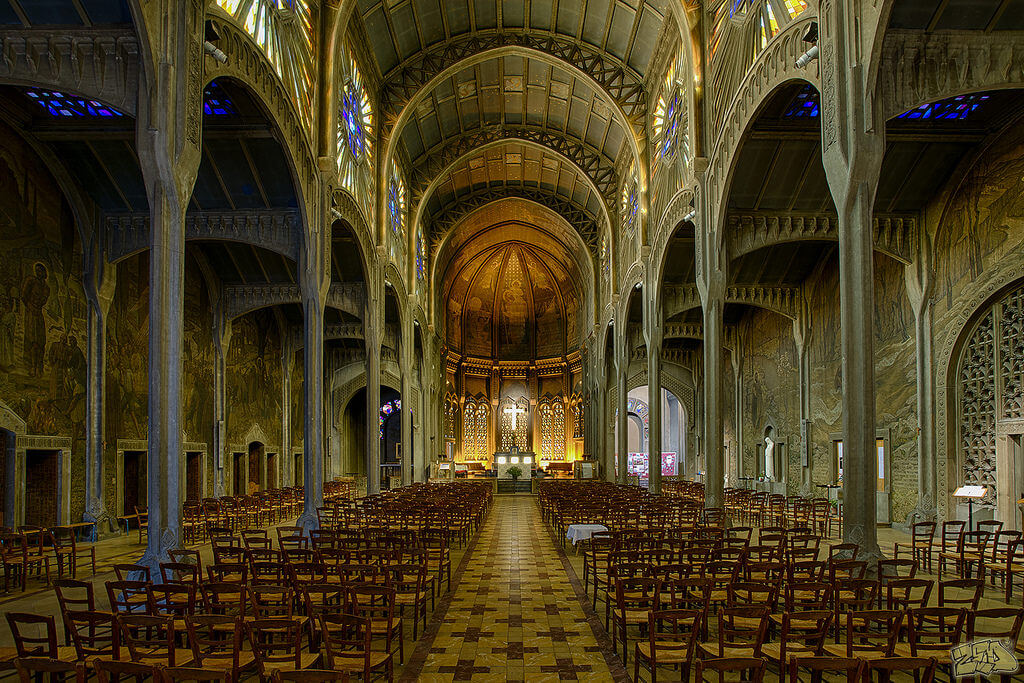
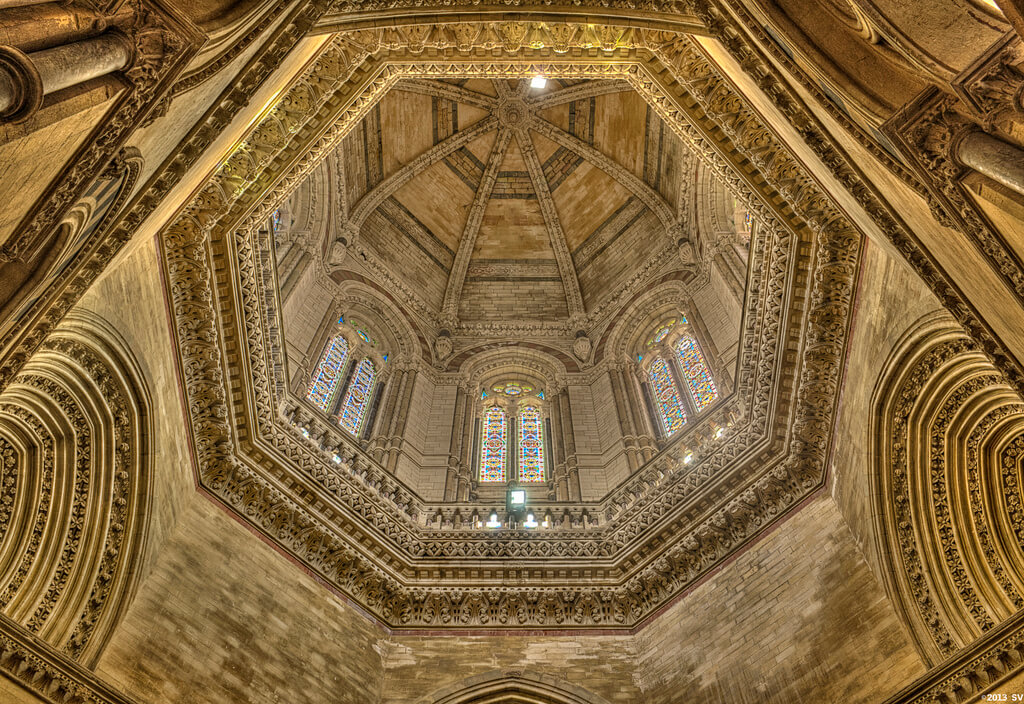
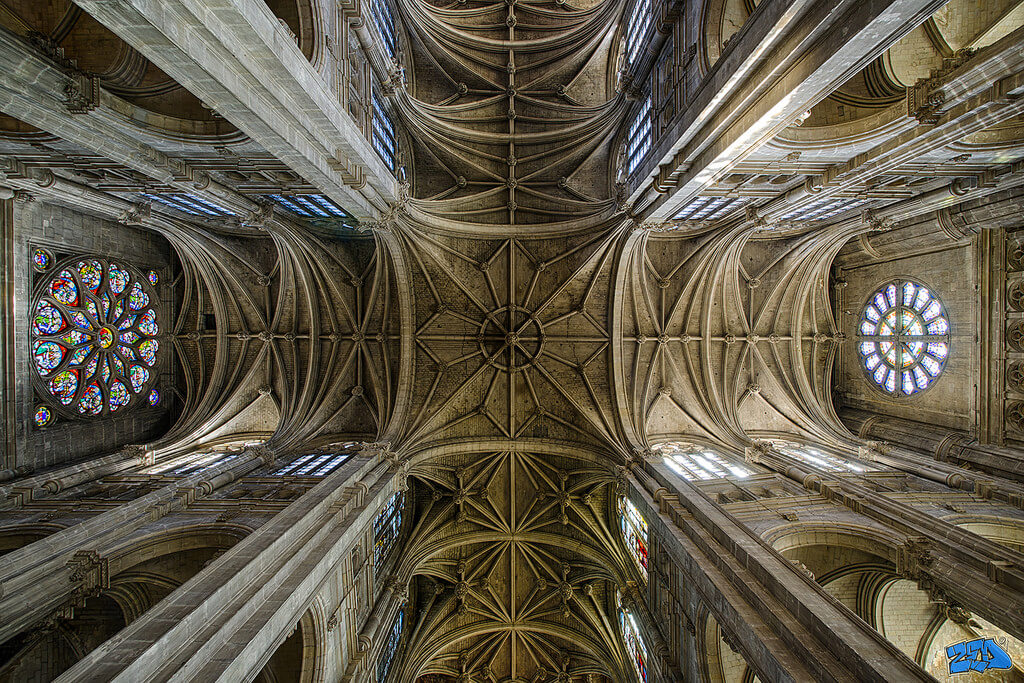
This technique can be exactly what you need to capture the eerie atmosphere of an old theater or the beautiful stained glass in a cathedral. While you won’t be able to take as many pictures, as usual, the ones you do take will be of higher quality. And since all you really need is one perfect shot, the extra time will be well worth it.
Zed the Dragon – Eglise Saint Christophe de Javel, Paris.
Srinivasan Venkatesan – Day 231
Zed the Dragon – St Eustache roof I
Long Exposure in Wedding and Portrait Photography
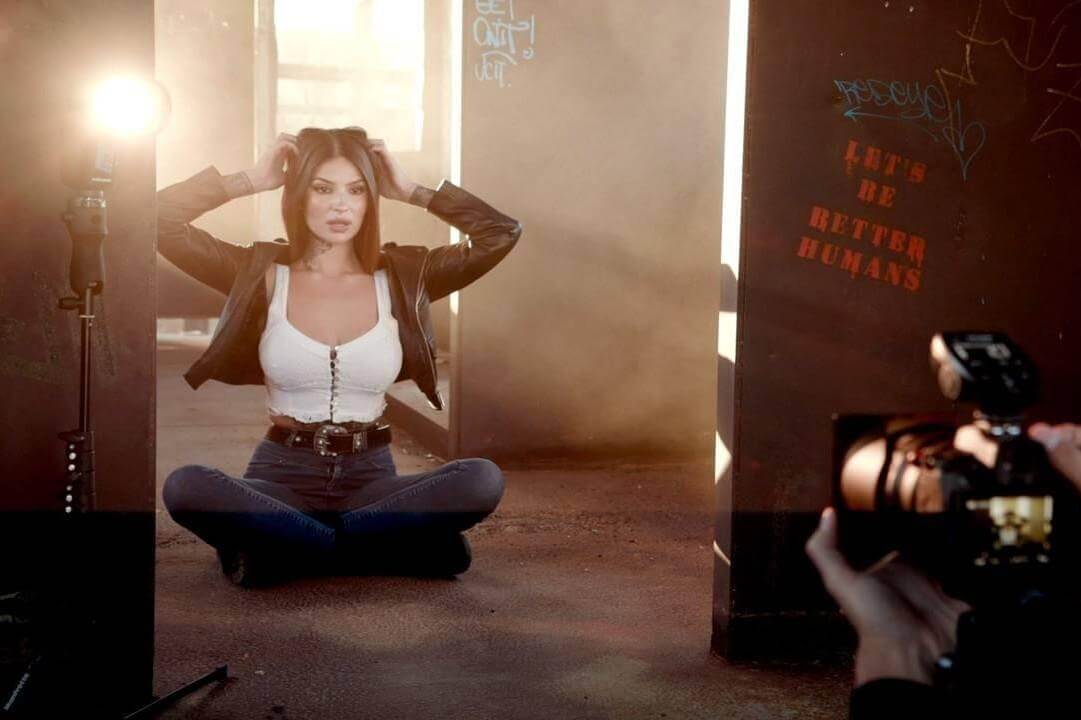
Of course, one of the biggest challenges with long exposure photography is working with live subjects in genres like Wedding and Portrait Photography. To get these types of images, you have a few options:
- Have your subjects hold very still
- Have your subjects hold very still AND use flash to freeze motion
- Composite the photo in post production
Here are a few examples of long exposures in wedding and portrait photography from our friends at SLR Lounge:


Conclusion and More Info From Recommended Resources
I hope you enjoyed these long exposure photography tips and inspiring examples. Put them to use when you head out to capture your own cool long exposure photos!
