Prominent on the list of modern-day wedding staples, wedding cakes provide a unique opportunity for wedding photographers. Wedding cake pictures allow photographers to showcase their creativity, and they also serve as an effective networking and marketing tool. Everyone, from the newlyweds and their friends & family to the cake makers and event planners, will likely share these popular portraits. That said, it’s important to rise to the occasion when capturing wedding cake pictures. Follow the tips below to streamline your workflow and ensure you capture the best wedding cake pictures possible.
Take a deeper dive into general wedding photography with these wedding photography tips for beginners.
Wedding Cake Pictures and Tips
- Plan Accordingly
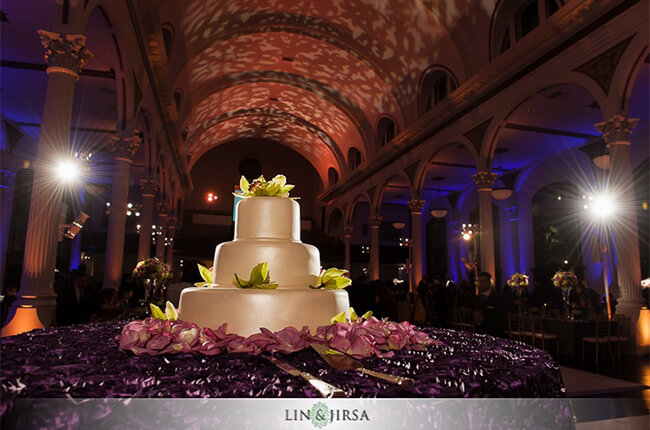
- Find an Interesting Background
- Light Up the Background with Interesting Colors
- Shoot Wide, Medium, and Tight (also, portrait and landscape)
- Use Foreground Objects to Frame the Cake
- Light the Cake with Off-Camera Flash
- Communicate with the Couple Before the Cake Cutting
- Finalize Your Wedding Cake Pictures in Post
Tip #1: Plan Accordingly for Wedding Cake Pictures
Photographing the wedding cake usually happens before the start of the reception. If you’ve ever photographed reception details/decor before, you already know that your time for completing this task is limited. Vendors often work right up to the moment the doors open to guests. The challenge is to capture amazing portraits of all the incredible (and expensive) details, including the wedding cake, and make it look like no one is in the room and you had all the time in the world to get the perfect shots.
We won’t go into the details of how to plan for photographing all of the decor, but you might take comfort in the fact that you can usually still get great wedding cake pictures even after the guests have taken their seats. Take note of the cake’s location when you enter the room and make a decision about whether or not the cake is good in its current setting or if you’re going to have to make some adjustments, which we’ll cover in the following tips.
Tip#2: Find an Interesting Background
If you’ve already walked the room to scout for details in general, you’ll have a better idea of how to capture wedding cake pictures. Vendors typically place wedding cakes near some corner in the room, which is great in a sense because you have more time to photograph other decor in the room before turning your attention to the cake. The reason for this is the tables and other areas in the room will likely fill up with guests, so you’ll want to knock those photos out first. Hopefully, the area around the cake will remain empty until after you capture your wedding cake pictures.
The downside of having the wedding cake placed in the corner is you may have to relocate it temporarily in order to find a more suitable backdrop. Before you move the cake, get permission, and then get help. You do not want to be the photographer who dropped the cake. If you’re unable to move the cake and you still can’t find an appealing backdrop, you can add creative lighting to enhance the shot. See the following tip for more information on how to do that.
Tip#3: Light up the Background with Interesting Colors
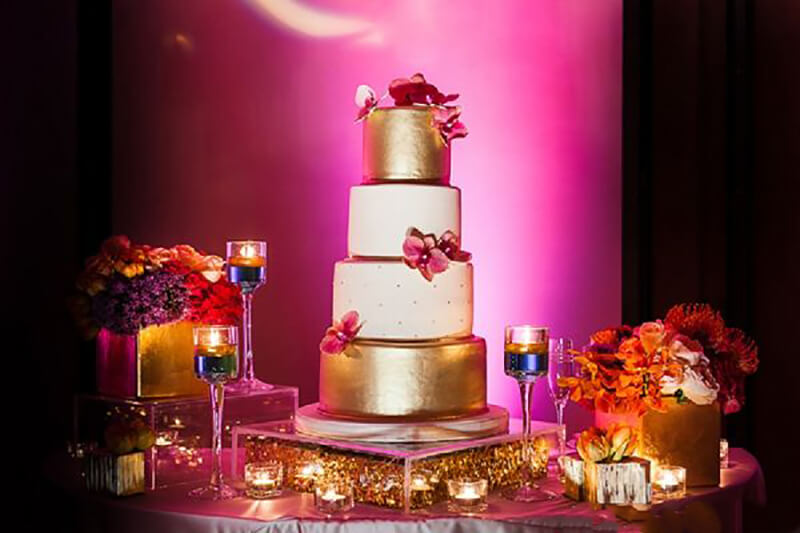
On those occasions when you’re unable (or unwilling) to move the cake and the background is boring, you can pop a colored gel onto an off-camera flash and add some eye-catching color to the background. If possible, try to match the background light to the colors used in the wedding, such as those found on the bridesmaids’ dresses, for example.
Chances are the cake will have pin lighting on it from the venue or another vendor. If it doesn’t, however, you will also need to add a bit of flash to light up the front of the cake. Use a snoot or grid on your flash to minimize light spill and keep the light that you’re adding to the scene focused on the wedding cake.
Tip#4: Shoot Wide, Medium, and Tight
Every wedding cake has a story to tell, or rather, each cake plays an important part in the overall wedding day. Use the approach standardized in movies and television to let your wedding cake pictures make an impression and steal the show.
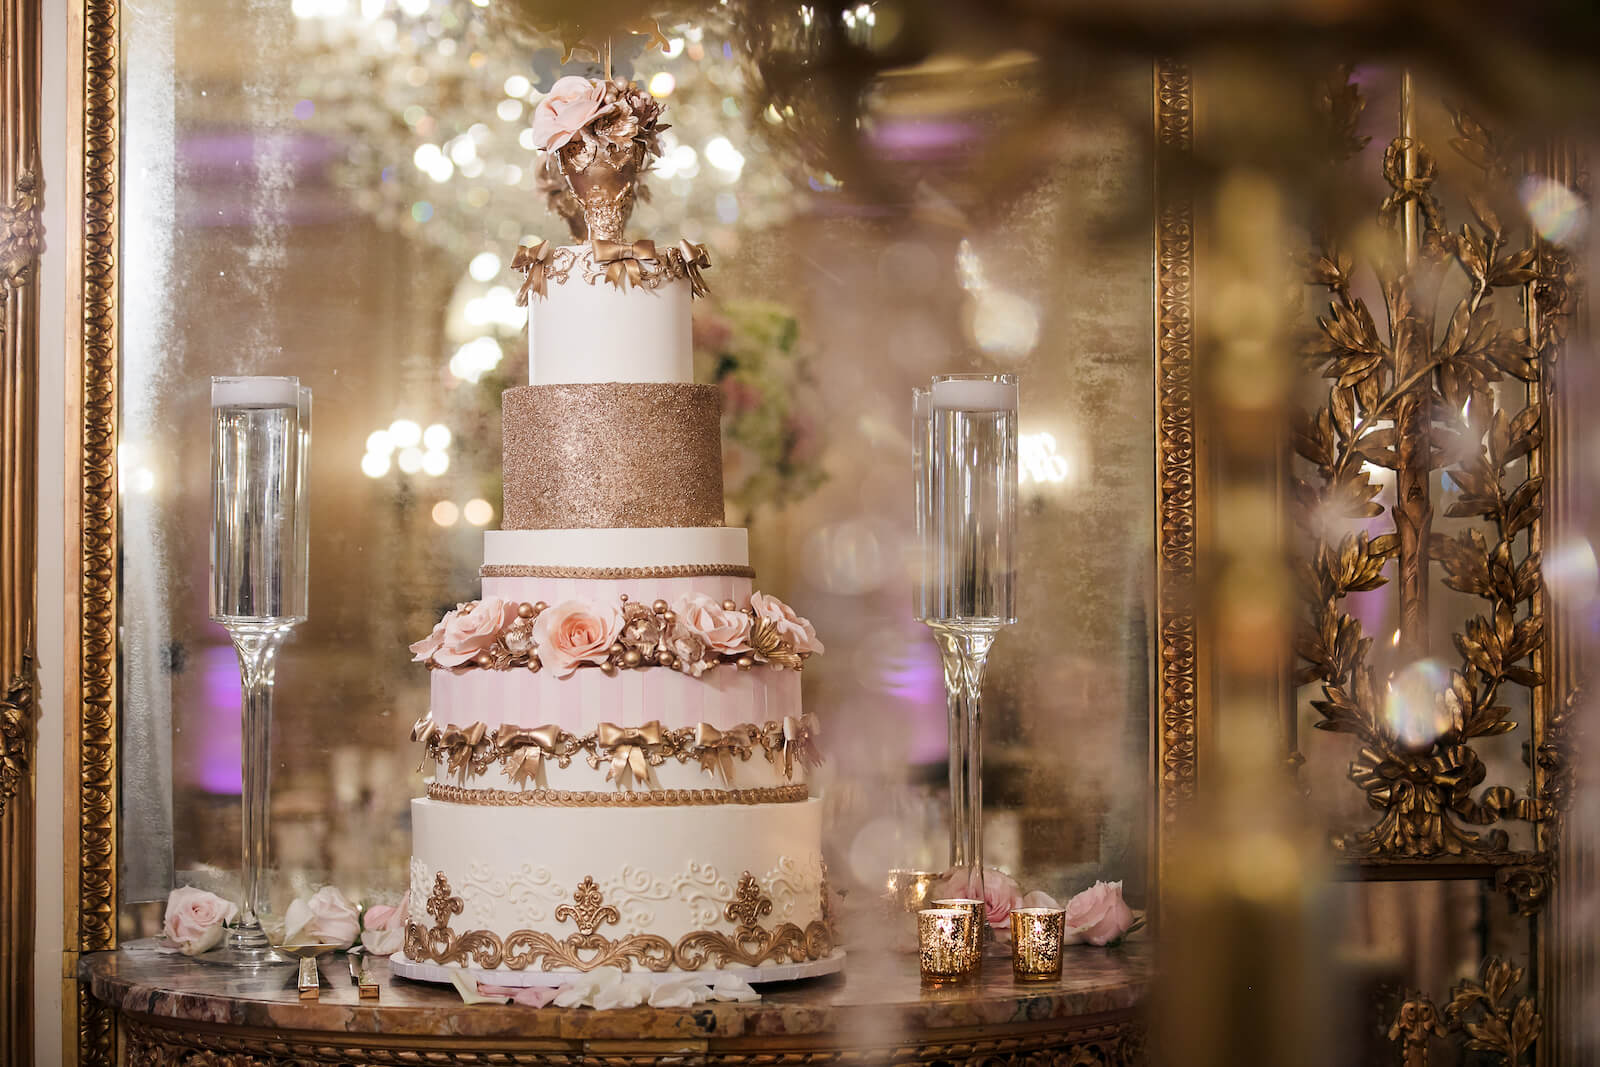
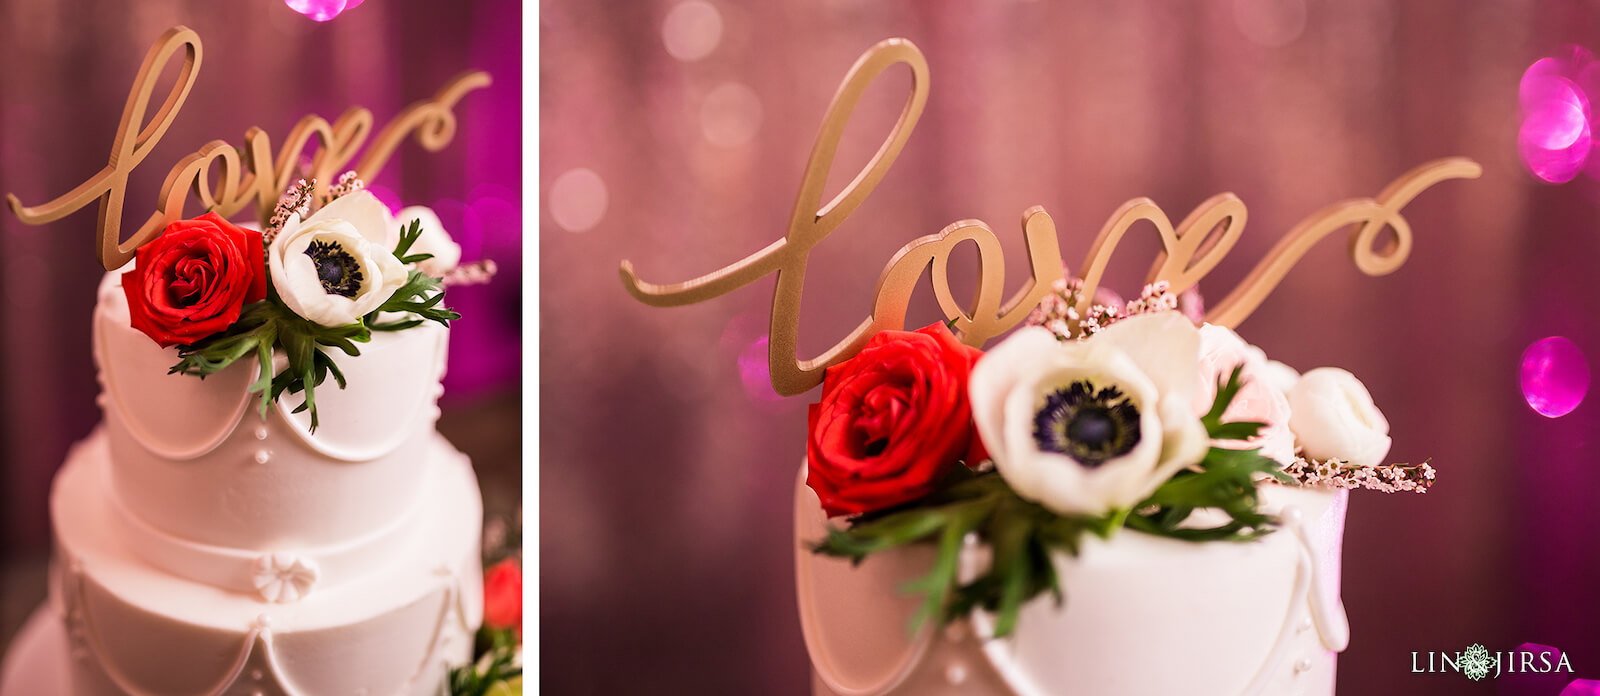
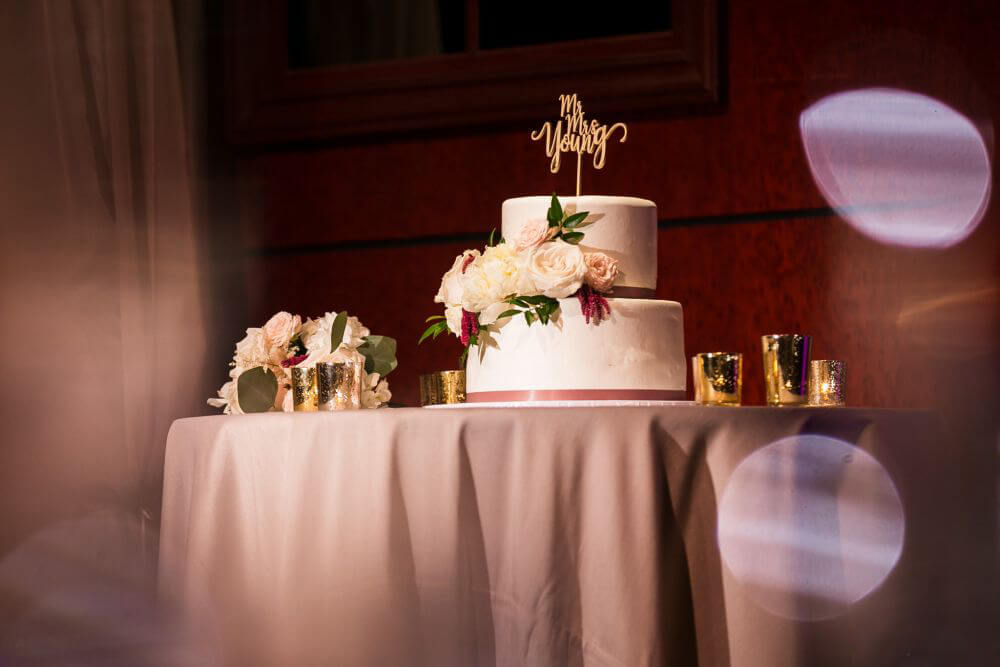
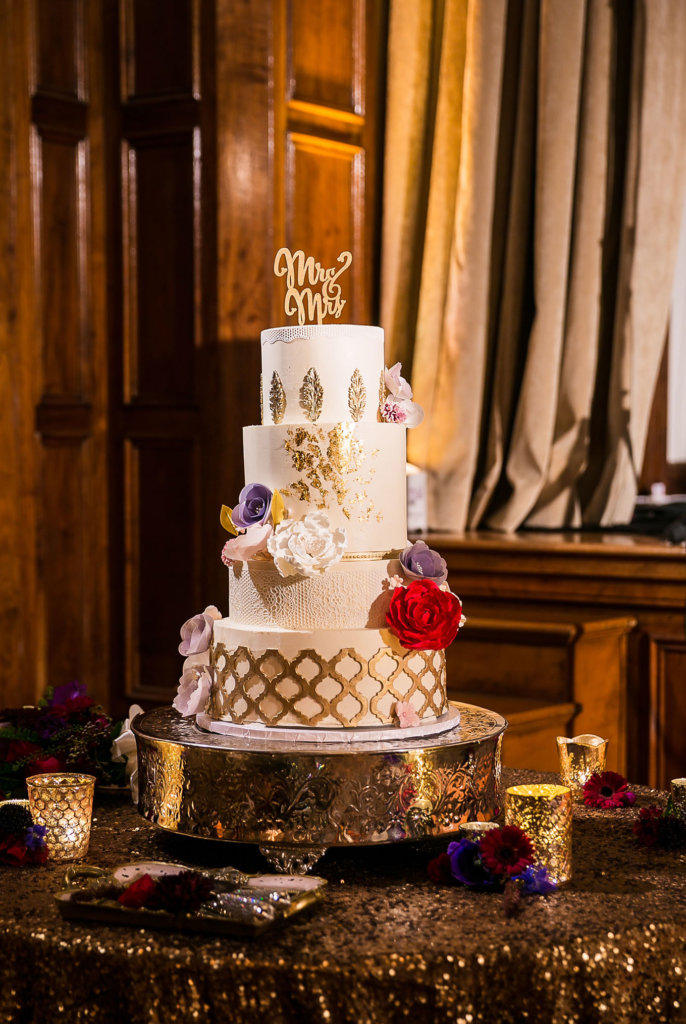
Start with a wide shot to establish the scene, showcasing the cake in the wider environment of the reception hall. Planners and vendors (and often the bride and groom) put an immense amount of thought into each element when designing the layout for the reception, and they will appreciate seeing the wedding cake in its natural habitat. Next, move in for a medium-framed shot to capture more of the cake’s details. We should be able to see the whole cake, but with fewer distractions. Finally, go for the closeup to showcase the unique details of the wedding cake, including everything from the topper to the patterns in the decorative frosting. Don’t forget to photograph the knife and server as well.
Tip#5: Use Foreground Objects to Frame Wedding Cake Pictures
Most receptions feature centerpieces on the tables, and these often serve as great foreground objects for capturing creative shots of other decor, especially wedding cakes. If centerpieces or other obvious objects you would typically shoot through are unavailable, don’t worry. Try the following.
Create your own bokeh-laced shoot through object with two empty wine glasses. On a table away from the cake, use two empty glasses to frame the cake (see the image above) and use a long focal length (100-200mm) to shoot through the wine glasses. The wedding cake should not be obscured. To make this effect more impactful, place an off-camera flash set to low power off to the side between the cake and the glasses, and point it toward the glasses. The light from the flash will reflect in the wine glasses and add a touch of bokeh to further enhance your wedding cake pictures.
It’s also a good idea to bring your own creative accessories in case you can’t move the cake, the background is boring, or it’s difficult to find a decent object to shoot through in the room. These include LED string lights, prisms, and other reflective objects. You can also use the surface of your phone to create a unique reflection.
Bonus Tip: Use the cake as a foreground element in the full room shot. The cake can serve double duty as both the hero and supporting cast. Wedding cakes are usually artfully designed or epic in size and make a great addition to a wide environmental shot of the reception hall.
Tip #6: Light the Cake with Off-Camera Flash (or Constant Lights)
We touched on this in tip #3 above, but this can be used without having to add lighting to the background. If you find the cake is dimly lit, place a flash off to the side at a 45-degree angle relative to you and the cake, and point it towards the cake. The resulting flash should create shadows along one side of the cake to give it depth and reveal its texture. Flat lighting is nice, but shadows can add visual interest to your portraits, even when your subject is a wedding cake.
Tip #7: Communicate with the Couple Before They Cut the Cake
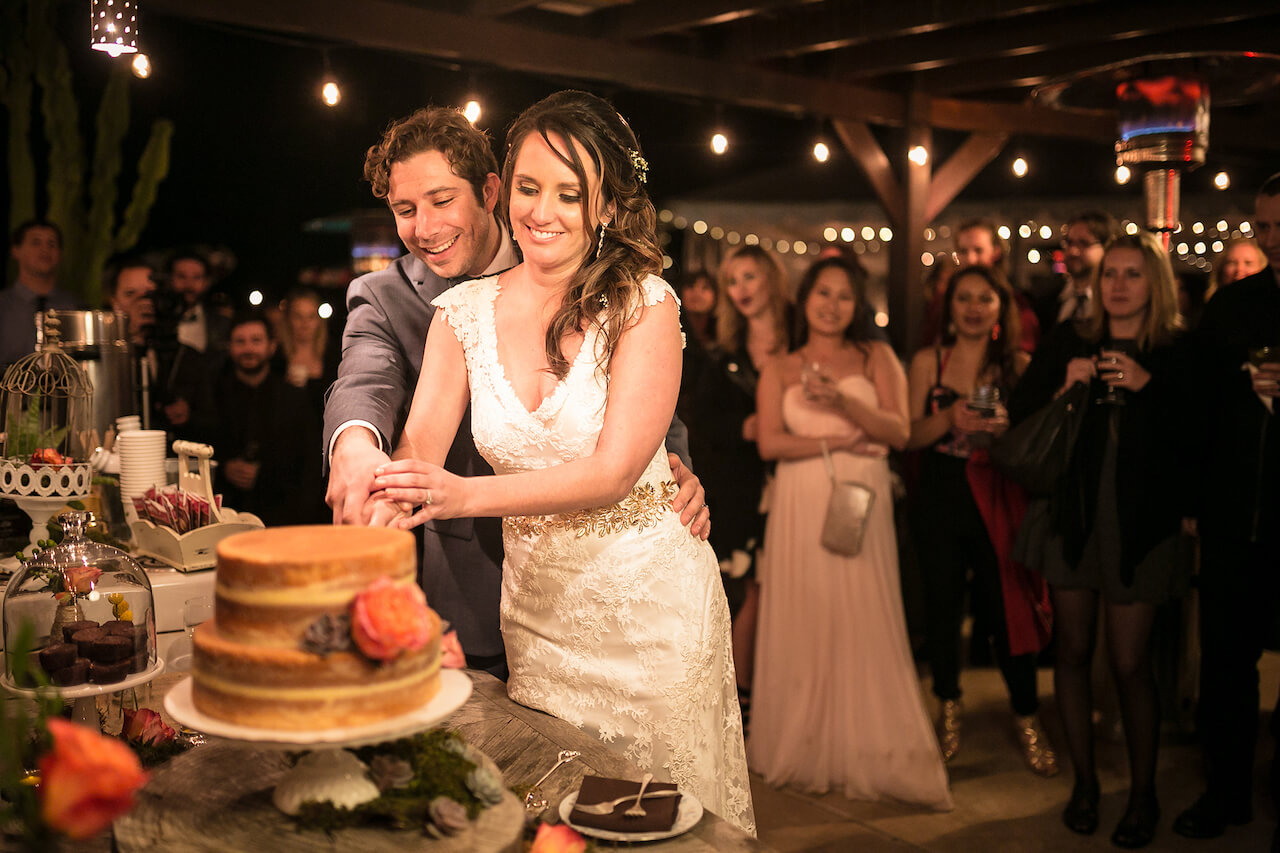
In addition to capturing images of the cake itself, you’ll likely need to photograph the couple cutting the cake. In fact, many couples use a separate cake just for the cutting. Either way, the “cake cutting” has become an oft-included tradition in many weddings, and photographers are expected to photograph it. You should develop a plan and communicate with the couple before they cut the cake. Here are a few things to look for:
Backgrounds for Wedding Cake Pictures (Cutting)
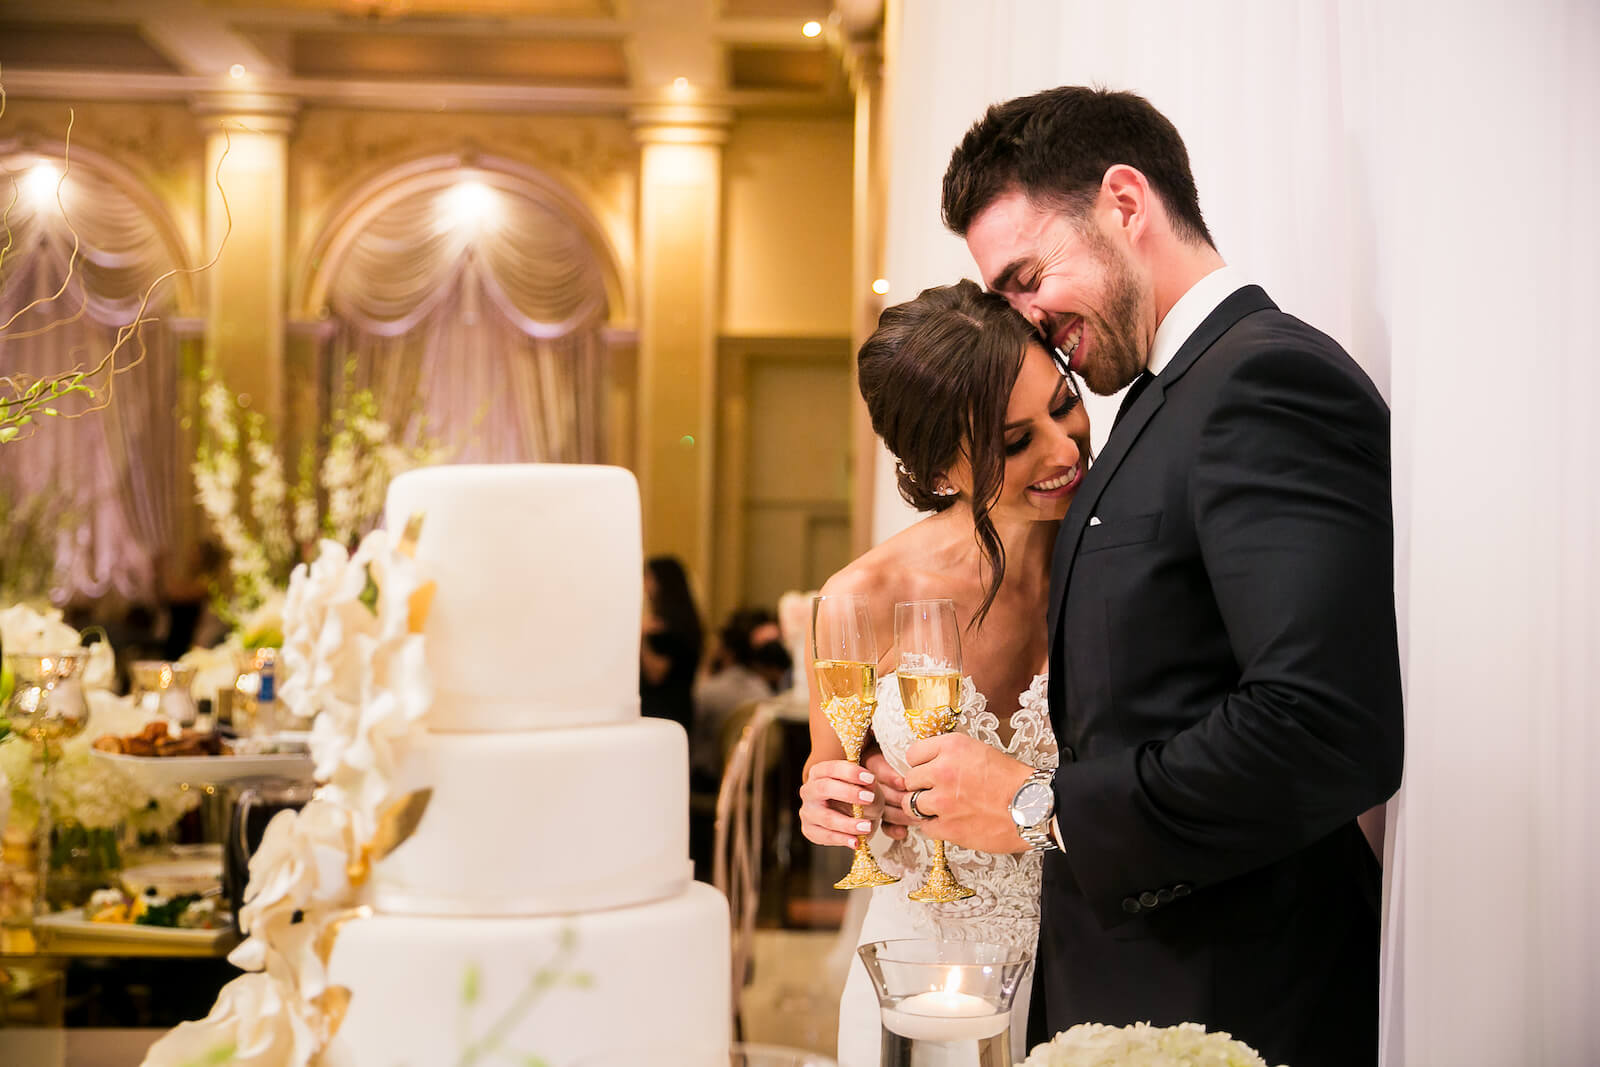
First, place the groom (generally the taller of the two) behind the bride when positioning the couple near the cake. Then, if possible, try to include guests in the background to add authenticity to the moment and create an interesting storytelling element.
Lighting for Wedding Cake Pictures (Cutting)
As demonstrated in SLR Lounge’s Photographing the Reception workshop, pinned constant or off-camera flash lighting is ideal for photographing the cake cutting. This lighting method takes almost no time to set up (1 to 2 minutes), and it works well in just about any location. It does, however, require an assistant or 1-2 light stands (see the images below).
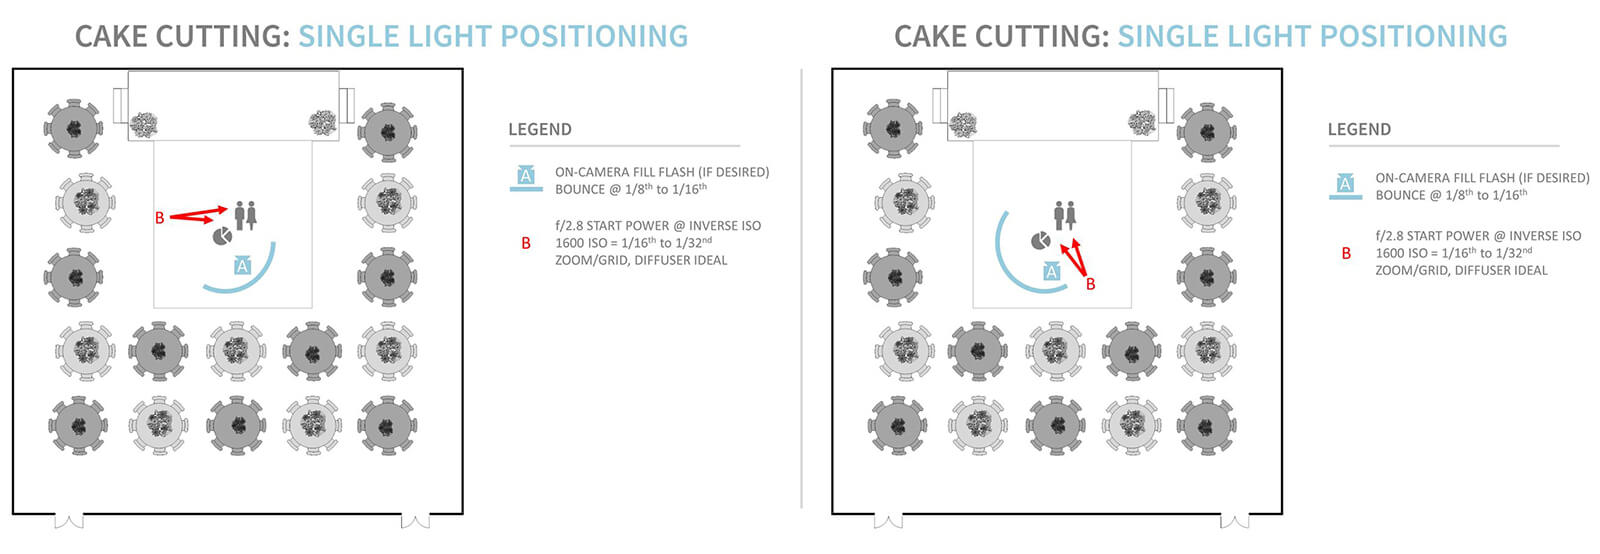
Be sure to position the light to minimize shadows, from the cake over the couple, the bride over the groom, and so on. Keep the flash power set so that it does not overpower the ambient lighting and modify it with an umbrella or softbox if necessary to further soften the light.
Action for Wedding Cake Pictures (Cutting)
Be sure to shoot through the action. Couples often take a bite and/or smear their partner’s face with cake frosting and good times (or more cake fights) ensue. Whatever the case, don’t miss a moment because you paused to look down and browse through the posed shots you captured.
Storytelling with Wide, Medium, and Tight Angles
Like always, exercise your storytelling skills and capture the unfolding action using a variety of angles. Wider shots will reveal more of the environment and the guests who are sharing in the celebration will medium and tight shots will focus more on the couple and the act of cutting the cake.
Tip #8: Finalize Your Wedding Cake Pictures in Post
Even if your photo looks amazing in-camera, you can always add a few extra touches in post to bring it home. Just remember, aim for consistency in your post-processing so that your cake photos will fit beautifully on the same spread as the place settings, centerpieces, and other elements of the wedding reception decor.
One of my favorite post-production tools for editing wedding cake pictures is Lightroom’s radial burn tool. Simply select the radial burn tool, click over the center of the cake and drag the cursor to create a large circle around the cake. Then, set the exposure to -.5. The exact amount you adjust the exposure will vary depending on the photo, but be careful not to over do it. If you can see a dark vignette in the thumbnail, chances are you’ve gone too far. Back it off until the burn draws attention to the cake in the center without looking unnaturally dark on the edges.
Conclusion
I hope you enjoyed these wedding cake pictures and tips. You may not always have the best background or time to capture the perfect shot, but you can still get incredible wedding cake pictures. With a bit of planning and preparation, you’ll create photos that your clients and fellow vendors will want to share with the world, like these 30 beautiful examples of wedding photography.
If you’re interested in diving deeper into the wide world of wedding photography, I recommend checking out the Wedding Photography Training System from SLR Lounge. The system consists of eight in-depth courses that cover a wide range of topics, from building a relationship with clients to capturing all aspects of the wedding day, including bridal prep, individual/couples/group portraits, the ceremony & reception, and more. Experience is one of life’s greatest teachers, but educating yourself with quality courses like this will exponentially accelerate your growth as a photographer.
Photos courtesy of Lin & Jirsa Photography unless otherwise noted.
