Great photography lighting setups don’t have to burn a hole in the bottom of your wallet—a hole in the side of your house will do. Windows can be great tools for lighting many types of shots, especially portraits. Window light offers all the qualities of sunshine, only in a form that’s easier to control.
The problem is that window light is often misunderstood. Great window light without the knowledge on how to use it, is like a pair of amazing studio lights that aren’t plugged in. To take great portraits using window light, photographers need to understand three things: Direction, Distance, and Degree.
1. Direction
When taking a portrait with studio lights, the lights are coming from a certain direction to create a specific look. With window light, there are two important directions: the direction in which the sun is hitting the window, and the direction in which the light is hitting the subject.
In most cases, soft, indirect light produces the best results. When the window is your main light source, if the sun is directly hitting the window, you’ll get a harder light and harsher shadows. A north or south window, on the other hand, will never get that direct light (since the sun moves from east to west). That means north and south windows are perfect for getting window light at any time during the day. An east or west window can work too, but only when the sun is overhead, or on the opposite side of the building.
While windows cannot be moved around the room like a studio light, there are quite a few effects you can achieve simply by changing where the subject is in relation to the window. Most windows are already at a great height for portraits — skylights and tall upper windows are the exceptions. Overhead light will cast shadows under the eyes and nose, and lighting a portrait from underneath is a no-no. (there’s a reason placing a flashlight directly under your face around a campfire is creepy). Here are three types of window lighting that do work.
Front window lighting
Window lighting from the front gives a very even light that’s good for showing all the details in the subject’s face, with minimal shadows. Front lighting is easy to get right and a good starting point for beginners. Simply have the subject stand facing the window. Take care, though, that you yourself don’t stand directly in front of the window, or you’ll block all that great light.
Side window light
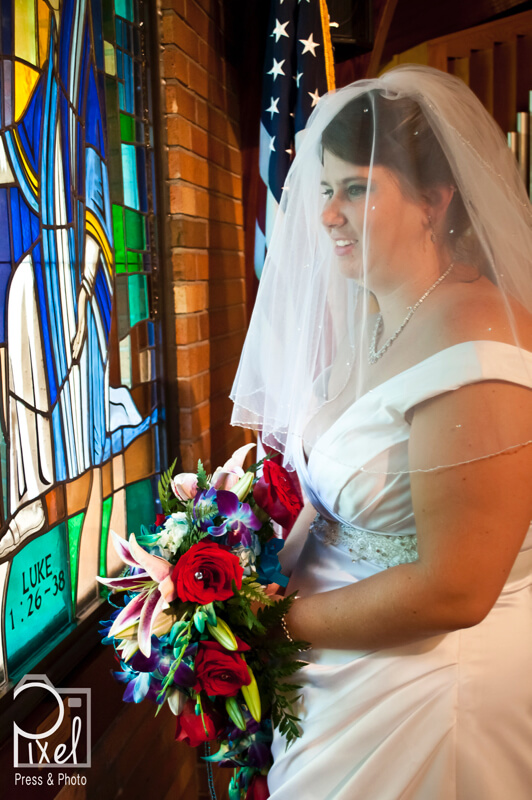
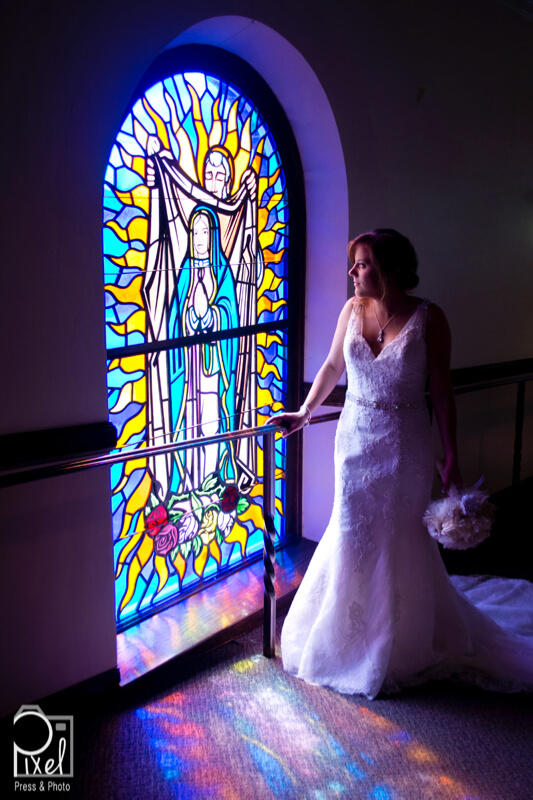
Side window light introduces some shadows, which helps to add more depth to a portrait. Have the subject stand or sit with the window to one side.
Often, placing the subject with the window at their side can leave the opposite side too dark. In these situations, a reflector is an excellent tool to fill in the opposite side with light. Placed opposite the window, the reflector will add some light to the far side of the subject’s face. Since reflectors just bounce back light that’s already there, the quality of light will be similar across the entire image. Large reflectors work best. If the reflector is too small, you’ll get hard light with deep shadows.
Spot metering is also helpful for getting the face accurately exposed, especially if the window is included in the image. Unlike the evaluative metering mode, the spot meter will read light just around the focal point, instead of taking the entire image into consideration.
Backlighting
Backlighting is one of the tougher types of window light to master. When I was learning photography as a journalist, I was told never to set up a shot with a window behind the subject. For the type of shots I was taking, that was pretty good advice. But backlighting can create some great portraits, if you know how to work with tricky lighting.
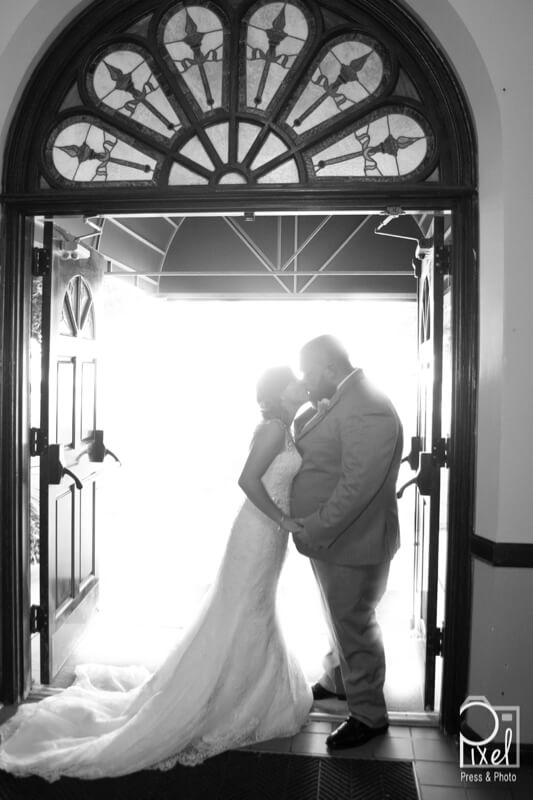
A popular way to use a window for backlighting is to use the window (or even door) as a frame. Everything outside will be overexposed, but in some cases that helps draw more attention to the subject. Spot metering is essential for backlighting. If you use evaluative metering, you’ll end up with a silhouette. Usually, a second light source is necessary, too, from a reflector or a flash. In the photo of the bride and groom in the open doorway, I used spot metering and a hot shoe flash with a softbox. I also used the adjustment brush in Adobe Camera RAW to eliminate the few details in the doorway that weren’t completely blown out.
2. Distance
You can’t change the brightness of the window—but that doesn’t mean you don’t have any control over the light source either. Distance plays a big role in lighting a portrait with window light. The closer the subject is to the window, the softer the light will be. So, if you place the subject right next to the window, the shadows will be minimal. If, on the other hand, you put the subject across the room, you’ll have both larger and darker shadows. There’s no right or wrong here, while soft light is usually preferred for portraits, some great portraits use hard light. It all depends on what type of look you are aiming for.
Windows aren’t completely excluded from modifiers, either. Sheer white curtains will act like a softbox, creating even lighter shadows. If you can’t get any closer to the window for softer light, sheer curtains are a great solution. On the opposite end, if you aren’t getting the drama you want with distance, you can use the blinds to create slats of light.
Distance plays a big role in the quality of light, but the window that you choose does too. Larger windows will create softer light and smaller windows will have deeper shadows.
3. Degree
One more essential for getting great portraits with window light: the color temperature. Window light has a drastically different temperature than artificial lighting. The color temperature is one of the reasons that window light works great for portraits, it’s beautiful sunlight without the harsh shadows.
Window light becomes a problem, however, when mixed with other light sources. Before shooting a portrait with window light, it’s important to turn off all the other interior lights in the room, to avoid a mismatch in color temperatures. Incandescent lighting typically has a color temperature around 2500K; window light typically has a color temperature between 5000-6000K. Since the temperatures are so different, you can’t capture them accurately with only one white balance setting. So if you combine window light with incandescent light, you’ll wind up with one part of the image that has an odd color.
The best white balance setting for window light is between 5000-6000K, or the shade preset. When I’m shooting bridal portraits and have limited time, I’ll typically use auto white balance and shoot in RAW so I can make minor adjustments later.
Photographers don’t necessarily have to spend big money on expensive studio lights to get great portraits. A simple window can effectively light a portrait, if you know how to use it. When lighting with a window, check and make sure you’ve nailed the three D’s: Direction, Distance, and Degree.
Hillary K. Grigonis is a Michigan-based lifestyle photographer. She enjoys sharing portrait photography tips on the CreativeLive blog.


